How to Render Mood Boards With AI (2026 Guide)
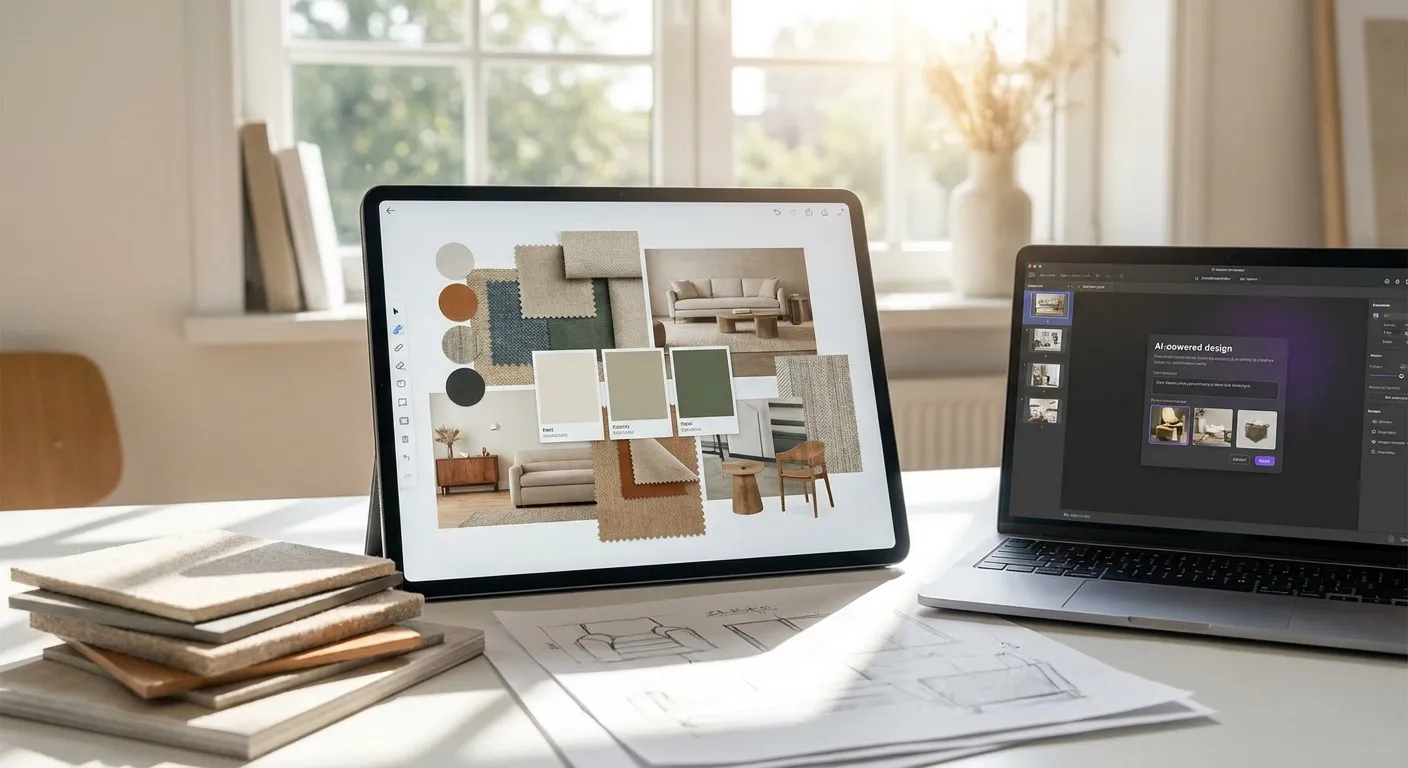
Mood boards used to mean stapling fabric swatches next to a moodily lit stock photo. In 2026, interior designers build them from actual 3D model renders — the same materials, camera angles, and lighting the client will see in the finished space, generated in minutes instead of hours in a traditional render engine.
- Render mood boards with AI by uploading SketchUp, Revit, or Rhino screenshots and describing materials in plain text — no render engine setup.
- PromptRender turns a single 3D model screenshot into 3-4 photorealistic panel variations for one mood board in under 10 minutes.
- Match camera angle across all panels first, then vary only material and lighting descriptions to keep the board visually coherent.
- Skip mixing renders from different rendering tools in one board — inconsistent shadow direction is the fastest way to make a mood board look amateur in 2026.
Why this matters
Clients approve projects faster when they can see the actual room, not an abstract collage. A mood board built from real 3D model renders shows the client their walnut cabinetry, their brass fixtures, their exact window placement — under three different lighting and material scenarios, side by side.
The old workflow required a full render pass in V-Ray or Lumion for each variation, often 20-40 minutes of render time per image plus setup. AI rendering software compresses that to a screenshot-and-prompt cycle, which means you can produce four or five mood board directions in the time it used to take to render one.
This matters most in the first client meeting, where the difference between a vague concept and an approved concept is often how concrete the visuals are.
What you'll need
- A 3D model in SketchUp, Revit, Rhino, Blender, or ArchiCAD with the room roughed in (furniture placement doesn't need to be final)
- 3-5 camera angle screenshots of the same space — these become your mood board panels
- A short material and style brief for each panel (e.g., "warm oak flooring, matte black hardware, brass pendant light")
- An AI rendering tool that accepts screenshot uploads and text prompts — PromptRender works directly from SketchUp, Revit, Rhino, Blender, and ArchiCAD exports
- 30-45 minutes for a full board of 4-5 panels
The steps
1. Lock your camera angle before you touch materials
Pick one camera position in your 3D software and export a clean screenshot at a reasonable resolution — 1920x1080 or higher holds detail better once the AI adds materials and lighting. If you learn how to create a photorealistic rendering from a 3D model, you already know the same rule applies here: one fixed camera angle per mood board panel keeps the eye focused on material and light changes, not perspective jumps.
Common mistake: switching camera angles between panels. A mood board is supposed to show variation in materials and mood, not variation in viewpoint — that reads as inconsistency, not options.
2. Write one material brief per panel
Draft a short, specific prompt for each direction — "light oak floor, linen sofa, brass fixtures, warm afternoon light" reads completely differently from "dark walnut floor, navy velvet sofa, matte black fixtures, cool evening light." Specificity here does the heavy lifting: vague prompts like "modern and cozy" produce generic output that doesn't differentiate one panel from the next.
Write all your briefs before you upload anything. This forces you to actually plan three distinct directions instead of improvising as you go.
3. Upload the screenshot and generate
Upload the same base screenshot into PromptRender for each of your 3-5 material directions, pairing it with its matching brief. The workflow is upload, describe, generate — no manual texture mapping, no lighting rig setup, no render queue. Each generation typically returns a result in under a minute per image, so a full 4-panel board takes well under 10 minutes of active generation time.
Expected outcome: four to five photorealistic panels of the same room, each with a distinct material and mood story, ready to drop into a board layout.
4. Adjust lighting per panel to sell the mood
Lighting does more work than material choice when it comes to selling a "mood" in mood board — warm low-angle light reads as evening comfort, flat bright light reads as daytime function. If you're not getting the contrast you want between panels, review how to add realistic lighting to AI architectural renders before regenerating; specifying time of day and light source ("pendant light, warm 3000K" vs "north-facing daylight") in the prompt changes the entire feel of the panel.
Common mistake: using identical lighting language across all panels. If every prompt says "bright natural light," every panel will look the same regardless of material changes.
5. Assemble the board in a layout tool
Drop your generated panels into a simple grid — 2x2 for four directions, 1x3 or 1x5 for a linear comparison — in whatever layout tool you already use (Figma, Canva, or a slide deck). Label each panel with a one-line material call-out: flooring, wall finish, key fixture. This labeling step is what turns four pretty images into a board a client can actually respond to with specific feedback.
Expected outcome: a single-page board where the client can point at panel 2 and say "this one, but with panel 4's lighting."
6. Present with the material story, not just the image
A mood board only works if you can explain why each direction exists — cost tier, sustainability angle, or how it fits the client's stated taste. Structure your talking points the same way you'd structure a formal concept presentation; the guide on presenting renovation concepts to clients with AI renders covers how to sequence panels so the client lands on a decision instead of getting overwhelmed by options.
Troubleshooting
- Panels look inconsistent in scale or proportion. Re-check that every screenshot was exported from the exact same camera position and field of view in your 3D software — even small angle shifts read as scale mismatches once rendered.
- Materials look flat or generic. Add texture-specific language to the prompt: "honed marble" instead of "marble," "brushed brass" instead of "brass." Generic nouns produce generic textures.
- Lighting doesn't match the mood you described. Name a specific light source and color temperature ("3000K pendant," "overcast daylight") rather than adjectives alone ("cozy," "bright") — the AI responds better to concrete lighting terms.
- Client can't tell panels apart at a glance. You've varied too little between directions. Push one variable — material palette or lighting — further apart so each panel reads as a genuinely different option.
- Render looks good but furniture proportions are off. This traces back to the 3D model, not the render step — fix furniture scale in SketchUp, Revit, or Rhino before re-exporting the screenshot.
Tools and resources
- PromptRender — uploads SketchUp, Revit, Rhino, Blender, and ArchiCAD screenshots and returns photorealistic renders from a text description
- A layout tool (Figma, Canva, or slides) for assembling the final board grid
- The best AI rendering software for interior designers roundup if you're comparing tools before committing to one for mood board work
- A written material brief template — reuse the same prompt structure (flooring, wall finish, key fixture, lighting, mood word) across every project so briefs stay fast to write
Turn your 3D model into mood board panels
Upload a screenshot, describe the material direction, generate a photorealistic render.
What to do next
Once a board direction gets client approval, the next step is turning that single approved panel into a full presentation set — multiple angles, consistent lighting, and a workflow that doesn't require rebuilding briefs from scratch for every room. That's a separate skill from mood board generation and worth learning as its own step once you're past the concept stage in 2026.
FAQ
What's the best way to render mood boards with AI in 2026?
Upload a fixed-camera screenshot from your 3D model and generate 3-5 material variations using a text prompt for each. Keeping the camera angle identical across panels and varying only material and lighting language produces the most usable mood board.
How long does it take to generate an AI mood board?
A full 4-panel mood board typically takes under 10 minutes of active generation time in PromptRender once your screenshots and material briefs are ready, versus 20-40 minutes per image in a traditional render engine.
Do I need a finished 3D model to render a mood board?
No. Furniture placement and material assignments in the 3D model don't need to be final — the AI applies materials and lighting from your text prompt regardless of what's modeled in SketchUp, Revit, or Rhino.
Can I use screenshots from Revit and Rhino in the same mood board?
Yes, as long as the camera angle and framing are consistent across the panels. PromptRender accepts screenshots from SketchUp, Revit, Rhino, Blender, and ArchiCAD interchangeably.
Is AI rendering good enough for client-facing mood boards?
Photorealistic AI renders from an actual 3D model of the client's space read as more concrete and decision-ready than stock-photo collage boards, since the client sees their own room's proportions and layout under different material and lighting directions.
How many panels should a mood board have?
3-5 panels is the practical range for 2026 client presentations — enough to show real variation without overwhelming the client's ability to compare and decide.
What's the biggest mistake in AI-rendered mood boards?
Changing the camera angle between panels. A mood board should isolate material and lighting as the variables, not perspective, or the comparison stops making visual sense.
Do I need separate software for lighting versus rendering?
No — lighting direction is controlled through the same text prompt used for materials in tools like PromptRender, specifying light source and color temperature rather than requiring a separate lighting pass.
One last thing
The panel that gets picked in the first client meeting is rarely the "safest" option — it's usually the one with the most specific lighting description, because specific light reads as intentional rather than generic. Write your lighting prompt like you're describing a photograph, not a room, and the panel will stand out.