How to Create a Rendering From a 3D Model (2026 Guide)
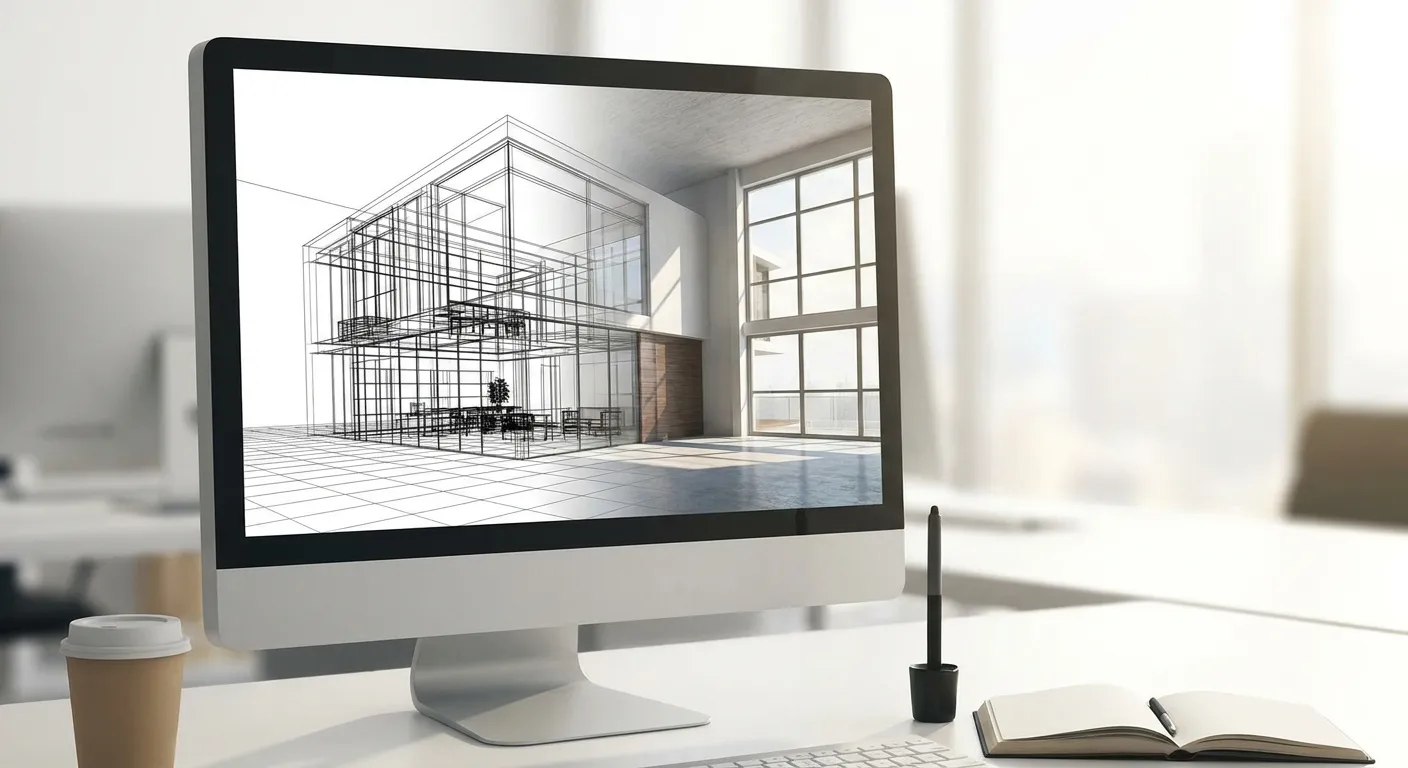
Turning a SketchUp, Revit, Rhino, or Blender screenshot into a photorealistic render used to mean hours in V-Ray or Lumion. In 2026, AI rendering tools compress that workflow into three steps: upload, describe, generate.
- How to create a rendering from a 3D model: export a clean screenshot, then upload and describe it in PromptRender.
- Camera angle and lighting description matter more than model detail for photorealistic render quality.
- A first-pass render in 2026 takes seconds, not the hours traditional engines require.
- Skip renders with visible geometry seams or flat lighting — rerun with a sharper material and light prompt instead.
Why this matters
A rough 3D model screenshot reads as unfinished to a client, a jury, or a leasing prospect. A photorealistic render reads as a finished decision. The gap between the two used to cost architects and designers a full workday per view — modeling materials, placing lights, waiting on render farms. That gap is now closed with AI image generation trained on architectural photography, and it changes what "how to create a rendering" actually means in 2026: less software mastery, more prompt precision.
The process below works whether your model lives in SketchUp, Revit, Rhino, Blender, ArchiCAD, or another 3D tool — the export step differs slightly by software, but the render step is identical.
What you'll need
- A 3D model in any modeling software (SketchUp, Revit, Rhino, Blender, ArchiCAD, AutoCAD, Vectorworks, 3ds Max)
- A clean screenshot or exported image of the view you want rendered — no watermarks, no UI overlays
- A written description of materials, lighting, and mood for the scene
- Access to an AI rendering tool such as PromptRender
- 5-10 minutes per view, including a revision pass
If your source model is in Revit, the export settings differ slightly from SketchUp — see the dedicated Revit walkthrough if you get stuck on that step specifically.
The steps
1. Export a clean screenshot from your 3D software
This is the foundation every later step builds on — a messy export produces a messy render no matter how good your prompt is. Turn off the UI chrome: hide axes, dimension lines, section markers, and toolbars before capturing the image. In SketchUp, use Edit > Face Style > Shaded to remove wireframe clutter; in Revit, switch to Realistic visual style and hide crop boundaries. Export at the highest resolution your software allows — 1920x1080 minimum. Common mistake: exporting a perspective with visible model gaps (missing roof, floating furniture) — the AI will render those gaps as photographic errors, not fix them.
2. Choose the right camera angle before you export
Camera angle decides whether a render looks like a photograph or a diagram, and you can't fix a bad angle after the fact. Eye-level interior shots (about 1.5m / 5ft height) read as lived-in; top-down or isometric views read as technical drawings even after AI processing. For exteriors, a slight three-quarter angle shows depth and material transitions better than a flat front elevation. Avoid extreme wide-angle lenses in your 3D software — they introduce distortion that AI models struggle to correct.
3. Upload the screenshot to PromptRender
With your export ready, upload it directly — no file conversion, no plugin install. PromptRender accepts screenshots from any modeling software, so you're not locked into a single tool's native render pipeline. This step takes seconds regardless of file size, since you're uploading a flat image, not a full 3D scene.
4. Write a description that names materials, lighting, and mood
This single step determines render quality more than any other. Vague prompts ("make it look nice") produce generic output; specific prompts produce photorealistic results. Name the floor material ("honed limestone," not "stone floor"), the light source ("late afternoon sun through south-facing windows"), and the mood ("warm, minimal, Scandinavian"). Include the room type explicitly — "modern kitchen with matte black cabinetry" outperforms "kitchen" alone.
"The prompt does the work a lighting rig used to do — name the material and the light source, and the geometry takes care of itself."
5. Generate and review the first pass
Generate the render and check three things immediately: does the geometry match your model, are materials assigned correctly, and does the lighting direction match what you described. A first pass in 2026 takes seconds to produce, which means review-and-regenerate cycles cost minutes, not hours. Expected outcome: a photorealistic image that preserves your model's proportions while replacing flat shading with real material texture and light behavior.
6. Refine with a second prompt pass
If the first render misreads a material or lighting direction, don't start over — adjust the prompt. Add contrast words ("brighter," "cooler tone," "more reflective glass") rather than rewriting the whole description. Most renders reach client-ready quality within two to three generation passes.
7. Export and use the final render
Once the render matches your intent, export it at full resolution for the deliverable — pitch deck, listing photo, client presentation, or portfolio piece. Keep the original 3D model screenshot on file; you'll re-run the same view with a different material or season prompt faster than remodeling the scene.
Turn a screenshot into a render
Upload, describe, and generate a photorealistic render in seconds.
Troubleshooting
Render looks flat despite a detailed prompt. The lighting description was probably too generic — swap "good lighting" for a specific time of day and direction, like "golden hour light entering from the west."
A material renders as the wrong texture (glass reading as wall, wood reading as laminate). Name the exact material in the prompt rather than relying on the model's default surface — "floor-to-ceiling clear glass," not just "window."
Interior details disappear in an exterior shot, or vice versa. This usually means the camera angle in your export was ambiguous. Re-export a cleaner, more decisive angle rather than trying to prompt your way around it.
Geometry seams or floating elements show up in the render. Go back to the source model — a rendering tool sharpens what's there, it doesn't repair missing walls or disconnected furniture.
Output resolution too low for print or large-format display. Re-export the original screenshot at a higher resolution before uploading; upscaling an already-generated render loses detail.
SketchUp users specifically hitting distorted perspectives should check the SketchUp troubleshooting guide for export-setting fixes before re-prompting.
Tools and resources
- PromptRender — upload a screenshot from any 3D software and generate a photorealistic render
- ArchiCAD to photorealistic render workflow — tool-specific export settings
- Your existing 3D modeling software (SketchUp, Revit, Rhino, Blender, ArchiCAD, AutoCAD, Vectorworks, or 3ds Max) for the initial export
- A written prompt template covering material, light source, and mood — reuse it across projects to speed up revisions in 2026
What to do next
Once you've run this process on one view, the fastest way to scale it across a full project is picking software that matches your firm's size and output volume. Small firms producing frequent client decks should compare options in the guide to AI rendering software for small architecture firms before locking into a single tool for 2026 deliverables.
FAQ
How do I create a rendering from a 3D model without traditional render software?
Export a clean screenshot from your modeling software, then upload it to an AI rendering tool like PromptRender with a written description of materials and lighting. The tool generates a photorealistic image in seconds instead of running a render engine for hours.
What's the best camera angle for a photorealistic render?
Eye-level, around 1.5 meters high, reads most like a real photograph for interiors. A three-quarter angle works best for exteriors because it shows depth and material transitions that a flat front elevation hides.
Is AI rendering as good as V-Ray or Lumion in 2026?
AI rendering wins on speed — seconds versus hours — and is close enough on photorealism for client presentations, portfolios, and listings. Traditional engines still edge out AI on precise lighting simulation for technical visualization work.
How much does it cost to render a 3D model with AI?
Cost depends on the platform and its credit structure; PromptRender uses a render-credit model where each generation consumes a credit, so check current plan details on the site before committing to a workflow.
Can I use a Revit or SketchUp screenshot directly?
Yes — export a screenshot with UI elements hidden and upload it as-is. No plugin or file conversion is required for either software.
Why does my render look flat or unrealistic?
A flat render almost always traces back to a vague lighting description in the prompt. Name a specific time of day and light direction instead of a general term like 'good lighting'.
How many revision passes does a render usually need?
Most renders reach client-ready quality within two to three generation passes, adjusting the prompt rather than re-exporting the model each time.
Do I need to know rendering software to create a photorealistic render?
No. The AI rendering workflow replaces render-engine knowledge with prompt writing — describing materials, lighting, and mood in plain language.
One last thing
The biggest quality jump doesn't come from a better 3D model — it comes from naming the light source specifically. "Late afternoon sun, west-facing" consistently outperforms "bright and sunny" across every room type, because the AI has something concrete to render toward instead of guessing.