AutoCAD AI Render: Photorealistic in 2026 (How To)
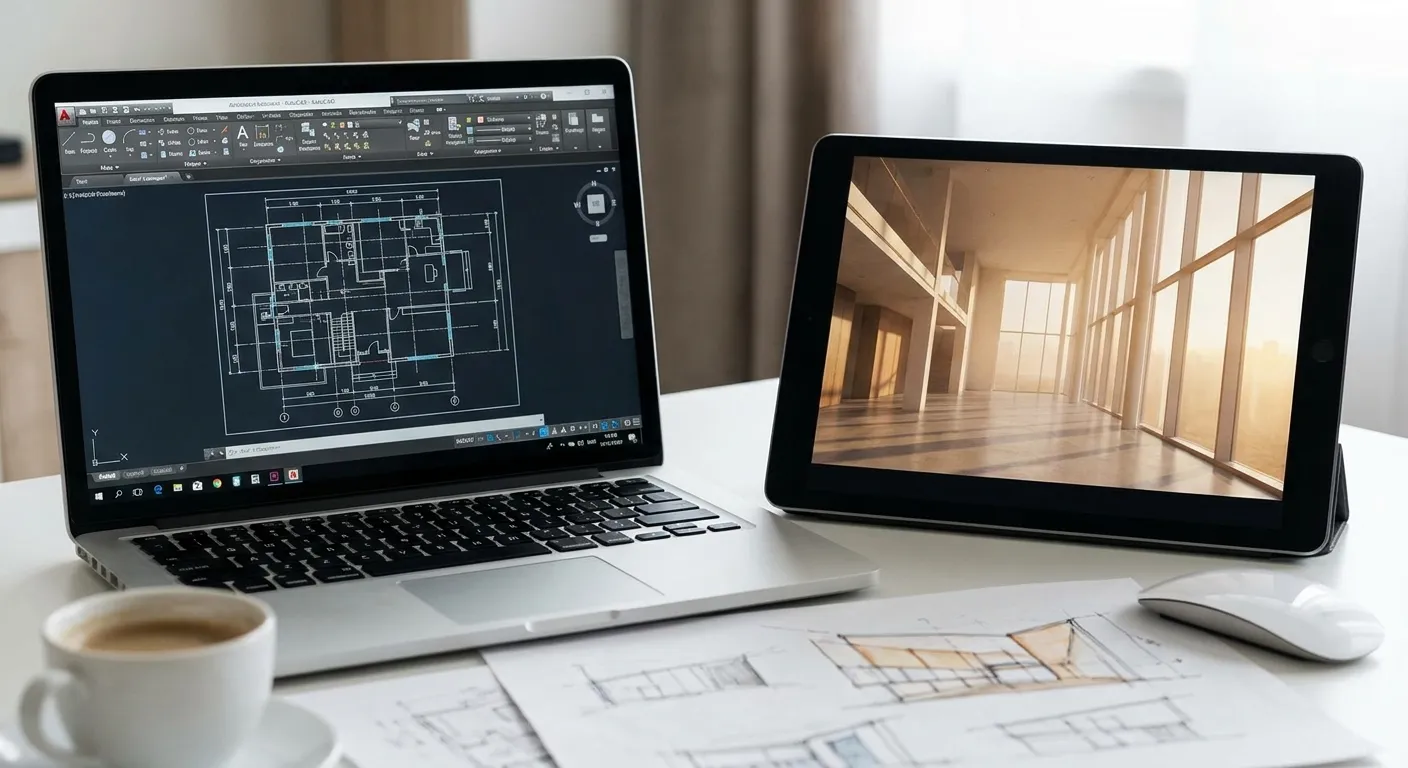
AutoCAD gives you clean line work and precise geometry, not photorealistic materials, shadows, or reflections — and turning a DWG viewport into a render used to mean exporting to 3ds Max or Enscape and waiting through a render queue. In 2026, an AI rendering tool like PromptRender skips that step entirely: upload the AutoCAD screenshot, describe the scene, and get a photorealistic image back in seconds.
- AutoCAD screenshots convert to photorealistic renders through PromptRender in under a minute — no 3ds Max or Enscape license needed.
- Shaded viewport captures with visible geometry produce the best autocad ai render results in 2026.
- Skip the render engine entirely: upload, describe materials and lighting, generate.
- Flat wireframe exports fail — AutoCAD needs a shaded or realistic visual style before upload.
Why this matters
Most AutoCAD users still treat rendering as a separate, expensive stage of the project — a stage that needs a GPU, a rendering plugin, and hours of setup before a single frame comes out. That workflow made sense in 2015. It doesn't in 2026, when PromptRender can take the same viewport you already built for client review and turn it into a photorealistic image without touching a render engine.
The practical upside: a mid-project design change no longer means re-rendering overnight. You capture the updated viewport, upload it, and have a new render before the client call starts.
What you'll need
- An AutoCAD model with a 3D view set up (not just a 2D plan)
- Visual style set to Realistic or Shaded with Edges — flat 2D or wireframe views will not convert well
- A screenshot or exported image of that viewport (PNG or JPG, at least 1024px wide)
- A PromptRender account and render credits
- 5-10 minutes per view, including two or three prompt iterations
The steps
1. Set your AutoCAD visual style to Realistic
This determines whether the AI has enough visual information to work with. In the Visual Styles panel, switch from Wireframe or Hidden to Realistic or Conceptual — both apply basic shading and material color that give PromptRender something to interpret.
A flat wireframe export gives the AI only outlines, so it guesses at depth and surfaces instead of reading them. Common mistake: exporting straight from a 2D floor plan layout instead of a 3D model view — the AI has no geometry to render into a photorealistic image.
2. Frame the camera angle deliberately
Use the ORBIT or CAMERA command to set the view you actually want rendered, not the default isometric. Eye-level interior shots and three-quarter exterior views convert best because they match how photorealistic renders are normally composed.
Check your field of view before capturing — a fisheye-wide AutoCAD viewport will produce a distorted render. Expected outcome: a single clean frame with no UI toolbars or crosshairs visible in the capture.
3. Export a clean screenshot
Use PRINTSCREEN, the Windows Snipping Tool, or AutoCAD's own PLOT-to-image function to capture just the viewport — no ribbon, no command line, no toolbars. A higher-resolution capture (1500px+ on the long edge) gives the AI more detail to preserve in the output.
Common mistake: cropping too tight and cutting off ceiling lines or floor edges, which confuses scale in the final render.
4. Upload the screenshot to PromptRender
Drag the image into PromptRender's upload panel. This step accomplishes the actual conversion — everything before it was just preparing a clean input. The tool reads the shaded geometry, edges, and rough materials from your AutoCAD capture as the structural base for the render.
5. Describe the materials, lighting, and style
This is the step people rush and it's the one that determines render quality. Instead of "make it look nice," write specific direction: "white oak flooring, matte black steel window frames, afternoon light from the south-facing window, warm interior lighting." Name real materials and a light source, not moods.
Common mistake: vague prompts like "modern and clean" produce generic output because the AI has nothing concrete to anchor material choices to.
6. Generate and review the render
Hit generate and PromptRender returns a photorealistic version of your AutoCAD viewport in seconds, not minutes. Check three things first: does the geometry match your original model, are materials plausible for the space, and does the lighting direction match what you described.
Expected outcome: a render that keeps your AutoCAD proportions intact while replacing flat shading with real materials, shadows, and reflections.
7. Iterate the prompt, not the model
If the first pass misses the mark, adjust the description and regenerate rather than going back into AutoCAD. Swap "walnut cabinetry" for "white lacquer cabinetry," or change "midday light" to "golden hour light," and generate again. Most usable renders take two to three iterations.
Common mistake: re-exporting a new AutoCAD screenshot for every small material change — the geometry hasn't changed, only the prompt needs adjusting.
Turn your AutoCAD view into a render
Upload a screenshot, describe the scene, generate in seconds.
Troubleshooting
- Render looks flat or cartoonish — your AutoCAD visual style was set to Wireframe or 2D Wireframe instead of Realistic. Re-export with Realistic or Shaded visual style active.
- Materials don't match what you described — the prompt was too abstract. Name the actual material ("brushed concrete," not "industrial") and a specific finish.
- Proportions look off in the output — the original AutoCAD screenshot was cropped or captured at a distorted field of view. Recapture with ORTHO or a standard camera lens setting.
- Lighting direction is wrong — describe a specific time of day and window orientation ("morning light through east windows") instead of just "bright and airy."
- Render takes multiple tries to look right — this is normal in 2026 workflows; budget two to three generations per view rather than expecting a single perfect pass.
- Fine AutoCAD details disappear — very thin linework (like hairline dimension marks) sometimes gets smoothed out; that's expected since the AI prioritizes surfaces and materials over drafting annotations.
Tools and resources
- AutoCAD's Realistic visual style and CAMERA/ORBIT commands for framing
- A screenshot tool (Snipping Tool, PRINTSCREEN, or PLOT-to-image)
- PromptRender for the upload-describe-generate render step
- How to turn SketchUp models into photorealistic renders if you also work across SketchUp and AutoCAD on the same project
What to do next
Once you've converted one AutoCAD view, run the same three-step process — upload, describe, generate — across every camera angle you need for the client set. Keep prompt language consistent across views (same material names, same light direction) so the full set reads as one coherent render package instead of five disconnected images.
FAQ
Can you turn an AutoCAD drawing into a photorealistic render?
Yes — export a shaded 3D viewport as a screenshot, upload it to a tool like PromptRender, describe materials and lighting, and generate a photorealistic render in seconds. A flat 2D plan won't work; you need a 3D view with Realistic or Shaded visual style applied.
What's the best way to get an autocad ai render without 3ds Max?
Skip the traditional render engine entirely and use an AI rendering tool that converts screenshots directly. PromptRender reads the shaded geometry from an AutoCAD viewport and generates a photorealistic image without any 3ds Max, V-Ray, or Enscape license.
Does AutoCAD have built-in photorealistic rendering?
AutoCAD's native render engine produces basic photorealistic output but requires manual material assignment and long render times per frame. AI-based tools convert a shaded viewport screenshot into a photorealistic image in seconds instead, without setting up materials inside AutoCAD itself.
Is AI rendering better than AutoCAD's native renderer for AutoCAD?
AI rendering is faster for iteration — you get a result in seconds versus minutes per frame with AutoCAD's native renderer. Native rendering still gives more manual control over exact material properties if you need precise, repeatable specification.
How much does it cost to render an AutoCAD drawing with AI?
Cost depends on the render credits used per image generation, which varies by platform and plan. Check current PromptRender pricing on the site before budgeting for a full view set.
What visual style should I use in AutoCAD before rendering with AI?
Use Realistic or Shaded with Edges, not Wireframe or 2D Wireframe. These styles give the AI shaded surfaces and edge definition to interpret, while wireframe views only provide flat outlines.
Can I render an AutoCAD floor plan, or does it need to be 3D?
A 3D model view converts far better than a flat 2D floor plan because the AI needs depth and surface information to build a photorealistic image. Set up a 3D view with a camera angle before capturing your screenshot.
How many tries does it usually take to get a good AutoCAD AI render?
Most usable renders take two to three prompt iterations after the first generation. Adjusting the description — material names, lighting direction — is faster than re-exporting a new AutoCAD screenshot each time.
One last thing
The single biggest quality jump in this workflow doesn't come from a better AutoCAD export — it comes from naming real materials in the prompt instead of mood words. "White oak flooring" beats "warm and inviting" every time in 2026 AI rendering, because the model has something concrete to render rather than a feeling to guess at.