How to Turn a SketchUp Screenshot into a Photorealistic Render with AI
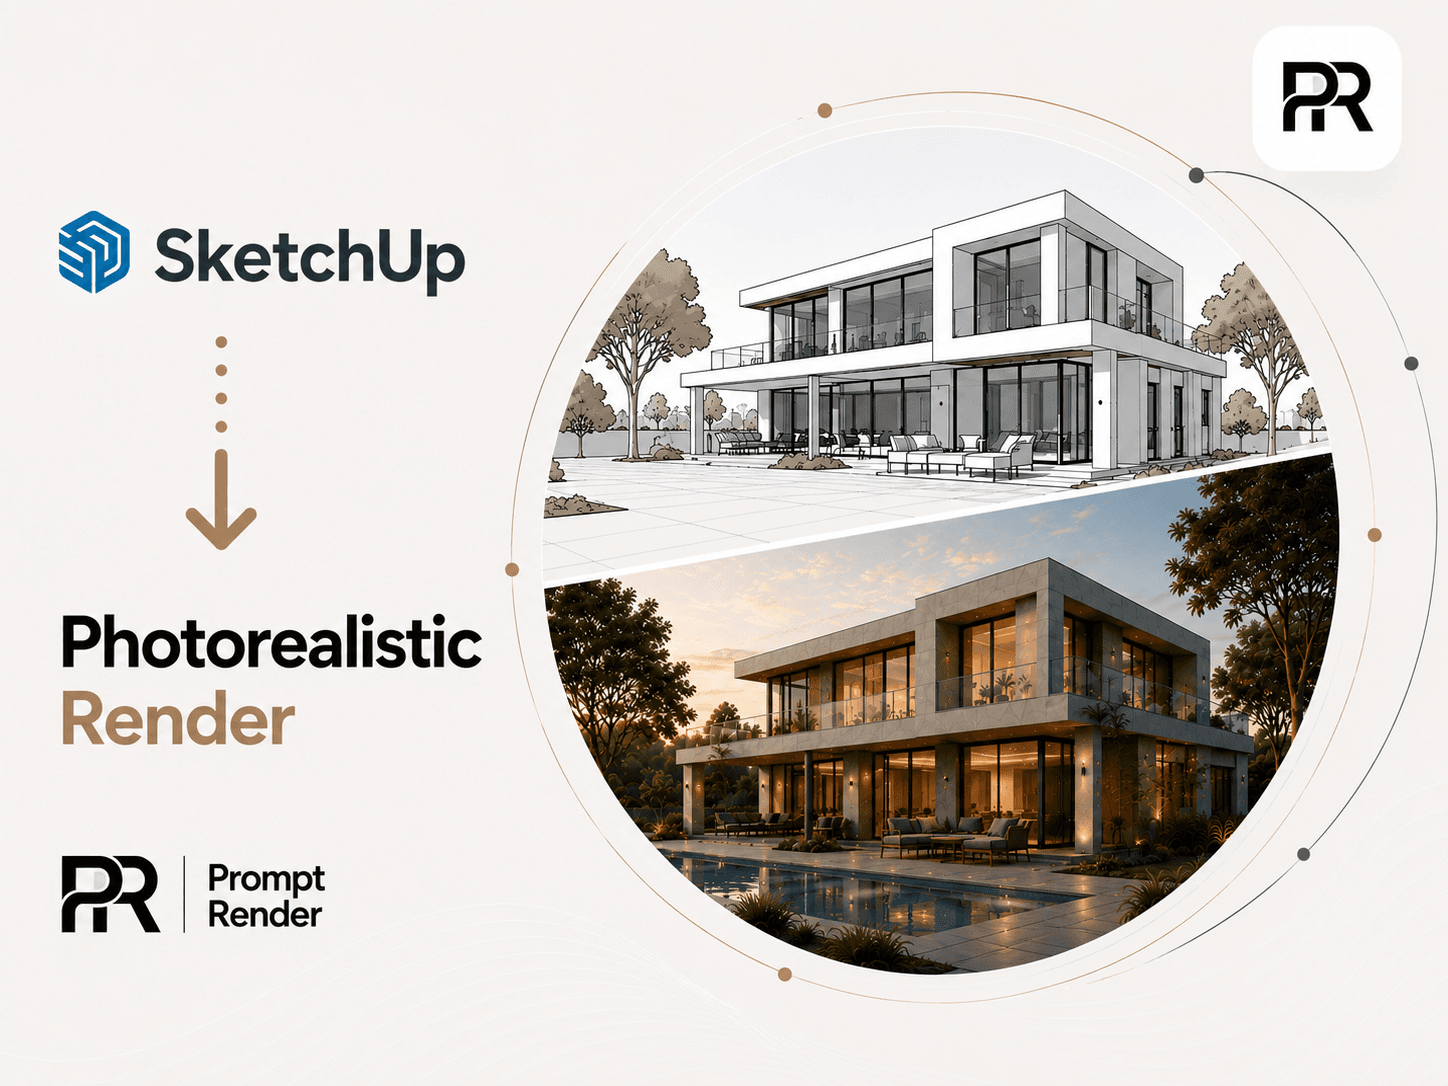
If you've ever tried to present a SketchUp model to a client, you've probably hit the same wall: the geometry looks great inside SketchUp, but it still looks like a 3D model. Getting from that flat-shaded viewport to something that actually impresses a client traditionally means purchasing Enscape (starts at $600/year), V-Ray, or SU Podium — software that takes time to learn and hours to render.
That wall doesn't exist anymore. AI rendering tools like PromptRender can take a simple screenshot of your SketchUp viewport and turn it into a photorealistic architectural render in seconds. No plugin, no rendering settings, no waiting.
Here's exactly how to do it.
Why Screenshot-Based AI Rendering Works
Traditional rendering works by simulating light physics — ray tracing, global illumination, material shaders. It's computationally expensive and requires precise setup.
AI rendering takes a completely different approach to architectural visualization. Instead of simulating physics, the AI model has learned from millions of photorealistic images what real buildings, materials, and lighting look like. When you give it a SketchUp screenshot, it reads the geometry, perspective, and composition — then applies photorealistic materials and lighting using that learned knowledge.
The result is a render that:
- Maintains your exact camera angle and composition
- Applies physically accurate-looking materials (concrete, glass, wood, stone)
- Generates realistic lighting based on the time of day you choose
- Preserves the architectural intent of your design
It's not a replacement for a full V-Ray setup when you need per-material control. But for presentation-quality renders in seconds, it changes what's possible at every stage of a project.
What You Need
Before you start, you need three things:
- A SketchUp model (any version — Free, Go, Pro, or Studio)
- A screenshot of your 3D viewport
- A PromptRender account (free plan available, no credit card required)
No export, no special format, no rendering hardware. The AI works directly from your screenshot.
Step-by-Step: From SketchUp to AI Render
Step 1: Set Up Your Camera in SketchUp
The AI preserves your camera angle, so take time to set a strong perspective before taking the screenshot. Good rules for exterior shots:
- Use Perspective view — not Parallel Projection
- Position the camera at eye level (~1.6m above ground) for street-level views
- Use a focal length around 28–35mm for exteriors (matches what a real camera would use)
- Make sure the composition is clean — avoid too much blank sky or ground
For interior shots, move the camera inside the room and frame toward the feature wall or the main architectural moment. A slightly elevated camera (1.2m–1.4m) works well for living areas.
Step 2: Take a Clean Screenshot
You want a screenshot that captures just your 3D viewport, with no SketchUp toolbar or interface visible.
- Mac: Use Shift+Cmd+4 to capture a region, or Shift+Cmd+4 then Space to capture a specific window
- Windows: Use the Snipping Tool (Win+Shift+S) to select just the 3D viewport area
Tips for a better screenshot:
- Turn off section cuts and construction guides if visible
- Use View → Toolbars to hide the interface (or go fullscreen)
- Aim for at least 1280×720 — higher resolution gives a better render
- Use SketchUp's Scene feature to save your camera position before capturing
Step 3: Upload to PromptRender
Go to PromptRender and click New Render. Upload your SketchUp screenshot. PNG and JPG are both supported, up to 4MB.
Step 4: Configure Your Render Settings
Select:
- Scene type: Exterior (for building facades, site views) or Interior (for rooms and spaces)
- Lighting: Choose from Sunrise, Noon, Sunset, or Night (see guidance in the next section)
- Prompt (optional): Add a text description to guide the style — e.g., "Modern concrete facade, minimalist landscaping" or "Warm Scandinavian interior, oak floors, soft morning light"
The prompt is optional. The AI works well without it, but adding one helps when you have a specific material palette or atmosphere in mind.
Step 5: Generate, Review, and Refine
Click Generate render. Within seconds, you'll see a photorealistic version of your SketchUp model.
From here, you can:
- Download in 4K — click the download button for the full resolution version, ready for presentations
- Edit with a prompt — if you want to change something (add a car in the driveway, change the facade material, adjust the lighting mood), describe the change and apply it with one click
- Generate a variation — regenerate to get a different interpretation of the same scene
Choosing the Right Lighting Condition
Lighting makes or breaks an architectural render. Here's a quick guide:
- Sunrise 🌅 — Warm golden light from a low angle, long soft shadows. Best for: residences, hospitality, projects where warmth and livability are the key message.
- Noon ☀️— Bright overhead sun, crisp contrast, neutral sky. Best for: precise technical presentations, competitions, and any project where you want the architecture to speak for itself without a "mood."
- Sunset 🌇 — Rich amber tones, dramatic sky. Best for: premium residential, hotels, resort architecture. Creates an aspirational feel.
- Night 🌙 — Dark sky with warm interior glow through windows. Best for: dramatic effect, hospitality, retail, and projects with interesting facade lighting.
For most client presentations, start with Noon for a clean first look, then generate a Sunset version for the hero image of your presentation.
Tips for Getting the Best Results
Frame intentionally
The AI performs best when the composition reads clearly — a building in front of a sky, a room with visible walls and floor. Avoid extreme close-ups that lose context. A good establishing shot gives the AI enough information to understand what it's looking at.
Add scene context in your prompt
"Minimalist exterior, neutral planting, mountain backdrop" gives the AI much more to work with than no prompt. Don't over-specify — 1–2 sentences describing the mood and materials is usually enough.
Use the edit feature for refinements
After generating a base render, use PromptRender's edit feature to refine specific parts — change the facade material, remove an unwanted element, adjust the atmosphere — rather than regenerating from scratch. Each edit is targeted and fast.
Try multiple angles
Each SketchUp camera position produces a different render composition. Generate 3–4 angles and choose the strongest for your presentation. Because renders take seconds, it's worth trying angles you might normally skip.
From SketchUp Model to Client Presentation in Minutes
AI rendering doesn't replace the judgment of an architect or the precision of a full rendering setup. But for rapid client presentations, early-stage design validation, and projects where a $600/year rendering subscription doesn't make sense, it changes the math entirely. The entire architectural visualization workflow — from SketchUp model to presentation-ready image — fits in under two minutes.
If you're working in SketchUp, the steps are simple: take a screenshot, upload, configure, download.
Try it free — your first render and edit are on us.
If you're comparing PromptRender to other tools, see our guide to the best AI architectural rendering software in 2026.