Vectorworks AI Render: Screenshot to Photorealistic (2026)
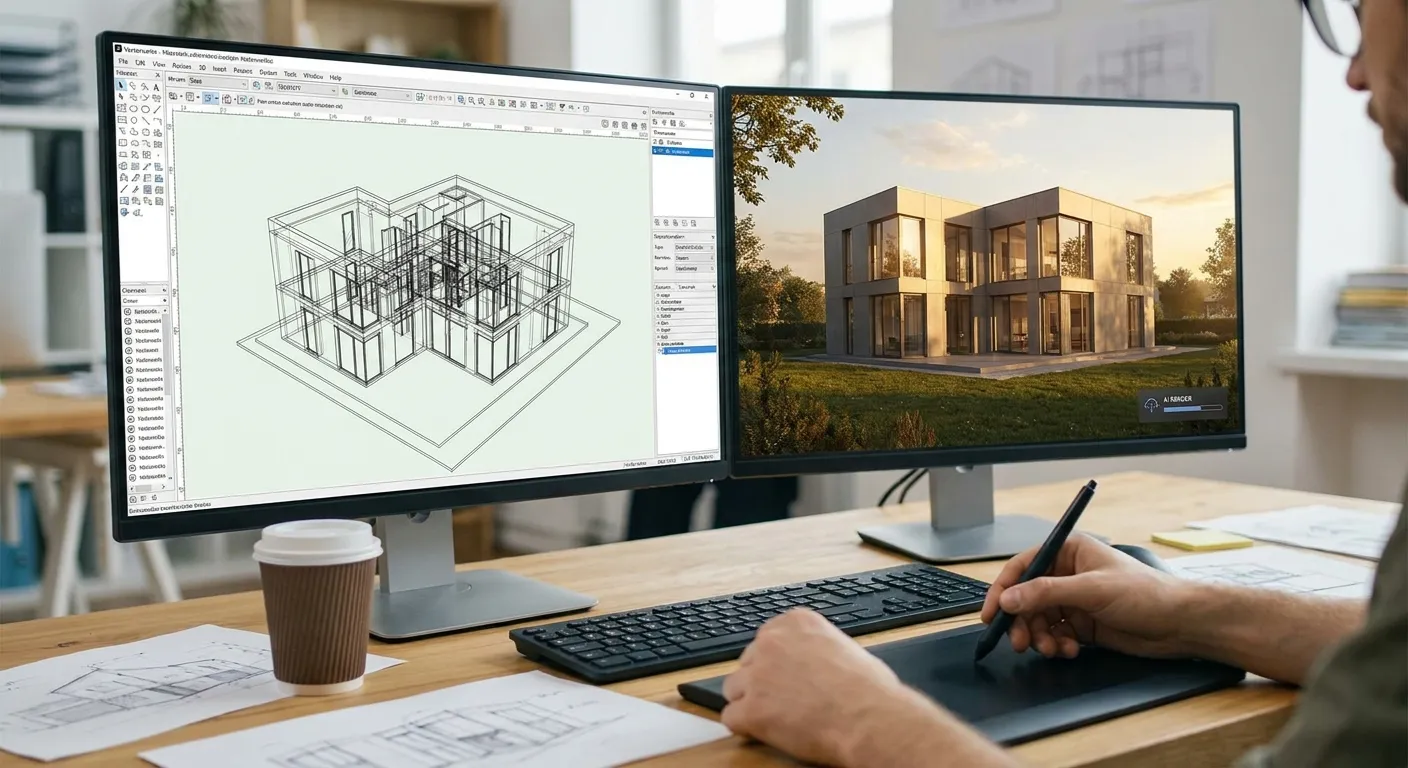
Vectorworks screenshots look clean in wireframe and flat in OpenGL shaded mode — turning one into a photorealistic render used to mean hours inside Renderworks or a round trip through Twinmotion. This guide covers the exact path from a Vectorworks export to a finished render using PromptRender in 2026, no rendering engine required.
- A vectorworks ai render takes one clean OpenGL screenshot and a written material prompt, not a rendering engine license.
- Export at 3000px width minimum or PromptRender will read the geometry wrong — Buy this workflow for speed, Skip it for micron-level architectural documentation.
- Two prompt passes beat one long paragraph: describe geometry first, then adjust materials and lighting in a second generation.
- The same upload-describe-generate workflow used for Vectorworks also runs SketchUp screenshots through PromptRender.
Why this matters
Vectorworks handles documentation and modeling well, but its native render engines ask for texture libraries, light setup, and render time that most project timelines don't have. A client walkthrough due tomorrow doesn't wait for Renderworks to finish a global illumination pass.
An AI render tool skips the lighting rig entirely. You upload the screenshot, describe what the materials and mood should look like, and get a photorealistic image back in under a minute. For architects and interior designers running Vectorworks in 2026, that's the difference between a same-day client deliverable and a render queued for tomorrow.
What you'll need
- Vectorworks 2023 or later, in OpenGL or Renderworks shaded mode
- A screen or model export at 1920x1080 minimum — 3000px wide is better
- A PromptRender account with at least one render credit
- A one- or two-sentence description of the materials and lighting you want
- Five to ten minutes, most of it spent writing the prompt, not waiting on a render
The steps
1. Set the model to a clean shaded view
Switch the active viewport to OpenGL or Renderworks Custom Shaded mode before you export anything. Wireframe and hidden-line views strip the surface data PromptRender uses to read geometry, and the AI render comes back distorted.
Turn off construction lines, dimension strings, and any 2D annotations layered over the 3D view. A clean shaded screenshot with no UI clutter gives PromptRender the clearest read on walls, openings, and volumes.
Common mistake: exporting a hidden-line render because it looks more "technical." Shaded views with visible surfaces produce sharper results every time.
2. Frame the camera angle you actually want to sell
Pick the view a client would actually see — eye level for interiors, a three-quarter exterior angle for massing, never a top-down plan view. Vectorworks' Flyover tool or a saved Camera object makes this repeatable across revisions.
Avoid extreme wide-angle lens settings in the Vectorworks camera dialog. Anything past a 35mm-equivalent field of view warps corners and columns in a way the AI model will exaggerate, not correct.
3. Export the screenshot at full resolution
Export a PNG or JPEG at 3000px on the long edge, not a screen-grabbed 1280x720 thumbnail. Vectorworks' Export Screen Image or Export Raster Image commands both handle this — set output resolution manually rather than trusting the default.
Low-resolution exports are the single biggest cause of warped geometry in the finished render. A 3000px source image gives PromptRender enough pixel data to keep window mullions, stair rails, and furniture edges straight.
Expected outcome: a crisp, well-lit screenshot with no annotation layers, ready to upload.
4. Upload the screenshot to PromptRender
Drop the exported file straight into PromptRender — no format conversion, no plugin, no Vectorworks export preset beyond the resolution step above. The upload step takes seconds regardless of file size up to the platform's limit.
This is where the Vectorworks-specific workflow ends and the PromptRender AI render tool takes over. From here, every step is prompt writing and review, not modeling software.
5. Write a two-sentence material and lighting prompt
Describe the materials first, lighting second: "White oak flooring, matte black steel window frames, warm afternoon light from the west-facing windows." Specificity here beats vague adjectives like "modern" or "nice."
Name real materials and real light conditions rather than moods. "Golden hour sunlight through floor-to-ceiling glass" gives PromptRender a concrete target; "cozy atmosphere" does not.
6. Generate and review the first pass
Run the generation and check three things on the result: geometry accuracy against the original model, material read, and shadow direction. A vectorworks ai render that nails geometry but reads concrete as plaster is a one-line prompt fix, not a redo.
Common mistake: accepting the first pass because it "looks photorealistic" without checking that window counts, door swings, and ceiling heights still match the Vectorworks model.
7. Refine with a second prompt pass
Adjust one variable at a time — swap the flooring material, shift the light from midday to golden hour, or change the wall finish — and regenerate. Two focused passes consistently beat one overloaded prompt trying to fix five things at once.
By 2026 standards, a two-pass workflow for a full interior render takes under three minutes total, materially faster than a single Renderworks GI pass on the same scene.
8. Export and hand off the final render
Download the finished image at full resolution for the client deck, marketing page, or portfolio. Keep the original Vectorworks file as the source of record — the render is a presentation asset, not a construction document.
Expected outcome: a photorealistic image matching the Vectorworks model's geometry, ready for a client email or a proposal deck, produced without opening a dedicated render engine.
Turn your Vectorworks export into a render
Upload a screenshot, describe the materials, get a photorealistic render back in seconds.
Troubleshooting
- Warped columns or window mullions: the source screenshot was under 1920px wide. Re-export at 3000px and regenerate.
- Materials read wrong (concrete looks like plaster, wood looks like laminate): name the material explicitly in the prompt instead of describing a general style — "honed concrete" beats "gray floor."
- Flat, shadowless lighting: the original Vectorworks shaded view had no directional light source. Add a sun angle in Vectorworks before exporting, or specify a light direction in the prompt.
- Glass reads as solid or opaque: call out "transparent glazing" directly in the prompt — PromptRender's default read on flat gray panels is a solid wall.
- Cropped or stretched output: the exported aspect ratio didn't match the Vectorworks viewport. Lock the export dimensions to the same ratio as the camera view before uploading.
- Furniture or fixtures missing detail: low-poly Vectorworks blocks render as blurry masses. Swap in higher-detail symbols for anything in the foreground before the final export.
Tools and resources
- Vectorworks OpenGL or Renderworks Custom Shaded mode for the source screenshot
- Export Screen Image / Export Raster Image commands, set to 3000px output
- PromptRender for the upload-describe-generate render step
- A saved Camera object in Vectorworks for repeatable framing across revisions
What to do next
The upload-describe-generate workflow above isn't Vectorworks-specific — the same three steps apply to any 3D software that can export a shaded screenshot. If your studio also works in SketchUp, the SketchUp render guide walks through the identical process with SketchUp-specific export settings.
FAQ
What is a vectorworks ai render?
A vectorworks ai render is a photorealistic image generated from a Vectorworks screenshot using an AI tool instead of a traditional render engine like Renderworks. You export a shaded screenshot, describe materials and lighting in text, and the AI model generates the final image in seconds rather than the minutes or hours a GI render pass takes.
Do I need Renderworks to get a photorealistic result from Vectorworks?
No — a basic OpenGL shaded screenshot is enough source material for an AI rendering tool. Renderworks or Twinmotion still matter for animations and walkthroughs, but for a single still image, an AI render skips that engine entirely.
What resolution should I export from Vectorworks for the best AI render?
Export at 3000px on the long edge minimum. Anything under 1920px risks warped geometry and blurry material detail in the finished render.
Can I use this workflow for exterior massing views, not just interiors?
Yes — the same upload-describe-generate steps apply to exterior screenshots. Use a three-quarter camera angle in Vectorworks rather than a straight elevation for the most usable result.
How long does a Vectorworks to photorealistic render take in 2026?
The generation step itself takes under a minute per pass. Including export and prompt writing, a full render with one refinement pass takes five to ten minutes total, compared to a Renderworks GI pass that can run considerably longer on a detailed scene.
Why does my rendered image not match the Vectorworks model exactly?
Geometry mismatches almost always trace back to a low-resolution source screenshot or an extreme wide-angle camera setting in Vectorworks. Fix the export resolution and camera field of view before regenerating.
Is an AI render good enough for client presentations?
Yes for concept and design-development presentations where the goal is communicating material and lighting intent quickly. For construction documentation or precise material specification, the underlying Vectorworks model and specs remain the source of record.
Does this workflow work with Vectorworks Landmark or Spotlight, not just Architect?
Yes — the export and upload steps depend on the shaded viewport, not the Vectorworks product line, so Landmark and Spotlight models export and render the same way.
One last thing
The single highest-leverage habit in this whole workflow is the two-pass prompt: fix geometry and framing on pass one, adjust materials and lighting on pass two. Studios that try to nail everything in one overloaded prompt burn more render credits fixing the same image than they would spend running two clean passes from the start in 2026.