How to Create Before and After Renovation Renders (2026)
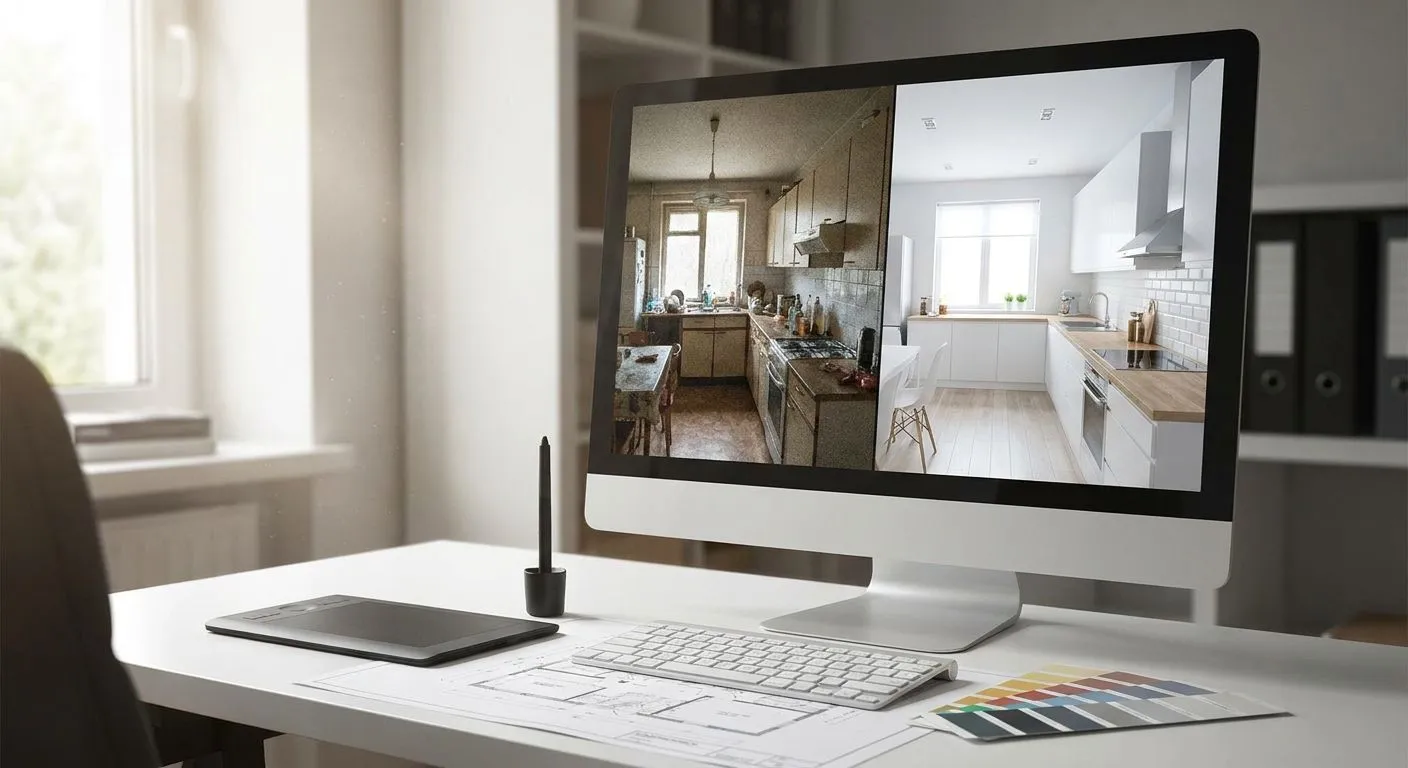
Creating a before and after renovation render comparison means generating a photorealistic AI render from the existing 3D model or a plain photo of the space, then placing the original and the new render side by side, in a slider, or in a split-screen layout. The fastest workflow in 2026: capture the current room from a phone photo or a SketchUp/Revit screenshot, describe the renovation in plain text, generate the "after" image, then pair both in a side-by-side or slider format for client presentation.
- Match camera angle and framing between before and after shots — mismatched angles are the #1 reason comparisons look fake.
- PromptRender turns a phone photo or a SketchUp/Revit screenshot into a photorealistic after render in seconds, no 3D modeling software required.
- Side-by-side layouts win for print boards; sliders win for web and social; split-screen wins for live client meetings.
- Export the after render at 300 DPI for presentation boards, 72 DPI is enough for web or slider tools.
- Keep lighting direction and time of day consistent across both images or the comparison reads as two different rooms.
Why this matters
A renovation pitch without a visual before and after is a harder sell than one with it. Clients approve scope faster when they see the exact room they stand in transformed, not a generic stock render of a similar space.
PromptRender exists for exactly this gap: it takes a screenshot from SketchUp, Revit, Rhino, Blender, or ArchiCAD — or a plain photo — and generates the "after" state without a rendering engine or a GPU workstation. The comparison only works, though, if the before and after images are treated as a matched pair from the start, not stitched together after the fact.
Basement finishes, kitchen remodels, and whole-floor renovations all benefit from the same comparison logic. If your renovation work leans toward below-grade spaces, the basement renovation render workflow covers the lighting adjustments that space type needs specifically.
How to create a before and after renovation render comparison
- Capture the "before" image. Use a phone photo of the existing room, or export a screenshot from your 3D model at the exact camera angle you plan to renovate. Shoot it straight-on or at a natural three-quarter angle — extreme wide-angle lenses distort proportions and make the after render harder to align.
- Describe the renovation in plain language. List the changes: new cabinetry, flooring material, wall color, lighting fixtures, layout shifts. Specificity here drives accuracy — "white shaker cabinets, oak floors, matte black fixtures" outperforms "modern kitchen."
- Generate the "after" render. Upload the before screenshot and the description into PromptRender. The photorealistic rendering from a 3D model guide walks through the upload-describe-generate flow if this is your first render.
- Check camera angle and lighting match. Compare the horizon line, wall proportions, and light direction against the before image. A render generated from the same screenshot keeps the camera locked automatically — this is the step that makes or breaks the comparison.
- Choose your comparison format — side-by-side, slider, or split-screen (details below).
- Export for the audience. Print boards need 300 DPI; web pages, email, and social slides only need 72 DPI.
Side-by-side layout
Side-by-side is the default for printed presentation boards and PDF proposals. Both images sit at equal width in a single frame, before on the left, after on the right, usually with a thin divider line and a small label under each.
Best for: in-person client meetings and printed proposal packets. Skip it for social media — vertical mobile screens compress two side-by-side images too small to read detail.
For presentation boards specifically, the print-quality export guide covers resolution and file format settings so the printed board doesn't come out pixelated.
Slider comparison
A slider overlays the after image on top of the before image with a draggable vertical bar the viewer pulls left and right to reveal each state. It's the standard format on renovation portfolio sites and Instagram carousels in 2026.
Best for: websites, portfolio pages, and social content where the viewer controls the reveal. It requires pixel-perfect camera alignment between the two images — even a few degrees of angle mismatch makes the slider look broken as it drags.
Split-screen overlay
Split-screen divides the frame down the middle or diagonally, showing before on one half and after on the other within a single static image. Unlike side-by-side, the two halves share one continuous background, so the split has to fall along a natural line in the room — a doorway, a wall seam, a cabinet edge.
Best for: single-image social posts and quick internal reviews where you want one file instead of two. It's the weakest option for detailed client walkthroughs since half the room is always hidden.
“If the before and after camera angle doesn't match within a few degrees, the comparison looks fake even when the render itself is accurate.”
Why comparison quality varies
A few factors decide whether a before and after render convinces a client or gets questioned:
- Camera angle drift — even small framing shifts between the two shots break the illusion of a single room.
- Lighting mismatch — a bright midday before shot paired with a moody dusk after render reads as two different spaces, not one renovated space.
- Source image quality — blurry or low-resolution before photos produce after renders that inherit the same softness.
- Level of detail in the description — vague prompts ( "nicer kitchen") generate generic results; specific material and fixture callouts generate results that match the actual renovation plan.
- Clutter in the before shot — furniture, cords, and personal items in the original photo can bleed into the after render if they aren't addressed first.
- Format choice for the audience — a slider sent as a static PDF attachment doesn't work; a side-by-side printed at 72 DPI looks soft on an 11x17 board.
Generate the after render now
Upload a before photo or screenshot and get a photorealistic after render in PromptRender.
Do the before and after images need the same camera angle?
Yes — matching camera angle is the single biggest factor in whether a before and after comparison reads as real. Even a 5-10 degree shift in framing between the two shots makes the room proportions look inconsistent, which undercuts trust in the render before the client even evaluates the design.
Can I create a before and after render from a photo instead of a 3D model?
Yes, a plain phone photo of the existing room works as the before image without any 3D model. This is the faster route for renovation projects that were never modeled in SketchUp or Revit in the first place — you skip modeling entirely and go straight from photo to after render.
How do I present the finished comparison to a client?
Present side-by-side layouts on printed boards or in a PDF walked through live, and save sliders for follow-up emails or portfolio links the client can revisit. The client presentation guide for renovation concepts covers pacing and framing for the live-meeting version of this workflow.
FAQ
What's the best format for a before and after renovation render comparison?
Side-by-side works best for printed proposals and in-person meetings; sliders work best for websites and social content. Split-screen is the fallback when you need one static image instead of two.
Do I need the same camera angle for before and after renders?
Yes. Camera angle consistency between the two images is what makes the comparison believable — mismatched framing is the most common reason a before and after render looks staged.
Can I make a before and after render without a 3D model?
Yes, a phone photo of the current room works as the before image. PromptRender generates a photorealistic after render directly from the photo without needing a SketchUp, Revit, or Blender file.
How do I keep lighting consistent between the before and after image?
Match the time of day and light direction described in the after render to the conditions in the before photo. A midday before shot paired with a dusk after render breaks the visual continuity the comparison depends on.
What resolution should a before and after render be for print?
Export at 300 DPI for printed presentation boards. 72 DPI is sufficient for web pages, email attachments, and social sliders.
Should the after render include furniture and people?
Include furniture and finishes relevant to the renovation scope, but keep the composition close to the before shot so the comparison stays about the space, not staging choices.
How long does it take to generate a before and after renovation render?
Generating the after image in PromptRender takes seconds once the before screenshot or photo and the renovation description are uploaded — there's no rendering engine setup or GPU wait time involved.
Can I show multiple design options against the same before image?
Yes, generate several after renders from the same before shot with different material or layout descriptions, then compare all of them against the single before image in one board.
One last thing
The render itself is rarely what breaks a before and after comparison — camera angle mismatch is. Before generating the after image, screenshot or photograph the before shot from the angle you'd actually stand in to view the finished room, not the angle that looks best empty. That single choice decides whether the comparison convinces a client in 2026 or gets picked apart in the first thirty seconds of the pitch.