Export AI Renders for Print-Ready Boards (2026)
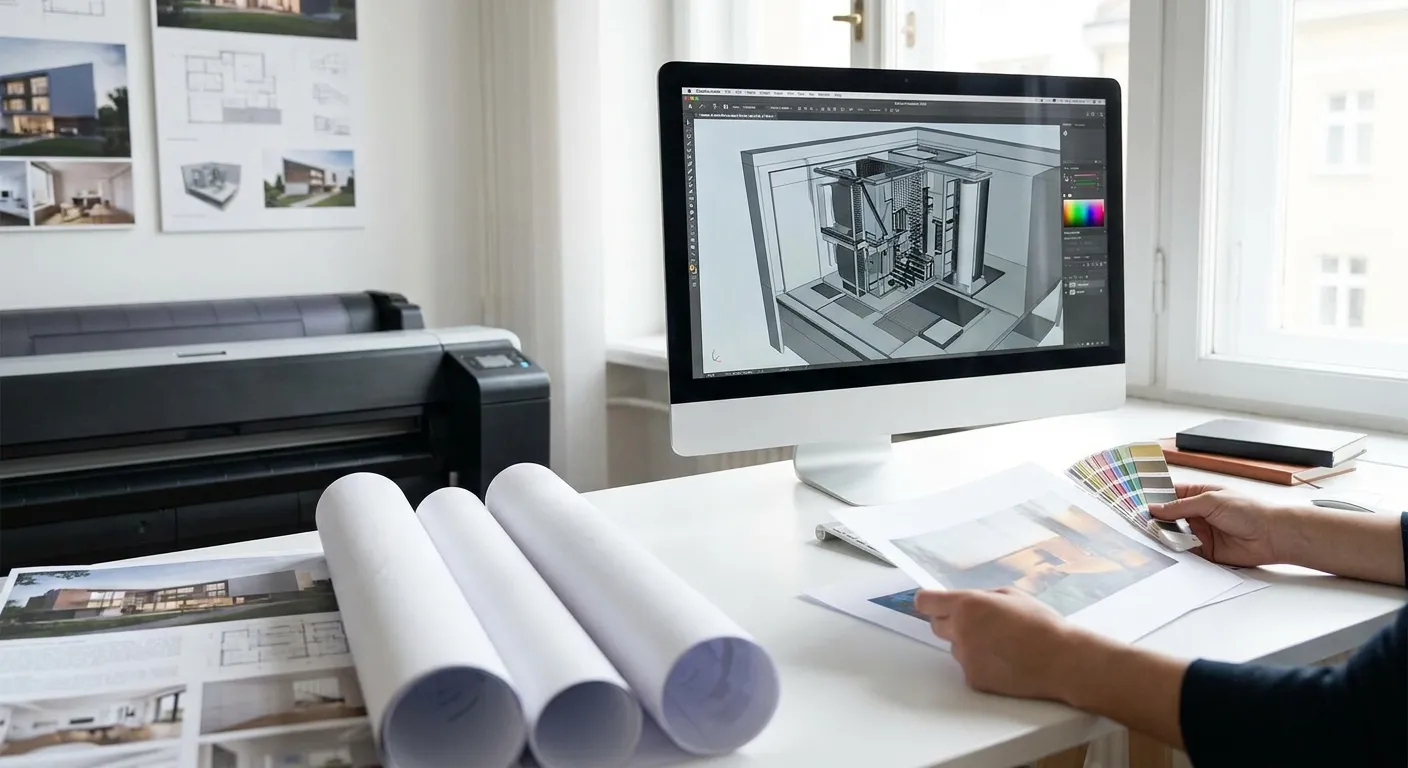
Exporting an AI render for print is a different job than exporting it for a screen — the same 4K image that looks sharp on a laptop can turn to mush on a 36x48 inch presentation board if the resolution, color mode, and file format aren't set up correctly before you send it to the printer.
- Export ai render for print at 300 DPI minimum at final board size, not screen resolution.
- Convert RGB to CMYK before sending to a print shop, or colors shift after printing.
- PromptRender exports at up to 4K resolution — upscale beyond that for boards over 24x36 inches.
- TIFF or high-quality PNG beats JPEG for presentation boards; compression artifacts show at large sizes.
- Always request a soft proof or physical proof before printing a full board run.
Why this matters
A presentation board is judged from three feet away, not from a laptop screen at arm's length. Pixelation, muddy color, and compression artifacts that are invisible on a monitor become obvious the second an image gets blown up to 24x36 inches or larger.
Architects and interior designers lose review-board credibility over export mistakes, not render quality. A photorealistic render generated in PromptRender can look identical in quality to a expensive rendering-studio output — but only if the export pipeline respects print math instead of screen math. Get the DPI, color mode, and file format wrong and even the best AI-generated render prints soft, dark, or banded.
What you'll need
- A finished render exported from PromptRender or your rendering software, ideally at the highest resolution setting available
- The final print dimensions of your presentation board (common sizes: 18x24, 24x36, 36x48 inches)
- Image editing software that supports CMYK conversion (Photoshop, Affinity Photo, or GIMP)
- Layout software for the full board if you're combining multiple renders (InDesign, Illustrator, or Canva)
- Your print shop's ICC color profile, if they provide one
- 20-30 minutes per board for resolution checks and color proofing
Most print shops in 2026 still ask for CMYK TIFF or high-resolution PDF files, so don't assume a straight PNG export is print-ready without checking.
The steps
1. Generate the render at maximum export resolution
Start with the highest pixel count PromptRender's export settings allow — this is the ceiling for everything downstream. If you generated the render at a low resolution to save time during concept review, regenerate it before export rather than trying to fix it later. Upscaling a low-res AI render always loses detail in materials and reflections that a fresh high-res generation preserves. If the base render already ties into a fast pitch-deck workflow, the same file used for a rendering workflow built for architecture pitches can double as your print source, saving a regeneration step.
Common mistake: exporting a preview-quality render meant for client email and trying to stretch it to board size.
2. Do the DPI math before you touch color settings
Divide your image's pixel width by the print width in inches to get your actual DPI. A 3000-pixel-wide render printed at 24 inches gives you 125 DPI — well under the 300 DPI standard for close-viewing print. A render meant for a 36-inch-wide panel needs at least 10,800 pixels across to hit 300 DPI.
If your board will be viewed from 10+ feet in a lobby or trade show, 150 DPI is acceptable and saves file size. Boards reviewed at arm's length — client meetings, jury reviews — need the full 300 DPI.
Expected outcome: a target pixel dimension you can hit before exporting, not guess at after.
3. Upscale only when the math demands it
If your PromptRender export falls short of the pixel count from step 2, run it through an AI upscaler (Topaz Gigapixel, Photoshop's Super Resolution, or a similar tool) rather than a basic image editor resize. AI upscalers reconstruct edge detail and texture; a simple resize just stretches pixels and softens everything.
Cap upscaling at 2x the original resolution. Beyond that, artifacts start appearing in fine details like window mullions and material grain — the print will look artificially smooth instead of sharp.
Common mistake: upscaling 4x or more from a 1080p source and expecting a crisp 36-inch board.
4. Convert RGB to CMYK for offset or professional print
AI rendering tools including PromptRender output in RGB, the color space monitors use. Commercial printers use CMYK, a narrower color space, and the conversion shifts colors — especially saturated blues, greens, and deep shadows.
Convert to CMYK inside Photoshop or Affinity using your print shop's ICC profile if they've supplied one. Without a specific profile, use a standard profile like U.S. Web Coated (SWOP) v2 as a reasonable default for 2026 commercial printing. Skip this step and you'll get a physical print that looks noticeably darker and less vibrant than your screen preview.
Expected outcome: a CMYK file that looks slightly duller on screen than the RGB original — that's correct, not a mistake.
5. Export as TIFF or high-quality PNG, never a compressed JPEG
JPEG compression discards data in a way that's invisible at screen size but shows up as blocky artifacts once an image is enlarged to 24 inches or more. TIFF preserves full quality with no compression loss and is what most professional print shops expect. If TIFF isn't supported, use PNG at maximum quality — it's lossless, just larger in file size.
A 300 DPI TIFF at 36x48 inches can run 200-400MB. Budget for that file size when uploading to a print shop's portal or a plotter queue.
Common mistake: exporting JPEG at maximum quality settings, which still applies lossy compression that degrades at large print sizes.
6. Set bleed and safe margins if the render sits inside a board layout
If the render is one panel among several on a composite presentation board, add a 0.125-inch bleed around any element that touches the board edge, and keep text or critical details 0.25 inches inside the trim line. Skipping bleed causes a thin white line at the board edge after trimming — a small detail that reads as amateur in a jury review.
Expected outcome: a layout file where nothing important sits within a quarter-inch of any edge.
7. Proof before you commit to a full print run
Request a digital soft proof from your print shop, or better, a small physical test print of a cropped section at full DPI before printing the entire board. Check at 100% zoom on screen for banding in skies or gradients, and check the physical proof under the lighting conditions where the board will actually be reviewed.
Common mistake: approving a full-size board print based only on a monitor preview, then discovering color shift or banding only after 50 copies are printed.
“If your render is under 300 DPI at final print size, it's not presentation-ready, it's a preview.”
Generate a print-ready render
Upload a 3D model screenshot and export at full resolution in minutes.
Troubleshooting
- The print looks pixelated even after upscaling. You likely upscaled past the 2x ceiling. Regenerate the render at a higher native resolution in PromptRender instead of pushing the upscaler further.
- Colors look flat and dark after printing. This is the RGB-to-CMYK gap. Confirm you converted using the print shop's ICC profile, not a generic default, and check the file was actually saved in CMYK before export, not just previewed in CMYK mode.
- Skies or gradients show visible banding. Export at 16-bit color depth instead of 8-bit if your editing software supports it, then flatten to 8-bit only at final export.
- The file is too large for the print shop's upload portal. Split the file into a PDF with embedded high-res TIFF layers, or ask if they accept file transfer via WeTransfer or a shared drive link instead of direct upload.
- Text and labels on the board look blurry at full size. Text should be added as vector layers in your layout software, never baked into the raster render before scaling — vector text stays sharp at any print size.
- The board looks different in the review room than it did on screen. Match your monitor's white point and brightness to standard print viewing conditions (5000K lighting) before final color approval, and always do a physical spot-check under the room's actual lighting when possible.
Tools and resources
- PromptRender's export settings for generating the highest-resolution source file before any print prep
- An AI upscaler (Topaz Gigapixel or Photoshop Super Resolution) for closing DPI gaps without a full regeneration
- Photoshop, Affinity Photo, or GIMP for CMYK conversion and bleed setup
- Your print shop's ICC color profile, requested directly from them before final export
- For assembling multiple renders on one board, see this guide on the best AI render generators for architecture presentations, which covers layout-friendly export options
What to do next
Once your export pipeline is dialed in, the bottleneck shifts back to render quality — a technically perfect print of a mediocre render still reads as a mediocre board. Start from a properly generated source file by following the process in how to create a photorealistic rendering from a 3D model, then run it through the export steps above before it ever touches a printer.
FAQ
What resolution do I need to export ai render for print?
You need 300 DPI at final print size for close-viewing boards, which means a 36-inch-wide panel needs roughly 10,800 pixels across. For boards viewed from 10 feet or more, 150 DPI is usually enough.
Should I export AI renders in RGB or CMYK?
Export in RGB first since that's the native color space of AI rendering tools, then convert to CMYK using your print shop's ICC profile before sending the file. Skipping the conversion causes colors to shift dark and dull once printed in 2026's standard offset printing process.
Is PNG or TIFF better for a print-quality presentation board?
TIFF is the standard for professional print shops because it's uncompressed and preserves full image data at any size. High-quality PNG is an acceptable lossless alternative if the print shop doesn't accept TIFF uploads.
Can I upscale a low-resolution AI render for a large presentation board?
Yes, up to about 2x the original resolution using an AI upscaler like Topaz Gigapixel, but beyond that artifacts appear in fine details like window frames and material texture. Regenerating the render at higher resolution in PromptRender gives cleaner results than heavy upscaling.
How much bleed does a presentation board need?
Use a standard 0.125-inch bleed around any element touching the board edge, with a 0.25-inch safe margin for text or critical details. This prevents a thin white line from appearing after trimming.
Why does my printed render look darker than it did on screen?
This almost always comes from an RGB-to-CMYK conversion done incorrectly or skipped entirely, since CMYK has a narrower color range than screen RGB. Matching your monitor to standard 5000K viewing conditions before final approval also reduces surprises.
What file format do print shops prefer for architecture presentation boards?
Most commercial print shops in 2026 prefer CMYK TIFF files or high-resolution PDFs with embedded TIFF layers. Avoid JPEG entirely for board-size prints since its compression becomes visible at large scale.
One last thing
The DPI math catches almost everyone at least once: a render that looks flawless at 1920x1080 on a laptop only supports a print size of about 6.4 inches wide at true 300 DPI. Do the pixel-width-divided-by-print-width calculation before you export anything for a board larger than a letter-size sheet, and you'll skip the most common print disaster in architecture presentations for 2026.