AI Render Material Variations: How to Guide (2026)
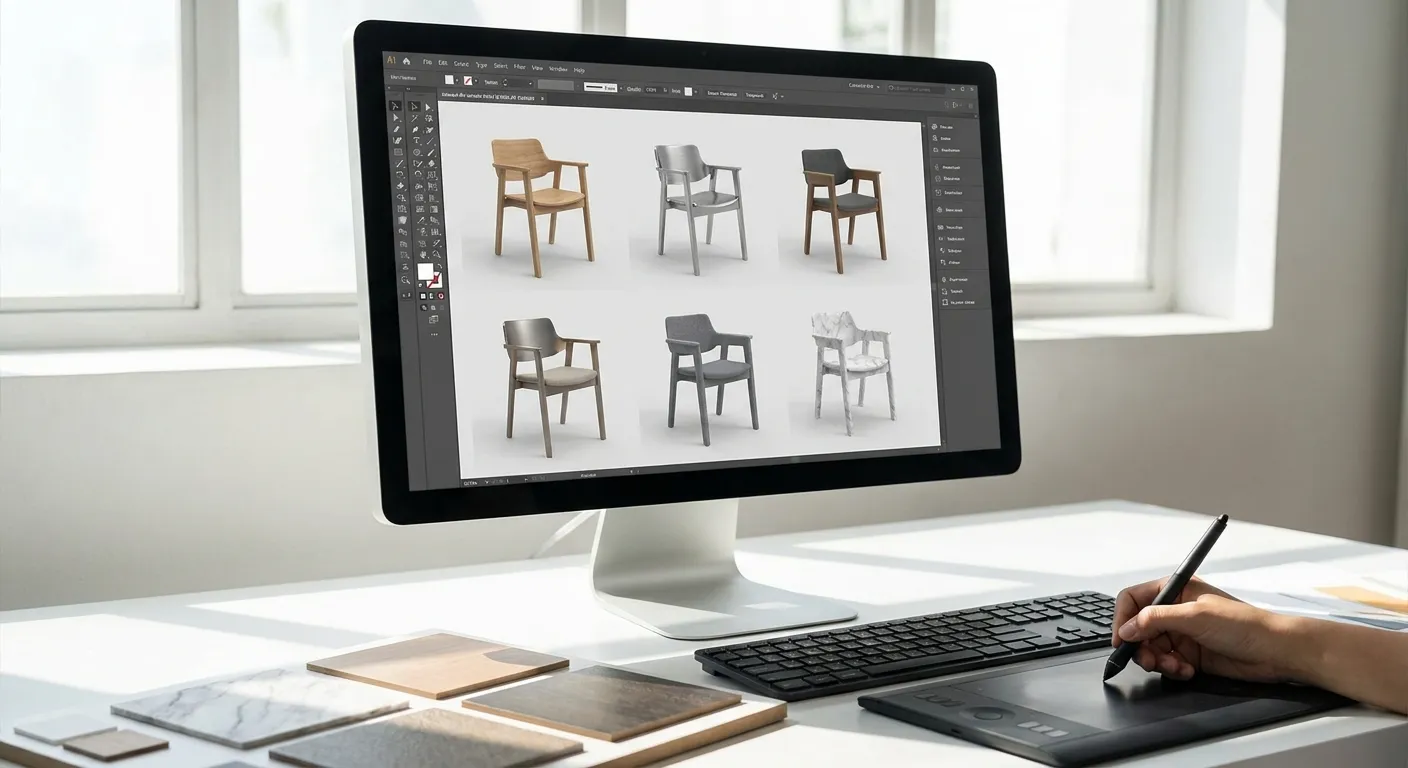
Changing a material on a rendered model used to mean re-texturing in a 3D app, re-lighting, and re-rendering for minutes per pass. With an AI renderer, you can turn one SketchUp or Revit screenshot into five believable finish options in the time it takes to make coffee.
- AI render material variations let you test finishes from one locked camera angle in 2026 without touching your 3D model.
- Lock the camera and base geometry first, then swap only the material language in each prompt.
- Match lighting across every variation or clients will compare finishes under different light and pick the wrong one.
- PromptRender generates each variation in under a minute, so 5-6 finish options cost you 10 minutes, not a day.
- Vague material terms like 'wood floor' produce inconsistent results — name species, sheen, and grain direction.
Why this matters
A client who sees one rendered kitchen with white oak cabinets is looking at a guess. A client who sees the same kitchen in white oak, walnut, and painted MDF is making a decision. Material comparisons close approvals faster than a single "finished" image ever does, because the reader is choosing rather than imagining.
PromptRender turns a 3D model screenshot into a photorealistic render from a text prompt, which means the material is just language — swap the words, keep the geometry, get a new finish. No re-texturing pass in SketchUp, no re-baking materials in Blender, no waiting on a GPU queue overnight.
The method below works for cabinet fronts, flooring, countertops, siding, roofing, and upholstery. It works the same way whether your source file came from Revit, Rhino, ArchiCAD, or a hand sketch.
What you'll need
- One clean 3D model screenshot or export — SketchUp, Revit, Rhino, Blender, ArchiCAD, or AutoCAD all work
- A locked camera angle you're happy with (changing angles mid-comparison breaks the test)
- A written list of the exact materials you're comparing — species, finish, color code, sheen level
- An AI rendering tool that accepts a base image plus a text prompt, such as PromptRender
- Render credits or generation allowance for 4-6 passes per comparison set
- A place to lay out results side by side — a slide, a PDF, or a shared folder
If you haven't generated a base photorealistic render yet, start with how to create a photorealistic rendering from a 3D model before you branch into variations.
The steps
1. Lock the camera angle and base render
Pick the single camera position that best sells the space and generate one full render from it. This becomes your control image — every material variation gets compared against it and against each other from the exact same vantage point.
Changing angles between variations is the single most common mistake in this workflow. A kitchen shot from a slightly different height makes two identical cabinet finishes look like different colors because the light hits them differently. Expected outcome: one finished base render you're willing to show a client as-is.
2. Build a precise material reference list
Write down every material you want tested with full specificity: "rift-cut white oak, matte satin finish" beats "wood cabinets." Include color codes, sheen (matte, satin, gloss), and texture scale (fine grain, wide plank, brushed) wherever you know them.
This matters because AI renderers respond to language precision the same way a fabricator does — vague instructions get vague, inconsistent results. Expected outcome: a list of 4-6 material call-outs you can drop straight into a prompt.
3. Write one prompt per variation, changing only the material
Keep the prompt structure identical across every variation and change only the material clause. If your base prompt says "kitchen island with painted white shaker cabinets, quartz countertop, matte black hardware," your walnut variation should read "kitchen island with walnut veneer cabinets, quartz countertop, matte black hardware" — nothing else moves.
This isolates the variable you're actually testing. Expected outcome: 4-6 prompts that are near-identical except for one clause. Common mistake: rewriting the whole prompt each time, which introduces lighting or composition drift you'll blame on the material.
4. Generate variations in a batch and compare immediately
Run all your material prompts back to back against the same base image rather than spacing them out over days. PromptRender returns each render in well under a minute, so a 5-variation set takes roughly 10 minutes end to end in 2026 workflows, not an afternoon.
Generating in one sitting keeps your eye calibrated — you'll catch a finish that reads too dark or too reflective immediately, instead of a week later when you've lost the comparison context. Expected outcome: 4-6 renders open in tabs or a folder, ready to line up.
5. Match lighting and time-of-day across every variation
If your base render is a midday exterior shot, every material variation needs the same time-of-day and light direction. A walnut deck rendered at golden hour will always look warmer than a composite deck rendered at noon, regardless of which material actually reads better.
For interior sets, keep window light and fixture warmth constant. See how to add realistic lighting to AI architectural renders for the exact language to lock lighting conditions across a batch. Expected outcome: variations that differ only in material, not in atmosphere. Common mistake: letting the AI pick a new lighting mood each generation because the prompt didn't specify it.
6. Isolate finish detail with a tight follow-up crop
Once you've picked 2-3 finalists from the wide shot, generate a close-up render of just the material area — a cabinet door, a countertop edge, a siding panel. Wide shots sell the room; close-ups sell the finish.
A client approving a countertop from 12 feet away in a wide render is a different decision than approving it after seeing veining and sheen up close. Expected outcome: one detail shot per finalist material, at a scale where grain and texture actually read.
7. Organize the set into a client-ready comparison
Label every render with the material name and nothing else — no version numbers, no file jargon. Lay them out in a single row or grid so eyes move left to right instead of scrolling.
Expected outcome: a comparison a client can approve in one meeting instead of three rounds of "can you show me it in a different wood."
“If the material call-out takes more than one sentence, split it into two renders instead of one confused prompt.”
Generate your first variation set
Upload one screenshot, swap the material line, compare finishes in minutes.
Troubleshooting
Cabinet or wall proportions shift between variations. This happens when the camera angle drifted or the base image changed between prompts. Fix: regenerate from the exact same base screenshot for every variation in the set, never a re-export.
The same material name produces two different-looking renders. AI generation has some randomness built in. Fix: add sheen, grain direction, and color temperature to the prompt instead of just the material name — the more specific the language, the tighter the consistency.
Reflective finishes (glossy paint, polished stone, chrome) look flat. Flat lighting kills reflectivity in a render. Fix: specify a light source direction and add "soft reflections" or "visible highlight" to the material clause.
Textures look like they're tiling or repeating. This shows up most on wide flooring or large wall panels. Fix: reduce the visible surface area in the crop, or ask for "natural variation, no repeating pattern" in the prompt.
Warm and cool lighting make two neutral materials look like different colors. A gray tile under warm light and the same tile under cool light will not photograph as the same gray. Fix: lock color temperature in every prompt in the set — "neutral daylight, 5500K" is specific enough to hold steady.
Clients can't tell the variations apart in an export. Usually a file-size or side-by-side layout issue, not a render issue. Fix: export each variation at full resolution and label the material clearly above or below the image, not in a filename nobody opens.
Tools and resources
- PromptRender for the actual render generation — supports SketchUp, Revit, Rhino, Blender, ArchiCAD, and AutoCAD source screenshots
- A written material spec sheet (species, finish, sheen, color code) kept outside the prompt tool so you can copy-paste consistently
- How to render interior design mood boards with AI for building a material palette before you start generating full renders
- A shared folder or slide deck for the comparison layout — this is where most teams lose time, not in the generation itself
What to do next
Once you've got a working material variation workflow, the next skill worth building is presenting these sets so clients approve on the first pass. Read best AI rendering software for interior designers to see how material variation workflows stack up across tools heading into 2026.
FAQ
What is the fastest way to create ai render material variations?
Lock one camera angle, generate a base render, then change only the material clause in your prompt for each new version. PromptRender returns each variation in under a minute, so a 5-option set takes about 10 minutes.
Do I need to change my 3D model to test different materials?
No. AI rendering applies the material change through the text prompt, not the geometry, so the same SketchUp or Revit screenshot works for every variation. This is the main time saving versus re-texturing in the original 3D software.
How many material variations should I generate per comparison?
4-6 variations is the practical range for a client decision. More than that and reviewers lose track of which finish they preferred; fewer than 3 doesn't feel like a real choice.
Why do my material variations look inconsistent in lighting?
If lighting language isn't specified identically in every prompt, the AI can pick a different time-of-day or light temperature per render. Lock light direction and color temperature in every prompt in the batch to keep comparisons fair.
Can I test flooring, cabinets, and countertop materials in the same render?
Yes, but test one variable at a time for clean comparisons. Run a full set of cabinet finishes first, pick a winner, then run flooring variations against that fixed cabinet choice.
Is AI rendering accurate enough to approve real material choices?
AI renders are strong for showing proportion, color relationship, and general finish character, which covers most client approval decisions in 2026 workflows. For exact color matching against a physical sample, confirm with a swatch before final material orders.
What file formats work for generating material variations?
A standard screenshot or exported image from SketchUp, Revit, Rhino, Blender, or ArchiCAD works — you don't need a specific render-ready file format. The image just needs to clearly show the surfaces you're testing materials on.
How is this different from just re-rendering in my regular 3D software?
Traditional re-rendering means re-texturing the model, re-lighting the scene, and waiting for a render engine to process each pass, often minutes per image. AI render material variations skip the re-texture step entirely and generate directly from a text prompt.
One last thing
The variation set that actually gets approved fastest is rarely the one with the most options — it's the one where every render was generated from the identical camera angle and lighting setup. Teams that let even one variable drift between renders end up re-running the whole comparison in 2026 because a client asks "wait, is that a different angle too?" Lock everything except the material clause, and you'll get a decision instead of another round of questions.