AI Aerial Render: How to Do It in 2026 (Step-by-Step)
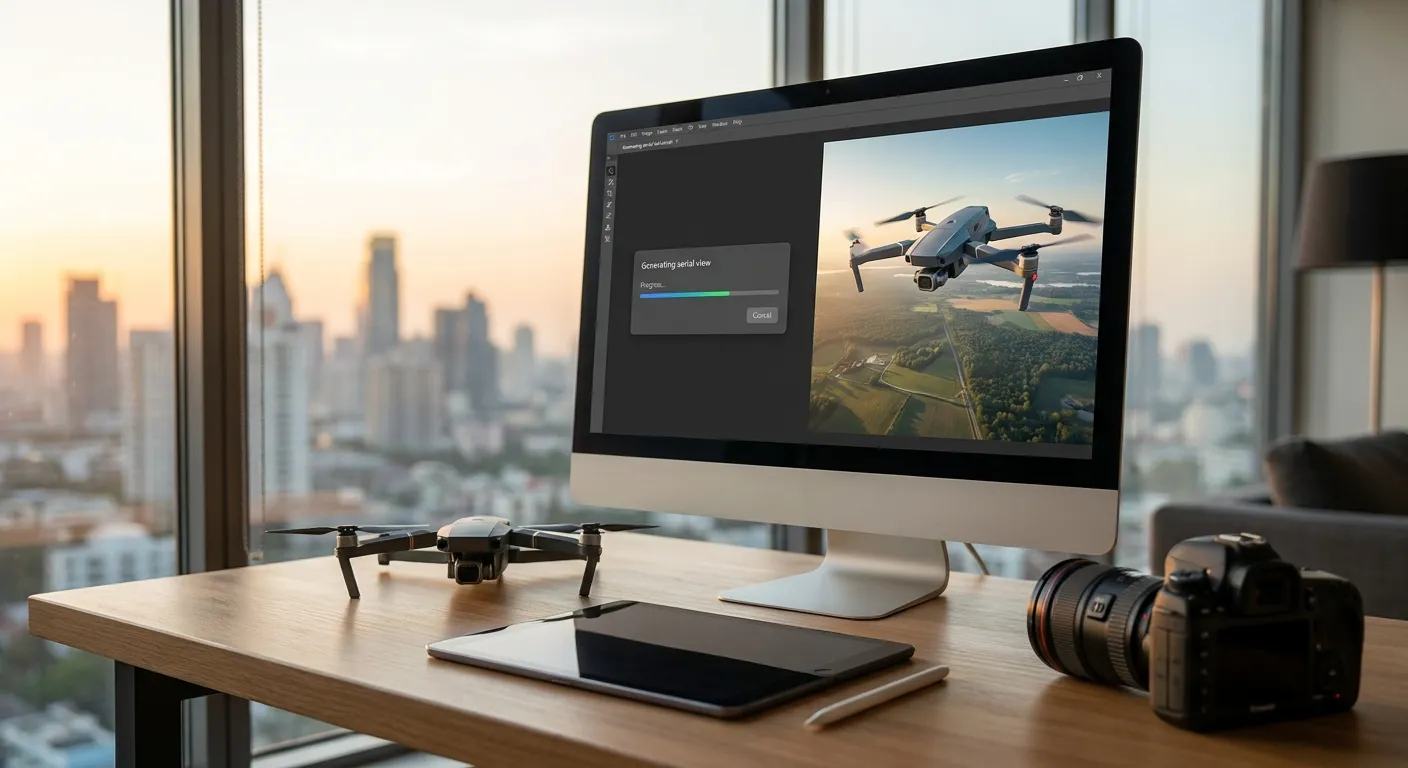
Aerial and drone-view renders sell a site plan, a roofline, or a master plan layout faster than any ground-level shot, and you can produce one from a 3D model screenshot in 2026 without renting a drone or hiring a pilot.
- An ai aerial render turns a top-down SketchUp, Revit, or Rhino screenshot into a photorealistic drone-style shot in seconds.
- Camera altitude and tilt in the source screenshot decide believability, aim for a 30-45 degree oblique angle, not a flat top-down view.
- PromptRender builds an aerial render in three steps: upload the screenshot, describe the site and lighting, generate.
- Skip straight-down orthographic captures for drone-style work in 2026, they read as diagrams, not photos.
- Match shadow direction to your stated time of day or the render looks staged instead of shot.
Why this matters
A floor plan tells a client where the building sits. An aerial render shows them what it will look like from the sky, roofline, parking layout, landscaping, and neighboring context included. That single image does more convincing in a pitch meeting than three pages of site plan notes.
Booking a drone shoot for a design that doesn't exist yet isn't an option, there's nothing to fly over. Rendering software solves this differently: it builds the aerial view straight off your 3D model. PromptRender turns a screenshot from SketchUp, Revit, Rhino, Blender, ArchiCAD, AutoCAD, Vectorworks, or 3ds Max into a photorealistic aerial shot without a rendering engine, GPU setup, or hours of ray-tracing.
In 2026, this workflow shows up most in real estate marketing, urban planning presentations, and construction pitch decks, anywhere a bird's-eye view needs to look like a photograph instead of a wireframe.
What you'll need
- A 3D model open in SketchUp, Revit, Rhino, Blender, ArchiCAD, AutoCAD, Vectorworks, or 3ds Max
- A camera or scene view set to an elevated, oblique angle, not a straight-down plan view
- Your OS screenshot tool (Snipping Tool, Cmd+Shift+4, or your modeling software's built-in capture)
- A short written description of site context: surrounding buildings, landscaping, roads, time of day
- An AI rendering tool with render credits, PromptRender processes most aerial screenshots in under a minute
- 10-15 minutes per angle, including two or three iterations
The steps to render an aerial or drone-view perspective with AI
1. Set the camera to a real drone altitude, not a satellite view
A true overhead 90-degree camera produces an orthographic-looking capture, and AI renders that as a map rather than a photograph. Set the camera 150-400 feet above grade with a 30-45 degree downward tilt, the range most consumer drones actually shoot from. This single setting decides whether the finished render looks like a drone photo or a diagram from the sky.
“If the camera sits at a true 90-degree overhead angle, the render reads as a map, not a photograph.”
2. Clear the screenshot of UI clutter
Leftover toolbars, axis markers, and dimension lines get treated as real objects by the AI model. Hide viewport labels and section cut indicators before capturing, and export at the highest resolution your software allows, at least 1920x1080. A clean capture in step 2 saves a wasted render credit in step 3.
3. Upload the screenshot to PromptRender
Drag the raw capture into PromptRender, there's no pre-rendering or texture baking required first. PNG or JPEG both work, and files under 15MB upload fastest. A low-res thumbnail under 800px in either dimension will flatten roof and ground detail in the output, so start from the highest-quality screenshot your modeling software can export.
4. Write a prompt that describes the site, not just the building
Aerial context is what sells realism. Describe the ground plane and periphery explicitly: asphalt shingle roof, gravel driveway, mature oak trees along the north edge, adjacent parking lot. A prompt that only covers facade materials and skips the roof and surrounding ground leaves the AI to fill that space with generic grass, which is the fastest way to make an aerial render look fake.
5. Lock the lighting and time of day
Shadow length and direction are the biggest tell in an aerial shot. State a compass direction and time explicitly, "afternoon sun from the southwest, long shadows" reads correctly; "sunny day" leaves the AI guessing and often produces shadows that fall the wrong way relative to your site's actual orientation.
6. Generate and check scale against real-world reference
Aerial views distort scale perception more than eye-level shots because there's no human figure at normal height anchoring the frame. Run the first pass, then check whether a car, tree, or person you described in the prompt reads at the correct size relative to the building. A parking lot sized for 40 cars that only fits 10 is a scale error worth catching before export.
7. Refine with a second pass before export
Aerial renders carry more environmental detail than interior shots, so the first pass rarely nails ground texture and tree placement together. Adjust the description for whatever's off, roof material, foliage density, sky condition, and regenerate against the same screenshot without recapturing the model. PromptRender keeps the source image on file so a revised description is a fresh generate, not a new upload.
Generate your first aerial render
Upload a screenshot from any 3D software and get a photorealistic aerial view in minutes.
Troubleshooting
- Render looks like a miniature or toy model. The camera angle is too steep, near 90 degrees, or set too close to the site. Reset to a 30-45 degree tilt at greater altitude.
- Surrounding area is blank or generic. The prompt skipped site description. Add explicit references to roads, neighboring structures, and vegetation.
- Shadows point the wrong direction. The prompt didn't specify sun position. State compass direction and time of day directly.
- Roof detail looks flat or plastic. The source model lacks roof texture, so describe the roofing material explicitly, asphalt shingle, standing-seam metal, or green roof.
- Distorted edges at the frame corners. Field of view was set too wide in the original screenshot. Narrow the camera FOV to 50-60 degrees before capturing.
- Buildings look correct but scale feels wrong. Add a reference object, a car, a person, a tree, at real-world size in the prompt description so the AI anchors proportions.
Tools and resources
- Your existing 3D modeling software, SketchUp, Revit, Rhino, Blender, ArchiCAD, AutoCAD, Vectorworks, and 3ds Max all export screenshots PromptRender can process
- The ground-level companion shot: see how to create a photorealistic exterior render with AI
- A reference photo of a comparable building at the altitude you're targeting, useful for checking your prompt's shadow and material claims
- Render credits, budget two to three per angle to cover the refinement pass in step 7
What to do next
Once you have one clean aerial render, don't stop at a single hero shot. Pull the same screenshot into two or three different times of day, and pair the aerial view with a ground-level shot of the same building. If aerial renders are headed into a full client pitch deck rather than one marketing image, see how to build a fast rendering workflow for architecture pitches, it covers batching render requests so a full presentation doesn't eat a full day.
FAQ
What is an AI aerial render?
An AI aerial render is a photorealistic drone-style image generated from a 3D model screenshot instead of a real flight. PromptRender produces one from a SketchUp, Revit, Rhino, Blender, or ArchiCAD screenshot in under a minute in 2026.
Is an AI aerial render as good as a real drone photo?
For a design that isn't built yet, an AI aerial render is the only option, there's nothing physical to fly over. For an existing building, both work, but the AI version is faster and doesn't require flight permits or weather windows.
How much does an AI aerial render cost in 2026?
Cost runs on render credits rather than a flat drone rental fee, and most tools charge per generation rather than per project. Budget two to three credits per angle to cover a refinement pass.
Can PromptRender generate aerial views from a Revit model?
Yes, PromptRender processes a screenshot exported from Revit the same way it handles SketchUp, Rhino, Blender, ArchiCAD, AutoCAD, Vectorworks, or 3ds Max captures. The source software doesn't change the workflow.
What camera angle works best for a drone-style AI render?
A 30-45 degree oblique tilt at 150-400 feet of simulated altitude reads as a real drone shot. A true 90-degree overhead angle reads as a map or diagram instead of a photograph.
How long does it take to generate an aerial render with AI?
A single aerial render generates in under a minute once the screenshot and prompt are ready. Budget 10-15 minutes per angle total, including capture time and one refinement pass.
Do I need a drone or flight photos to make an aerial render?
No, an AI aerial render is built from a 3D model screenshot, not a real flight. This matters most for unbuilt designs, where a drone has nothing to photograph.
Can AI aerial renders show landscaping and site context accurately?
Only if the prompt describes it. Roads, trees, parking, and adjacent buildings need to be named explicitly, since the AI fills unstated ground-plane detail with generic grass or pavement.
One last thing
Most aerial renders fail on the ground plane, not the building. A parking lot rendered as flat gray asphalt with zero cars looks emptier than an actual unbuilt lot. Add two or three parked cars and a walking figure near the entrance in your prompt, and the same render reads as a real site instead of a diagram floating in the sky.