How to Create an Exterior Render With AI (2026 Guide)
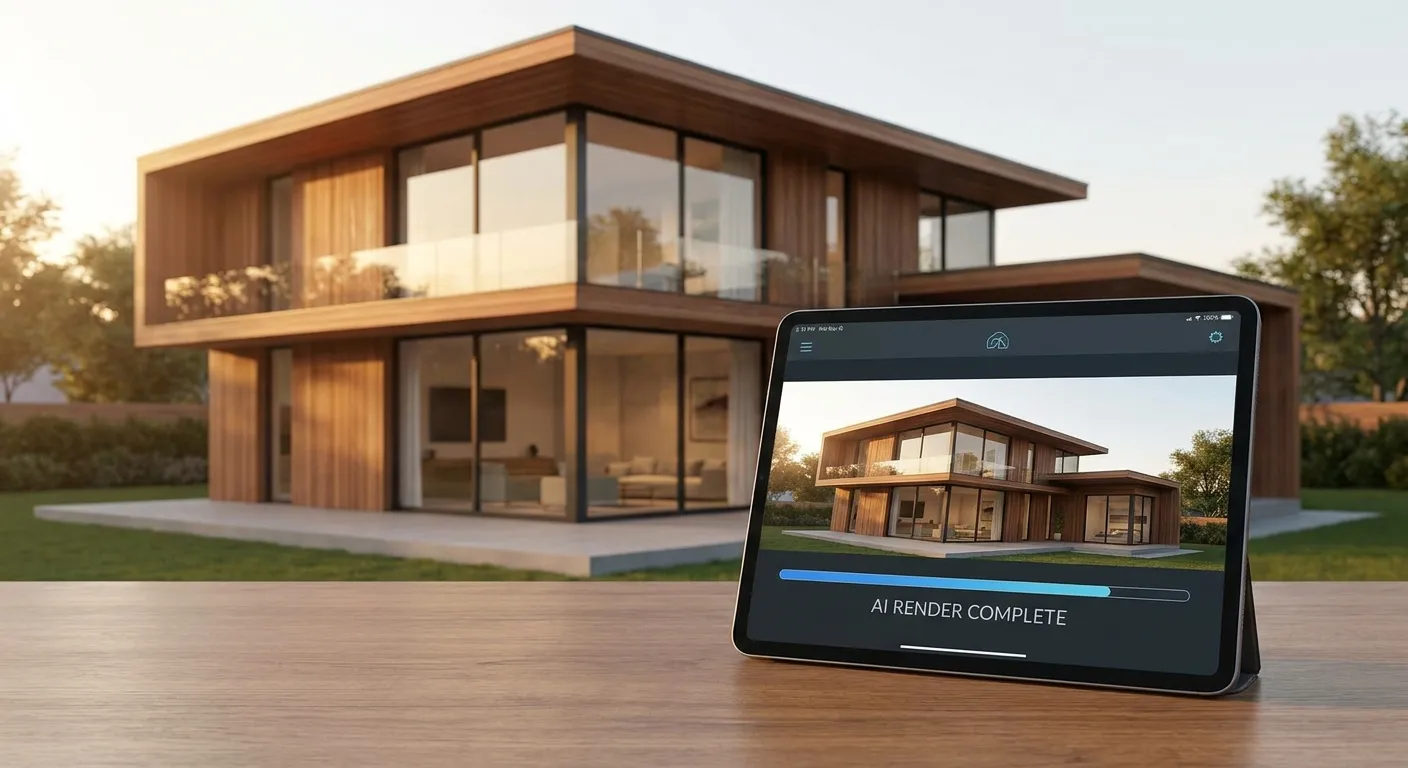
Turning a 3D model screenshot into a photorealistic exterior render with AI takes three steps in 2026: upload, describe, generate. This guide covers the exact camera angles, screenshot settings, and prompt wording that separate a sharp exterior render from a blurry one, using PromptRender as the working example.
- Creating an exterior render with AI starts with a clean, eye-level screenshot from SketchUp, Revit, or Rhino — PromptRender turns it photorealistic in under a minute in 2026.
- Shoot a straight-on or slight three-quarter angle at eye level; top-down or fisheye views flatten AI-generated rooflines.
- Name materials directly in the prompt (standing-seam metal roof, poured concrete driveway, black aluminum frames) instead of vague style words.
- Skip screenshots under 1500px on the long edge — low-resolution exports blur AI-rendered siding and window detail.
Why this matters
Most architects and 3D artists already own a 3D model. What they don't have is time to build materials, lighting, and landscaping in a full render engine before a client meeting. Learning how to create an exterior render with AI cuts that step from hours to minutes, and in 2026 the gap between a rushed screenshot render and a client-ready image comes down to two things: how the screenshot is framed, and how specific the material description is.
The workflow below applies whether the source model lives in SketchUp, Revit, Rhino, Blender, ArchiCAD, AutoCAD, Vectorworks, or 3ds Max. The export step differs slightly by software; everything after upload is identical.
“If the render takes more than three steps, the workflow is wrong.”
What you'll need
- A 3D model in SketchUp, Revit, Rhino, Blender, ArchiCAD, AutoCAD, Vectorworks, or 3ds Max
- A native screenshot tool or Print Screen — no plugin required
- A short materials list: siding, roofing, glazing, hardscape, and landscaping
- A PromptRender account with render credits
- 5-10 minutes per camera angle
The steps
1. Set the camera angle before you screenshot
Lock the 3D view to eye level, roughly 5'6" (1.7m), or a slight three-quarter angle above it. AI models read perspective cues to build depth — a flat top-down or orthographic view reads as a technical diagram, not a building.
In SketchUp, use a field of view around 40-50 degrees. In Revit, place the camera in a 3D view at eye height rather than the default isometric. Common mistake: screenshotting the default isometric view, which produces a flat, diagram-like render no matter how good the prompt is.
2. Export a clean, high-resolution screenshot
Export at a minimum of 1500px on the long edge, PNG when the software allows it. Resolution feeds detail into siding lines, window mullions, and roof texture — a 600px screenshot leaves the AI guessing.
Turn off grid lines, axis markers, and any software watermark before capturing. Common mistake: cropping too tight and cutting off the roofline or foundation, which confuses the model's sense of building scale.
3. Upload the screenshot to PromptRender
Drag the file into the upload panel. PromptRender reads screenshots from SketchUp, Revit, Rhino, Blender, AutoCAD, Vectorworks, and 3ds Max the same way. If your model lives in ArchiCAD, the export step is slightly different — the full ArchiCAD render walkthrough covers the file settings that matter before upload.
Common mistake: uploading a screenshot that already has a partial render or material override applied in the 3D software — mixed materials confuse the base geometry read.
4. Write a material and lighting description
Name every visible material by type and color: "white stucco walls, standing-seam metal roof in charcoal gray, black aluminum window frames, poured concrete driveway." Vague terms like "modern" or "nice" produce generic textures; named materials produce accurate ones.
Add time of day and weather. "Late afternoon sun, soft shadows, clear sky" changes shadow length and color temperature in the output. Common mistake: describing a style ("Scandinavian," "industrial") without naming actual materials — the AI applies a mood, not a spec.
5. Choose a render style and generate
Pick a photorealistic style preset and match the aspect ratio to your screenshot's framing. Generation completes in under a minute per angle in 2026. Common mistake: generating at a mismatched aspect ratio, which crops or stretches the facade unpredictably.
6. Review and regenerate weak angles
Check window reflections, landscaping density, and roofline continuity first — these are where AI rendering software tends to slip. If one angle underperforms, regenerate just that angle instead of restarting the full set to keep render credits efficient.
Common mistake: accepting the first output on every angle without comparing at least two generations. Glazing reflections are the single most common miss on the first pass.
7. Export and upscale for print or presentation
Export at full resolution for client decks, construction documents, or real estate listings. Common mistake: exporting at web resolution (72dpi) when the render is headed to a printed board — always pull the highest resolution PromptRender offers for anything leaving the screen.
Turn your screenshot into a render
Upload a SketchUp, Revit, or Rhino screenshot and generate a photorealistic exterior render.
Troubleshooting
- Windows look flat or mirror-black: add a reflection note to the prompt — "glazing reflecting sky and surrounding trees."
- Landscaping looks generic: name plant types and placement instead of writing "landscaped yard."
- Roofline warps or bends: re-screenshot with a tighter camera lock; avoid a wide field of view over 60 degrees.
- Render looks washed out at midday: request "late afternoon" or "golden hour" lighting instead of default noon light.
- Grid or axis lines bleed into the render: turn them off in the 3D software before capture — SketchUp users hit this constantly, and the full fix list is in the SketchUp render troubleshooting guide.
- Material swaps get ignored: put material names first in the sentence — the model weighs earlier prompt tokens more heavily than later ones.
Tools and resources
- PromptRender for the upload-describe-generate render step
- Your 3D software's native screenshot or export tool (no plugin needed)
- A one-line materials list drafted before you open the render tool, so you're not guessing mid-prompt
- A second monitor or split screen to compare the 3D model view against the generated render side by side
What to do next
Once one exterior angle looks right, repeat the same screenshot-and-describe process for two or three more angles from the same model — front elevation, three-quarter, and a street-level approach shot cover most client decks. Architecture firms running renders for multiple projects a week tend to save the material description as a template and only adjust lighting and camera angle per shot.
FAQ
How do I create an exterior render with AI from a SketchUp screenshot?
Export an eye-level SketchUp screenshot at 1500px or wider, upload it to PromptRender, describe the materials and lighting by name, and generate. The full render takes under a minute once the screenshot is uploaded.
What's the best camera angle for an AI exterior render?
Eye level or a slight three-quarter angle above eye level works best in 2026. Top-down or fisheye views flatten depth and produce a diagram-like result instead of a photorealistic one.
Do I need rendering software like V-Ray or Lumion?
No. PromptRender generates the photorealistic render directly from a screenshot, skipping the material setup and render-engine wait time that V-Ray or Lumion require.
How much detail should I put in the material description?
Name each visible material by type and color rather than a style word. "Charcoal standing-seam metal roof" produces a more accurate result than "modern roof."
Can I render exteriors from Revit, Rhino, or ArchiCAD the same way?
Yes. The upload-and-describe workflow is identical across SketchUp, Revit, Rhino, Blender, ArchiCAD, AutoCAD, Vectorworks, and 3ds Max screenshots — only the export step before upload changes.
Why does my AI exterior render look washed out?
Default midday lighting flattens shadows and color. Specify "late afternoon" or "golden hour" lighting in the prompt to get depth and contrast back into the render.
How long does an AI exterior render take in 2026?
A single angle generates in under a minute once the screenshot is uploaded and described. Reviewing and regenerating weak angles adds a few extra minutes per image.
Can I use an AI exterior render for a client presentation?
Yes, as long as you export at full resolution rather than web resolution. Full-resolution exports hold up on printed boards and pitch decks, not just on-screen.
One last thing
The biggest quality gap in 2026 isn't the AI model — it's the screenshot. A crisp, eye-level, high-resolution screenshot with a well-lit scene will out-render a fancy prompt on a blurry, cropped, top-down capture every time. Fix the screenshot first, write the material list second, and the prompt itself barely needs to be clever.