Grasshopper AI Render: Step-by-Step Guide (2026)
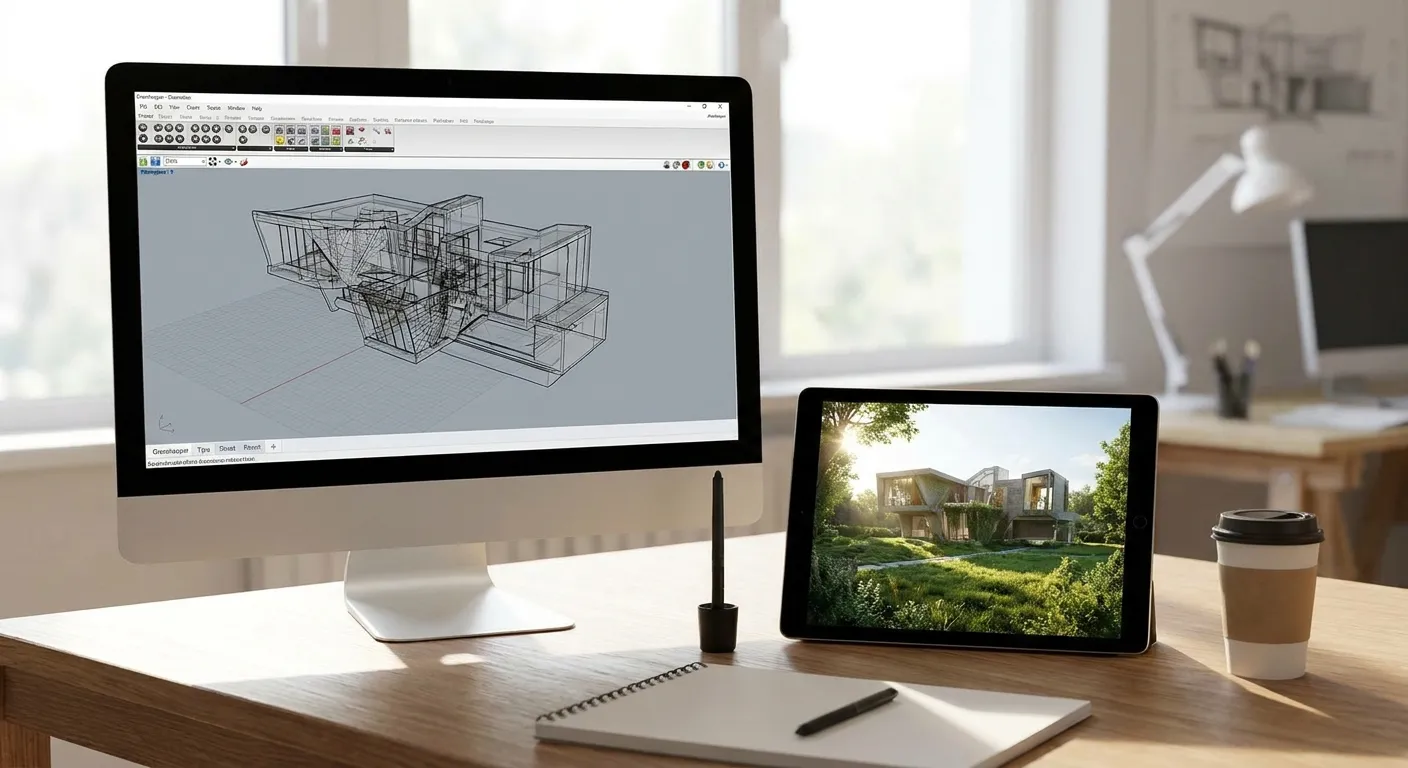
Grasshopper builds the geometry. It doesn't render it — and that's the gap this guide closes, using screenshots from your Rhino viewport and PromptRender to turn parametric models into photorealistic renders in minutes.
- Export a Rhino viewport screenshot of your Grasshopper definition, not a Grasshopper canvas capture — PromptRender needs the 3D geometry, not the node graph.
- A clean shaded viewport with visible materials converts to a photorealistic render in under 60 seconds on PromptRender in 2026.
- Parametric facades and complex paneling render best at higher resolution screenshots (1920px+ width) — low-res captures lose panel detail.
- Three steps: upload the Rhino screenshot, describe the scene, generate — no render engine setup, no V-Ray or Enscape license needed.
Why this matters
Grasshopper is a scripting layer inside Rhino — it generates and manipulates geometry, but it has no native photorealistic renderer of its own. Most Grasshopper users either export to V-Ray, Enscape, or Rhino's own Rhino Render, all of which mean setting up materials, lighting rigs, and HDRI environments before a single frame renders.
That setup cost is exactly what AI rendering removes. A Rhino viewport screenshot of your Grasshopper model, run through PromptRender, skips the material library and light-linking entirely. For architects and computational designers iterating on parametric facades, towers, or lattice structures, that difference is the one between a five-minute test render and a two-hour setup per iteration.
In 2026, that shift matters more because parametric design cycles have gotten faster — clients expect visual feedback on generative options within the same meeting, not the next day.
What you'll need
- Rhino with your Grasshopper definition baked or previewed in the viewport (Grasshopper geometry must be visible in Rhino, not just the canvas)
- A shaded or rendered viewport display mode in Rhino (Shaded, Arctic, or Rendered — avoid Wireframe)
- A screenshot tool or Rhino's own "Save As Image" / ViewCaptureToFile command
- A PromptRender account with available render credits
- A written scene description: material intent, lighting condition, and camera framing
The steps
1. Bake or preview your Grasshopper geometry in Rhino
Grasshopper components can leave geometry as "preview only," which is fine for PromptRender — you don't need to bake it into permanent Rhino geometry. What matters is that the shapes are visible and shaded in the viewport, not hidden behind a disabled preview toggle.
Common mistake: leaving a component's preview off after debugging, which produces an empty or partial viewport screenshot.
2. Set the viewport to Shaded or Rendered display mode
Wireframe and Ghosted modes strip the surface information PromptRender uses to infer materials and depth. Switch to Rhino's Shaded mode at minimum, Rendered mode if your machine handles it, before capturing anything.
This single setting change is the most common reason first-time Grasshopper renders on any AI rendering tool come out flat or misread the geometry.
3. Frame the camera like a final shot, not a working view
Parametric models get built from a top or isometric working angle, but that's rarely the angle a client wants to see. Set a Rhino named view — a three-quarter exterior angle for facades, a human-eye-height interior angle for enclosed lattice or pavilion structures — before capturing.
Expected outcome: a screenshot that already reads as a composed shot, not a CAD viewport, cuts your revision generations by roughly half.
4. Capture at a minimum of 1920px width
Use Rhino's ViewCaptureToFile at 1920x1080 or higher, especially for panelized or lattice-heavy Grasshopper outputs where panel joints and repetition patterns need to survive the upscale. Low-resolution captures (under 1280px) lose the fine geometric repetition that makes parametric work distinctive.
Common mistake: dragging a resized app window screenshot instead of using ViewCaptureToFile — window screenshots compress detail unevenly and confuse material inference.
5. Upload the screenshot to PromptRender
Upload, describe, and generate — that's the full workflow. Drop the Rhino viewport image into PromptRender and skip any render engine setup entirely.
6. Write a scene description that names materials and light
Describe what the Grasshopper form is meant to be: "perforated aluminum facade panels, overcast daylight, concrete plaza below" reads very differently to the AI model than "building exterior." Name the material, the light condition (midday, dusk, overcast), and one contextual detail (site, weather, surrounding structures).
Expected outcome: a first-pass render in under 60 seconds that matches your intended material and lighting, not a generic default.
7. Generate, then refine the description instead of re-screenshotting
If the first render misreads a material or the lighting feels wrong, adjust the text description before touching Rhino again. Re-generating from the same screenshot with a sharper description is faster than re-exporting geometry.
Common mistake: assuming a bad first render means the screenshot failed — usually it means the description was too vague.
Render your Grasshopper model now
Upload a Rhino viewport screenshot and generate a photorealistic render in seconds.
Troubleshooting
- Render looks flat with no shadow depth: your Rhino viewport was in Wireframe or Ghosted mode. Switch to Shaded or Rendered before recapturing.
- Panel repetition or paneling detail disappears: the screenshot resolution was under 1280px wide. Recapture at 1920px or higher using ViewCaptureToFile.
- AI misreads glass or perforated panels as solid: the description didn't name the material. Add "perforated metal" or "glazed curtain wall" explicitly in the scene description.
- Geometry is missing from the render: a Grasshopper component's preview toggle was off. Confirm every relevant component is set to preview or baked before capturing.
- Lighting doesn't match the intended time of day: the description defaulted to generic daylight. Specify "dusk," "overcast midday," or "golden hour" explicitly.
- Render feels generic, not like your specific form: the camera angle was still the working isometric view. Set a proper named camera view in Rhino first.
Tools and resources
- PromptRender for the AI render generation step itself
- Rhino's ViewCaptureToFile command for consistent, high-resolution screenshots
- How to turn Blender models into photorealistic renders if your Grasshopper workflow also exports to Blender for animation or further detailing
- How to turn Revit models into photorealistic renders for teams running parallel Revit and Rhino/Grasshopper workflows on the same project
- How to add realistic lighting to AI architectural renders for dialing in dusk and interior lighting conditions on parametric forms
What to do next
Once a single Grasshopper screenshot renders cleanly, the next problem is usually turning one baseline capture into a full presentation set. How to create a photorealistic rendering from a 3D model covers the workflow for building out multiple angles and material variants from the same base geometry without re-screenshotting every time.
FAQ
What's the best way to render Grasshopper models with AI?
Capture a shaded Rhino viewport screenshot of your Grasshopper geometry and upload it to an AI rendering tool like PromptRender. Grasshopper itself has no renderer, so the workflow always runs through Rhino's viewport first.
Does PromptRender support Grasshopper files directly?
PromptRender works from screenshots, not native Grasshopper (.gh) files. Export your Grasshopper geometry as a Rhino viewport image, then upload that image to generate the photorealistic render.
Can AI rendering handle complex parametric facades from Grasshopper?
Yes, provided the screenshot is captured at 1920px width or higher so panel repetition and joint detail survive. Low-resolution captures under 1280px lose that fine geometric detail.
How much does AI rendering cost for Grasshopper projects in 2026?
Cost depends on render credits used per image rather than project size, since PromptRender charges per generation rather than per license seat. Check current pricing on the PromptRender site for exact credit costs in 2026.
Is Rhino required to use Grasshopper AI rendering?
Yes, since Grasshopper runs as a plugin inside Rhino and has no standalone viewport of its own. The screenshot for AI rendering always comes from the Rhino viewport, with Grasshopper geometry visible and shaded.
How long does it take to generate a photorealistic Grasshopper render?
A single generation on PromptRender typically completes in under 60 seconds once the screenshot and scene description are uploaded. Complex descriptions with multiple materials may take slightly longer.
What file format works best for Grasshopper AI rendering?
A PNG or JPG screenshot captured via Rhino's ViewCaptureToFile command works best, at a minimum resolution of 1920x1080. Avoid dragging a resized window screenshot, which compresses detail unevenly.
Can I render Grasshopper interior spaces the same way as exteriors?
Yes, the same screenshot-and-describe workflow applies to interior pavilions, lattice enclosures, or paneled ceilings generated in Grasshopper. Frame the camera at human eye height rather than the default working isometric view.
One last thing
The single biggest quality jump in Grasshopper AI rendering isn't resolution or lighting — it's swapping the working isometric camera for a composed, human-scale view before you ever capture the screenshot. Most first attempts fail on framing, not on the AI model, and that fix costs nothing but a saved Rhino named view.