Revit AI Rendering: Turn Models Into Photoreal Renders (2026)
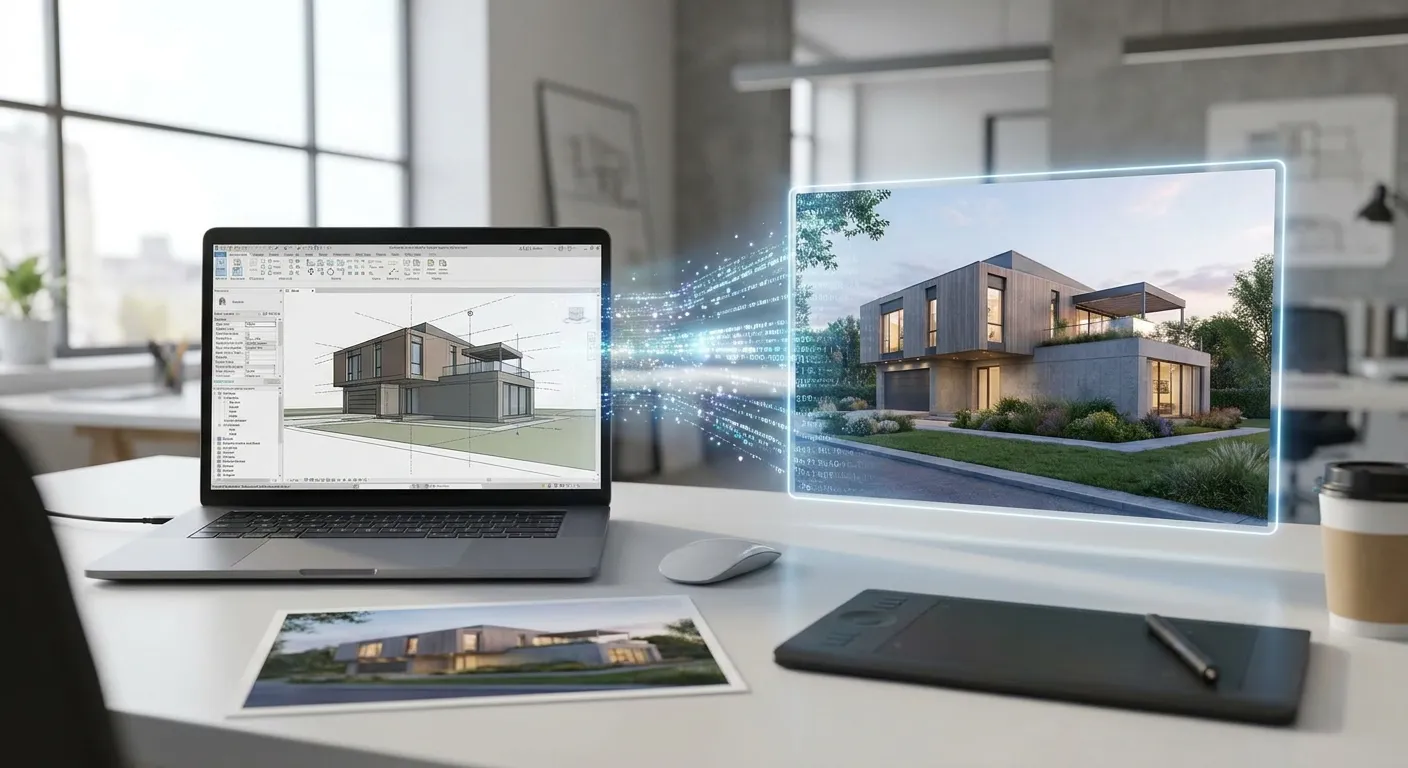
Revit gives you geometry, not atmosphere — turning a Revit screenshot into a photorealistic render used to mean exporting to V-Ray or Lumion and waiting through a render queue. In 2026, AI rendering tools skip that pipeline entirely and turn a plain Revit screenshot into a finished visual in under a minute.
- Revit ai rendering skips V-Ray and Lumion entirely — upload a screenshot, describe the scene, get a photorealistic render back in seconds.
- PromptRender turns Revit exports into finished visuals without a rendering engine or GPU setup.
- Clean, well-lit Revit screenshots with clear geometry produce the strongest AI renders in 2026.
- Vague prompts are the top failure mode — name materials, lighting direction, and time of day explicitly.
Why this matters
Architects and interior designers lose hours per project setting up materials, lighting rigs, and camera passes inside traditional rendering engines. A Revit model already has the geometry — walls, windows, furniture placement — locked in. What it doesn't have is the material realism, sky lighting, and reflections that make a render look like a photograph instead of a wireframe with paint on it.
AI rendering platforms like PromptRender read that geometry directly from a screenshot and rebuild it with photoreal materials and lighting, no render farm required. For firms billing by the deliverable, cutting a rendering pass from hours to seconds changes what you can promise a client on a Friday afternoon deadline.
What you'll need
- A Revit model with the view you want to render already set up (camera angle, section box, or 3D view)
- A clean screenshot exported at the highest resolution Revit allows for that view
- A short written description of the materials, lighting, and mood you want in the final render
- An AI rendering account (PromptRender runs on render credits, so know your remaining balance before a big batch)
- 2-3 minutes per render, plus a few extra minutes if you plan to iterate on the first result
The steps
1. Export a clean screenshot from Revit
Open the 3D view or section you want rendered and hide any Revit-specific clutter — grid lines, dimension strings, section markers. Switch the visual style to Shaded or Consistent Colors rather than Wireframe; the AI needs solid surfaces to read wall planes, window openings, and furniture correctly. Export at the largest resolution your screen or Revit's print-to-image function supports.
Common mistake: exporting a Hidden Line view. The AI model has nothing to read materials from and guesses wrong on floor and wall finishes almost every time.
2. Pick a camera angle that sells the space
AI rendering respects the geometry you feed it, so a bad angle in Revit produces a bad angle in the final render — no amount of AI polish fixes a camera looking straight into a wall. Eye-level interior shots (around 5'6" camera height) read as more believable than top-down axonometrics for client presentations. For exteriors, a three-quarter angle showing two building faces communicates massing far better than a flat elevation.
3. Upload the screenshot to PromptRender
Drag the exported image into the PromptRender interface. The platform reads the screenshot as a base structure — walls, openings, rooflines, furniture blocks stay locked in place while the AI rebuilds surfaces and lighting around them. This is the step that replaces hours of manual material assignment inside a rendering engine.
4. Write a prompt that names materials, lighting, and time of day
This step decides whether the render looks generic or specific. Instead of "make this look nice," write something closer to: "white oak flooring, matte black window frames, late-afternoon light through south-facing glass, warm interior lamps on." Name every material surface you care about — flooring, cabinetry, countertops, exterior cladding — because anything left unspecified gets an AI-default guess.
Common mistake: vague prompts like "photorealistic, high quality." Those words describe an outcome, not an instruction — the AI needs nouns (materials) and conditions (lighting, weather, time of day), not adjectives.
5. Generate and review the first pass
Run the render and check three things first: does the geometry match your Revit model, do materials look plausible at this scale, and does the lighting direction match what you described. A render that nails materials but gets shadow direction backwards is a five-second prompt fix, not a full re-export.
6. Iterate with a follow-up prompt instead of starting over
If the first render is close but not right, refine the same generation rather than re-uploading. Swap one variable at a time — "same scene, change flooring to polished concrete" — so you can isolate what each prompt change actually does to the output. Burning through render credits on full restarts instead of targeted edits is the fastest way to run a project over budget.
7. Export the final render for your deliverable
Once the render matches the brief, export at full resolution for the client deck, marketing site, or listing. Keep the original Revit screenshot and your final prompt text saved together — if a client asks for a seasonal variation (winter light instead of summer, for instance) in 2026, you can regenerate from the same base in under a minute instead of rebuilding the setup from scratch.
Turn your Revit screenshot into a render
Upload, describe the scene, generate a photorealistic render in seconds.
Troubleshooting
Render looks flat or washed out. Your screenshot was likely exported in a low-contrast shaded style. Re-export with shadows enabled in Revit before uploading — the AI needs some baseline light-and-shadow information to build convincing depth.
Materials come out wrong (e.g., asked for oak, got a generic light wood). Be more specific in the prompt: name the wood species, finish (matte vs. glossy), and grain direction rather than a single adjective like "wood."
Furniture or fixtures disappear or blur in the output. Small objects in a low-resolution screenshot lose definition. Export at the highest resolution available and avoid zooming out so far that furniture becomes a handful of pixels.
Windows render as solid black or overly reflective. Mention glazing explicitly in the prompt — "clear glazing, soft daylight visible through windows" — since an unmentioned window can default to a mirror-like AI guess.
Perspective looks distorted after rendering. This usually traces back to the Revit camera settings, not the AI step. Check the field of view in your original 3D view; anything above roughly 60 degrees starts to fisheye the geometry before it even reaches the render stage.
Running low on render credits mid-project. Batch your iterations — settle on materials and lighting in one or two generations rather than regenerating the full scene for every small tweak, and save credit-heavy full re-renders for the final approved version.
Tools and resources
- PromptRender for the AI rendering step itself
- Revit's native Shaded or Consistent Colors visual style for clean screenshot exports
- A written prompt template covering material, lighting, and time of day so every export follows the same checklist
- Turning AutoCAD drawings into photorealistic renders if your firm also works from 2D CAD files alongside Revit models
What to do next
If your firm splits work between Revit and Vectorworks, the workflow barely changes — the same screenshot-to-prompt approach applies. See how to turn Vectorworks models into photorealistic renders for the Vectorworks-specific export settings.
FAQ
What is revit ai rendering?
Revit ai rendering is the process of converting a Revit screenshot into a photorealistic image using an AI tool instead of a traditional rendering engine like V-Ray or Lumion. You export a screenshot, describe the materials and lighting you want, and the AI generates the finished visual in seconds.
Do I need rendering plugins for Revit to use AI rendering?
No. AI rendering platforms work from an exported screenshot, so you don't need V-Ray, Enscape, or Lumion installed inside Revit. A shaded 3D view export is enough to start.
How long does it take to render a Revit model with AI in 2026?
A single AI render typically completes in under a minute once the screenshot is uploaded and the prompt is written, compared to the minutes-to-hours a traditional render engine pass can take on a complex scene.
Is AI rendering good enough for client presentations?
Yes, when the source screenshot is clean and the prompt names specific materials and lighting conditions. Vague prompts or low-resolution exports produce weaker results than a properly set-up screenshot.
Can I render an exterior Revit view with AI, or only interiors?
Both work. Exterior views benefit from a three-quarter camera angle that shows two building faces, since a flat elevation gives the AI less massing information to work with.
What resolution should my Revit screenshot be for the best AI render?
Export at the highest resolution your Revit view or screen allows. Low-resolution exports lose furniture and fixture detail, which the AI can't recover in the final render.
How many times can I revise an AI render before it costs more?
Most AI rendering platforms run on render credits, so each generation and each iteration uses credits. Batching material and lighting decisions into fewer, more deliberate prompts stretches a credit balance further than restarting from scratch each time.
Does AI rendering replace Revit's built-in rendering tools entirely?
For most photoreal client deliverables in 2026, yes — AI rendering handles materials and lighting faster than Revit's native raytrace engine. Revit's own rendering is still useful for quick internal previews during design.
One last thing
The single biggest quality jump in AI rendering comes from naming exact material specs in the prompt, not from a longer or more "creative" description — "honed Carrara marble" beats "nice marble" every time, and the difference shows up in the very first generation.