Add People to AI Render: 2026 Step-by-Step Guide
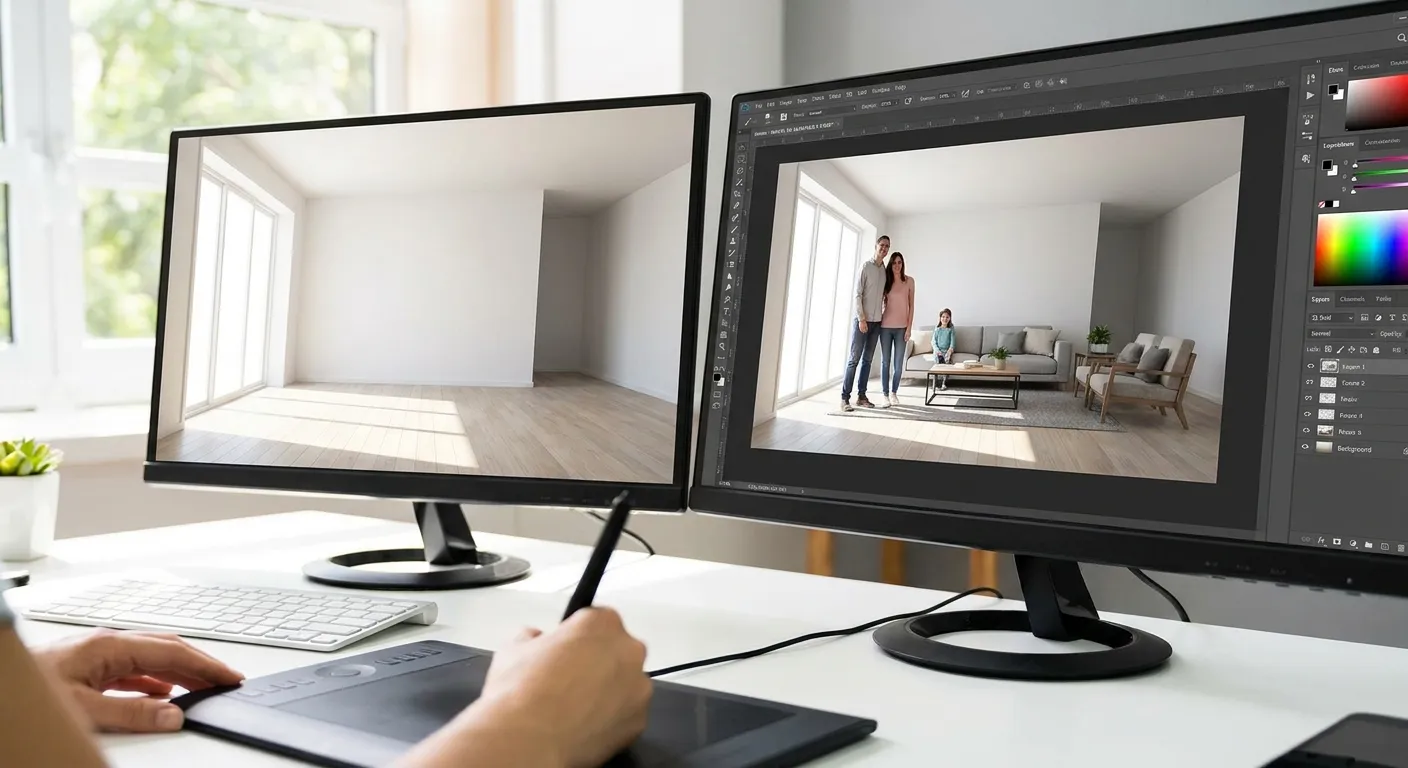
Empty rooms kill renders. A perfectly lit kitchen with zero life in it reads as a stock photo nobody trusts — add a person leaning on the island or a stack of throw pillows on the sofa and the same scene reads as a home someone actually lives in.
- Adding people to AI renders works best with a text prompt describing pose, clothing, and scale relative to the room.
- PromptRender adds furniture and human figures directly from a SketchUp, Revit, or Rhino screenshot in under a minute.
- Scale mismatches are the #1 failure mode — a 6'2" figure standing 4 feet tall in the render kills credibility instantly.
- Verdict: describe the scene like you're directing a photo shoot, not like you're filling a checklist.
Why this matters
Clients don't buy floor plans. They buy the feeling of a finished space, and empty CAD-derived renders read as unfinished no matter how good the lighting or materials are.
A 2026 render with two figures in the frame and a rug under the coffee table takes the same amount of time to generate as one without — the only variable is whether you tell the AI what to add. Firms that skip this step end up sending back sterile renders and wondering why the client asked for "more life" in the revision notes.
The fix isn't a separate rendering pass or a Photoshop cutout library. It's the prompt.
What you'll need
- A base 3D model screenshot from SketchUp, Revit, Rhino, Blender, or ArchiCAD
- A clear idea of the room's function (living room vs. lobby vs. retail floor changes what furniture and people belong there)
- Reference language for pose and clothing — "standing," "seated," "casual," "business attire"
- An account on PromptRender with render credits available
- 2-3 minutes per variation, since you'll want at least two takes to pick the best composition
If you haven't generated the base render yet, start with the walkthrough on how to create a photorealistic rendering from a 3D model — populating an empty shell is a wasted step if the shell itself isn't dialed in.
The steps
1. Upload the base screenshot
Start with a clean 3D model screenshot, not a rendered image. The AI reads geometry and camera angle from the raw screenshot more accurately than from an already-styled render, which reduces artifacts around added furniture and figures.
Common mistake: uploading a screenshot with the model's default gray materials still on and heavy shadow bake — strip visual noise before upload so the AI isn't fighting existing shading.
2. Describe the room's function first
Before you mention a single person or chair, tell the prompt what the room is for: "open-plan kitchen with island seating for four" or "hotel lobby with a reception desk." This anchors furniture selection to the actual use case instead of generic staging.
Skipping this step is why generic renders end up with a dining table in what was supposed to be a home office.
3. Add furniture with specific, functional language
Name pieces the way a designer would brief a stager: "a low-profile gray sectional facing the fireplace," "a walnut dining table seating six," "open shelving with books and ceramics." Vague prompts like "add furniture" produce generic filler that looks pasted in.
For kitchen and bath jobs specifically, cross-reference the furniture language used in AI rendering software for kitchen and bath designers — the prompt vocabulary that gets clean island seating results also applies here.
Expected outcome: furniture that matches the room's scale and doesn't compete visually with the architecture.
4. Add people with pose, scale, and count
This is the step most users get wrong. Specify number of people, rough age range, activity, and body position: "two adults in casual clothing seated at the counter, one standing near the window." Vague prompts like "add a person" often return a figure floating mid-room or scaled wrong against a doorway.
Cap it at 1-3 figures for interior residential scenes and 3-6 for commercial or lobby scenes — overcrowding a render makes it look like a stock photo instead of a design proposal.
Common mistake: forgetting scale references. A doorway is roughly 6'8" — if a figure standing next to it reads taller or shorter than that, the whole render loses credibility in a two-second glance.
5. Set the camera angle and lighting together
People and furniture read differently depending on light direction. A figure lit from behind turns into a silhouette; a sofa in flat overhead light loses its texture. Specify time of day and light source in the same prompt pass — "late afternoon sun through the west windows" does more work than adjusting brightness after the fact.
If the scene calls for evening ambiance instead of daylight, the technique differs enough that it's worth reading how to render night and dusk lighting scenes with AI before you commit to a final pass.
6. Generate two to three variations
Don't accept the first output. Generate 2-3 variations changing only the people/furniture prompt line — camera angle and materials stay locked. Compare which figure poses and furniture arrangements read most naturally against the architecture.
Expected outcome: one variation clearly beats the others on composition — that's the one you send.
7. Check scale and shadow consistency before delivery
Zoom into where each person or furniture piece meets the floor. Shadows should point the same direction as the architecture's existing shadows, and feet/furniture legs should sit flush with the floor plane, not floating a half-inch above it.
Add people and furniture to your next render
Upload a 3D model screenshot and generate a populated scene in under a minute.
Troubleshooting
Figures look flat or pasted in. The lighting direction in the prompt doesn't match the room's existing light source — restate the time of day and window position explicitly.
People are scaled wrong against furniture. Add a reference object in the prompt, like "standing next to a 36-inch kitchen island," so the AI has a size anchor.
Furniture style doesn't match the architecture. Vague style terms produce mismatched furniture — specify material and era, "mid-century walnut credenza" instead of just "credenza."
Too many people crowd the frame. Cut the count. Two well-placed figures read better than five awkwardly composed ones, especially in residential scenes under 2026 client review standards where clean composition wins over busy staging.
Clothing looks generic or repeats across variations. Specify clothing type per figure — "business casual," "loungewear," "chef's uniform" — rather than leaving it to default interpretation.
Shadows point the wrong direction. Restate the light source position in the same prompt line as the people/furniture description so both are generated consistent with one lighting pass.
Tools and resources
- PromptRender — upload a screenshot, describe the scene, generate a populated render in seconds
- How to create a photorealistic rendering from a 3D model — base workflow before adding people or furniture
- How to add realistic lighting to AI architectural renders — get lighting right so added figures and furniture don't look pasted in
What to do next
Once people and furniture are dialed in, the next question is how to present the render itself. Client-facing decks read differently than internal review images — pacing, annotation, and sequencing matter as much as the render quality. Walk through how to present renovation concepts to clients with AI renders before your next pitch meeting.
FAQ
How do I add people to an AI architectural render?
Describe the number of people, their pose, clothing, and activity directly in the prompt alongside the room description. PromptRender generates the figures in the same pass as the base render, so scale and lighting stay consistent with the architecture.
Can AI rendering tools add furniture from a 3D model screenshot?
Yes — uploading a SketchUp, Revit, or Rhino screenshot and describing specific furniture pieces (material, style, placement) in the prompt produces a furnished render without a separate staging pass.
Why do people look scaled wrong in my AI render?
Scale errors happen when the prompt doesn't reference a fixed object for size, like a doorway or counter height. Adding a size anchor, such as 'standing next to a 36-inch island,' fixes most scale mismatches.
How many people should I add to an interior render?
One to three figures works for residential interiors; three to six suits commercial or lobby scenes. More than that crowds the composition and reads as a stock photo instead of a design proposal.
Does adding people slow down AI render generation?
No — generation time stays roughly the same whether the scene includes figures and furniture or not, since it's a prompt change, not an added rendering pass.
What's the difference between staging furniture and adding people in a render?
Furniture establishes room function and scale; people establish activity and life in the space. Both should be described in the same prompt so lighting and shadow direction stay consistent across the whole scene.
Can I add people to an exterior architectural render?
Yes — describe pedestrians, activity level, and time of day the same way you would for an interior scene. Exterior figures need consistent shadow direction with the building's existing light source to read as real.
Should clothing style match the target buyer or tenant?
Yes — for real estate or commercial pitches, matching clothing style to the target demographic (business casual for office lobbies, family-casual for residential) makes the render resonate with the actual client audience.
One last thing
The single biggest lift in render believability isn't a better camera angle or higher resolution — it's a shadow that lines up. A figure or sofa with a shadow pointing the wrong direction relative to the window light gets flagged by a viewer's eye before they consciously register why the image feels off. Fix the shadow direction in the prompt before you touch anything else in 2026's revision cycle.