How to Create a Virtual Staging Render (2026 Guide)
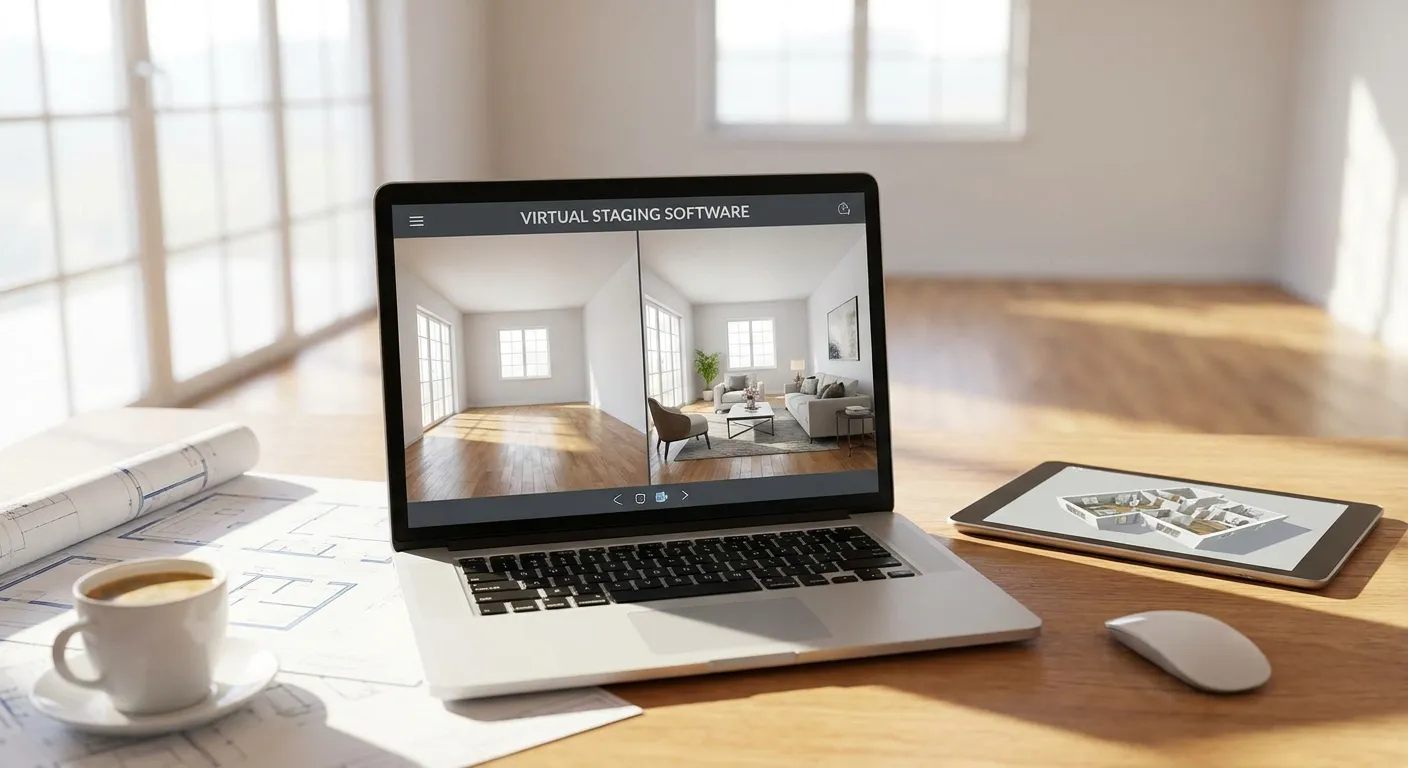
Turning an empty listing photo into a staged, photorealistic render now takes three steps and under a minute per image — no physical furniture, no rendering software license, no waiting on a 3D artist's queue.
- PromptRender turns an empty MLS photo or SketchUp screenshot into a staged render in under a minute. Buy the workflow.
- How to create a virtual staging render for real estate listings: upload, describe the furniture, generate.
- Skip furniture-plugin staging for empty rooms in 2026 — text-prompt staging matches lighting and camera angle automatically.
- Budget 2-5 minutes per room including one regeneration pass to fix a floating rug or mismatched wall material.
Why this matters
Vacant listings photograph flat. Buyers scroll past empty rooms because they can't picture furniture, scale, or flow — and agents know it, which is why physical staging has been standard practice for over a decade.
The problem is cost and turnaround. A staging crew needs days of lead time and per-room rental fees, and none of that helps a listing that goes live this week.
AI virtual staging closes that gap. PromptRender takes a screenshot from SketchUp, Revit, Rhino, Blender, or ArchiCAD — or a plain photo of the empty room — and generates a photorealistic staged render from a text description, no 3D furniture models or manual placement required. In 2026, that's the difference between a listing photo set finished same-day and one waiting on a stager's calendar.
What you'll need
- A screenshot or photo of the room — a 3D model export from SketchUp, Revit, Rhino, Blender, or ArchiCAD works, and so does a straight vacant-property photo shot on a phone
- A PromptRender account with available render credits
- A short staging description: style, key furniture pieces, materials, and mood ("modern Scandinavian living room, white oak floors, linen sofa, brass floor lamp")
- 2 to 5 minutes per room, including one round of edits
- Consistent lighting in the source photo — flat, even light gives the AI a cleaner base to work from than harsh shadows
The steps
1. Capture a clean base image
This is the input the entire render is built on, so a clean, well-lit shot matters more than any prompt you write later. Shoot the room straight-on or from a corner at eye level, keep the frame level, and avoid extreme wide-angle distortion that curves the walls.
For 3D model screenshots, export at the highest resolution your software allows and use a standard perspective camera, not a fisheye lens. Expected outcome: a sharp, undistorted image where floor, walls, and windows read as straight lines. Common mistake: shooting at a downward angle from a phone, which compresses the ceiling and confuses furniture scale in the output.
2. Upload the image to PromptRender
Uploading tells the AI what geometry, windows, and existing finishes it has to work with before it adds anything. Drag the file into the upload panel and confirm the room boundaries are fully visible in frame — cropped corners or half-visible doorways lead to furniture that clips through walls.
Expected outcome: the image loads and PromptRender recognizes it as an interior space ready for staging. Common mistake: uploading a low-resolution export under 1000px wide, which softens edges and makes furniture look pasted-in.
3. Write the staging description
This is where you set the buyer's first impression, so specificity beats vague adjectives every time. Instead of "nice living room," write "mid-century modern living room, walnut coffee table, olive green sofa, woven jute rug, brass pendant light, warm afternoon light through the window."
Name the style, 2-3 anchor furniture pieces, one material, and the lighting mood — that's usually enough for a coherent result. Expected outcome: a room that reads as intentionally decorated, not randomly furnished. Common mistake: listing ten furniture items in one prompt, which crowds a small room and looks unrealistic.
4. Set the camera angle and lighting to match reality
Matching the render's lighting to the actual time-of-day photos in your listing keeps the staged shots from looking like a different property. If your listing photos were shot mid-morning with natural light from the east-facing window, say so in the prompt: "soft morning light from the left window."
Expected outcome: staged and unstaged photos in the same listing look like they came from the same shoot. Common mistake: requesting dramatic evening lighting for a room photographed at noon — buyers notice the mismatch even if they can't name it.
5. Generate the render
This is the step that actually produces the photorealistic image, and it takes under a minute per room as of 2026. Hit generate and let PromptRender apply the furniture, materials, and lighting described in your prompt to the uploaded geometry.
Expected outcome: a full-resolution staged render ready for review. Common mistake: generating once and accepting a flawed result instead of using a render credit to regenerate — one pass rarely nails everything on the first try.
6. Review for scale and placement errors
Check this before you touch export, because a floating chair or a rug clipping through a wall is the fastest way to make an otherwise strong render look fake to a buyer. Zoom into corners, door frames, and window sills specifically — those are where AI staging tools most often misjudge depth.
Expected outcome: furniture sits flush on the floor, shadows fall in the direction of the light source, and proportions match the room's actual dimensions. Common mistake: skipping the zoom-in check and only glancing at the thumbnail preview.
7. Export at listing-ready resolution and format
MLS platforms and listing sites have their own image requirements, and a render that looks great at preview size can pixelate at full width on a listing page. Export at the highest resolution PromptRender offers and check your MLS's minimum pixel width — most require at least 1024px on the long edge in 2026.
Expected outcome: a staged photo indistinguishable in quality from the rest of your listing photo set. Common mistake: exporting a compressed preview-size file instead of the full-resolution version.
Stage your next listing today
Upload a room photo and get a staged render back in under a minute.
Troubleshooting
- Furniture looks like it's floating above the floor. Regenerate with a more specific instruction about grounding — "sofa resting flat on the hardwood floor" — and check that your source photo shows the full floor plane, not a cropped view.
- Materials look flat or plastic-y. Name the material explicitly instead of the object — "brushed brass hardware" instead of "gold fixtures" — and avoid stacking more than two or three distinct materials in one prompt.
- Lighting in the render doesn't match your other listing photos. Describe the actual time of day and window direction from your source shoot rather than a generic "bright and airy" prompt.
- Walls or ceiling lines look warped. This usually traces back to the source image — reshoot with a level camera and standard perspective, not a wide-angle or fisheye lens. If the source is a SketchUp export, the SketchUp render troubleshooting guide covers the same distortion issue at the model-export stage.
- Output aspect ratio doesn't fit your MLS template. Crop after export rather than during — cropping the source image first can cut off geometry the AI needs to stage the full room correctly.
- You're burning render credits faster than expected. Tighten your prompt before regenerating instead of running blind repeats; a specific second prompt usually fixes the issue in one try instead of three.
Tools and resources
- PromptRender for the upload-describe-generate staging workflow itself
- A tripod or level app on your phone for straight, undistorted source photos
- The photorealistic rendering from a 3D model guide if you're staging a pre-construction unit from a model export rather than a photo of a finished room
- Your MLS's image specification page for minimum resolution and aspect ratio before you export final files
What to do next
Once virtual staging is part of your listing workflow, the next gap worth closing is exterior curb appeal — an unstaged front yard or a bare facade shot at dusk hurts click-through just as much as an empty living room. Apply the same upload-describe-generate process to exterior shots before you move on to full listing photo sets.
FAQ
How much does a virtual staging render cost in 2026?
Virtual staging through an AI tool costs a fraction of physical staging, since there's no furniture rental or crew labor — pricing runs on render credits rather than per-day rental fees. Physical staging for a single room typically runs several hundred dollars for even a short rental period.
Is AI virtual staging legal for MLS listings?
Yes, as long as the listing discloses that the photos are virtually staged, which most MLS boards require as of 2026. Check your specific MLS's disclosure policy before publishing staged images.
How long does it take to create a virtual staging render?
A single room takes under a minute to generate once the photo is uploaded and the prompt is written, plus a couple more minutes for review and one regeneration pass if needed. A full listing of 6-8 rooms typically takes 20-30 minutes start to finish.
Can I virtually stage a photo of a room, not just a 3D model export?
Yes. PromptRender works from plain photos of vacant rooms as well as 3D model screenshots from SketchUp, Revit, Rhino, Blender, or ArchiCAD, so agents without access to a 3D model can still stage listing photos directly.
What's the best format to shoot a room before virtual staging?
Shoot level, well-lit, and undistorted — a straight-on or corner angle at eye level with even lighting gives the cleanest base image. Avoid wide-angle lenses that curve walls, since that distortion carries into the final render.
Does virtual staging work for empty commercial or retail spaces, not just homes?
Yes, the same upload-describe-generate process applies to any vacant interior, residential or commercial, as long as the source photo or model shows the full room clearly.
How many times can I regenerate the same virtual staging render?
That depends on your available render credits, but one or two regeneration passes with a refined prompt is typically enough to fix furniture placement or lighting mismatches.
One last thing
The detail that trips up most first-time virtual stagers isn't the furniture — it's lighting direction. A render staged with light falling from the wrong side of the room, relative to the actual window position in your other listing photos, reads as fake to buyers even when the furniture itself looks convincing. Match the time of day and window direction in your prompt before you touch furniture style, and the staged photo will blend into the rest of the listing set instead of standing out as the obviously edited one.