AI Render Walkthrough Sequence: How to Build One (2026)
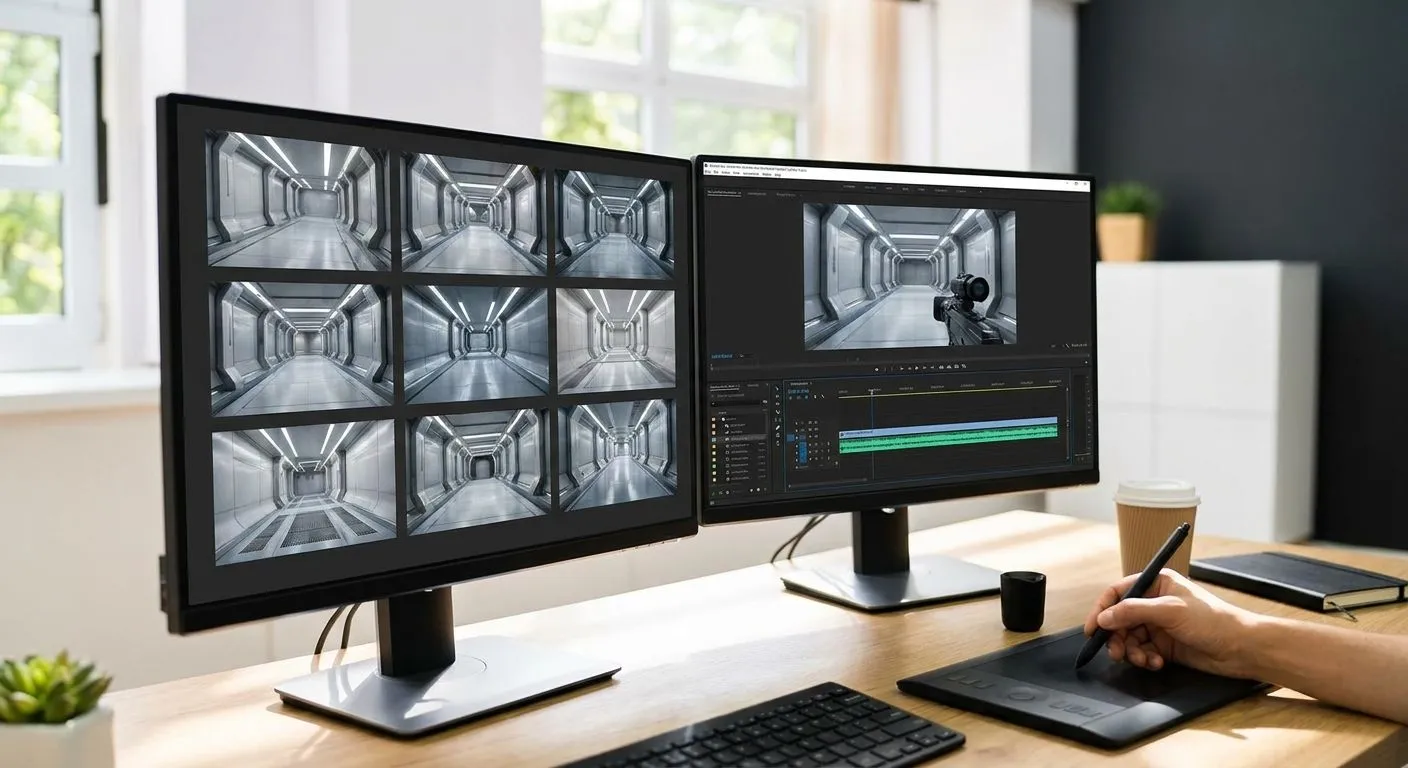
A walkthrough-style sequence is just a set of AI stills shot from consistent camera waypoints and rendered under identical lighting rules, then stitched into a slideshow or timed video. Get the capture and prompt steps right and PromptRender turns a handful of SketchUp or Revit screenshots into a sequence that reads like one continuous flythrough instead of ten disconnected renders.
- Lock camera height, lens, and lighting before generating any frame in an ai render walkthrough sequence.
- Shoot 6-10 waypoints per space — fewer than 6 breaks visual continuity once frames are sequenced.
- Reuse one written prompt across every still so materials and lighting don't drift frame to frame.
- Generate the full batch in one PromptRender session to avoid mismatched render settings.
- Export every frame at the same 16:9 resolution so post-production stitching doesn't crop or letterbox.
Why this matters
Clients and reviewers judge a walkthrough by continuity, not by how good any single frame looks. One inconsistent shadow direction or a material that shifts from oak to walnut between frames and the whole sequence looks like it was assembled from different projects. Pitch decks and design reviews in 2026 increasingly expect a flythrough clip instead of three static boards, and firms that can turn a still-image workflow into a walkthrough without hiring a rendering studio win that pitch on turnaround time alone.
The fix isn't a special rendering engine — it's discipline in how you capture and prompt. PromptRender generates photorealistic frames from 3D model screenshots in seconds, which means the bottleneck moves from render time to how carefully you set up the sequence before you generate a single image.
What you'll need
- A 3D model in SketchUp, Revit, Rhino, Blender, ArchiCAD, or similar with a camera path already blocked out
- 6-10 static screenshots per space, captured from a consistent eye-height (roughly 5'6" for interiors, tripod height for exteriors)
- Enough render credits for the full sequence, generated in one sitting
- A short written description of materials, lighting, and time of day, reused word-for-word across every frame
- Basic editing software to time and stitch the stills — Premiere, CapCut, or even a Keynote slideshow works
The steps
1. Block out your camera path in the 3D model
Open your model and place camera waypoints along the route you want a viewer to follow — entry, midpoint, and destination for each space at minimum. This step accomplishes the actual continuity: every later render inherits its position from this path, so sloppy waypoints here produce a jumpy sequence no amount of prompting can fix. Space waypoints 4-6 feet apart in a typical room; wider spacing creates visible jumps once frames are sequenced. Common mistake: rotating the camera between waypoints instead of translating it, which reads as a jump-cut rather than a walkthrough.
2. Lock your scene settings before the first screenshot
Fix your field of view, time of day, and any visible material assignments in the 3D software before you capture anything. Changing lens angle mid-sequence is the single biggest cause of a walkthrough that looks stitched together rather than filmed. Set focal length once — 35mm to 50mm equivalent works for most interior walkthroughs — and don't touch it again until the last frame is captured.
3. Capture screenshots at even intervals
Walk the camera path and export a screenshot at each waypoint, keeping the same zoom level and horizon line in every shot. Six to ten frames per space is the range that holds up in a finished sequence; fewer than six and the eye notices the gaps, more than twelve and render credits pile up without adding continuity value. Number your files in sequence order immediately (01, 02, 03) so nothing gets reordered later.
4. Write one prompt, reuse it across every frame
Draft a single material and lighting description — flooring, wall finish, window light direction, time of day — and paste it unchanged into every render request. This is what keeps a walnut floor from turning into oak halfway through the sequence. If your workflow guide is thin here, the step-by-step process for turning a 3D model into a photorealistic render covers prompt structure in more depth.
5. Generate renders in the same batch
Run all 6-10 frames through PromptRender back to back rather than spreading generation across separate sessions days apart. Doing the full batch in one sitting means the AI model version and any default settings stay identical across frames, which matters more than most people expect once frames sit side by side in a timeline. Expected outcome: ten frames that share the same color grade and light quality without any manual color-matching pass.
6. Check continuity frame-by-frame
Lay all the finished stills out in a single grid before you touch any editing software. Scan for shadow direction, material color, and furniture placement drift — the three things a reviewer's eye catches first. Regenerate any outlier frame with the same locked prompt rather than trying to color-correct it after the fact; a mismatched frame regenerated at this stage costs one render credit, while fixing it in post costs an editing session.
7. Sequence and time the stills
Import the frames into your editing tool in file order and set a consistent hold time — 0.8 to 1.2 seconds per frame plus a short crossfade reads as motion without feeling like a slideshow. Aerial or drone-style transitions between exterior and interior sequences need a slightly longer hold, closer to 1.5 seconds, since the eye needs more time to reorient. If exterior perspective work is part of the sequence, the guide on rendering aerial and drone-view perspectives with AI covers camera height and angle choices that hold up across a moving sequence.
8. Export at presentation resolution
Export every frame and the final video at the same aspect ratio — 16:9 is the safe default for both screen presentation and client email. Mixed aspect ratios force letterboxing or cropping during stitching, which is the fastest way to lose the polish a walkthrough is supposed to deliver. Render at the highest resolution PromptRender supports for the final pass; downscaling later is far easier than trying to upscale a soft frame.
Build your first walkthrough sequence
Upload your screenshots and generate a locked, consistent frame set in minutes.
Troubleshooting
- Lighting shifts between frames — you changed time-of-day settings mid-capture. Re-lock the sun angle in your 3D software and regenerate the outlier frames with the identical lighting prompt.
- Materials change color frame to frame — the written prompt wasn't reused verbatim. Copy the exact material description into every render request instead of paraphrasing it each time.
- Camera height jumps between waypoints — screenshots were captured from different eye-levels. Set a fixed camera height in the model before exporting any screenshot, not after.
- Furniture or people appear and disappear — staging elements were added inconsistently across frames. Add furniture and figures to the base model once, before any screenshots are taken, so every frame inherits the same staging. The guide on adding people and furniture to AI architectural renders walks through placement that survives a full sequence.
- Aspect ratio mismatch during export — frames were rendered at different output settings. Confirm the export resolution once at the start of the batch and don't change it between frames.
- Sequence feels jerky when played back — waypoints were spaced too far apart in step 1. Add two or three intermediate frames between the widest gaps rather than trying to fix pacing in the editing software.
Tools and resources
- A 3D model with a blocked camera path (SketchUp, Revit, Rhino, Blender, ArchiCAD)
- PromptRender for generating each frame from a locked screenshot and prompt
- A written material and lighting brief, reused across every frame in the sequence
- Slideshow or video editing software for timing and crossfades (Premiere, CapCut, Keynote)
- The full walkthrough for creating a photorealistic rendering from a 3D model if any single step in this process needs more detail
What to do next
Once the sequence holds together, the next bottleneck is usually turnaround on the whole pitch, not just the walkthrough clip. The guide on building a fast rendering workflow for architecture pitches covers how to compress the capture-to-delivery timeline further, which matters most when a walkthrough sequence has to ship same-day.
FAQ
What is an ai render walkthrough sequence?
An ai render walkthrough sequence is a set of photorealistic AI-generated stills, shot from consistent camera waypoints and lighting, stitched together to simulate a continuous flythrough. It differs from a true animated walkthrough because each frame is a separate render rather than a rendered video.
How many frames do I need for a walkthrough sequence?
6 to 10 frames per space is the working range in 2026 for a sequence that reads as continuous. Fewer than 6 creates visible gaps in motion; more than 12 adds render cost without improving continuity.
Can I use screenshots from any 3D software?
Yes, screenshots from SketchUp, Revit, Rhino, Blender, ArchiCAD, AutoCAD, Vectorworks, or 3ds Max all work as long as the camera path and eye-height stay consistent across frames.
Why do my AI renders look inconsistent across a sequence?
Inconsistent renders usually come from a prompt that was rewritten between frames instead of reused verbatim, or from screenshots captured at different camera heights or times of day. Lock both before generating.
Is a walkthrough sequence better than a single hero render for client pitches?
A walkthrough sequence communicates spatial flow that a single hero render can't, which matters most for full-space renovations or new-build pitches in 2026. A single hero render is still faster and cheaper when only one view needs to sell the concept.
How long should each frame hold on screen in the final video?
0.8 to 1.2 seconds per frame with a short crossfade reads as motion without feeling like a slideshow. Exterior-to-interior transitions benefit from a slightly longer hold, around 1.5 seconds.
Does PromptRender generate video walkthroughs directly?
PromptRender generates photorealistic stills from 3D model screenshots; the walkthrough motion comes from sequencing and timing those stills in editing software afterward, not from a built-in animation engine.
One last thing
The frame that breaks most sequences isn't the one with bad lighting — it's the one shot from a slightly different eye-height than the rest, because that's the error the human eye catches even when it can't name what's wrong. Lock camera height in the 3D model before the first screenshot, not after the tenth, and the rest of an ai render walkthrough sequence gets noticeably easier to assemble in 2026.