Prepare Multiple Camera Angles for AI Rendering (2026)
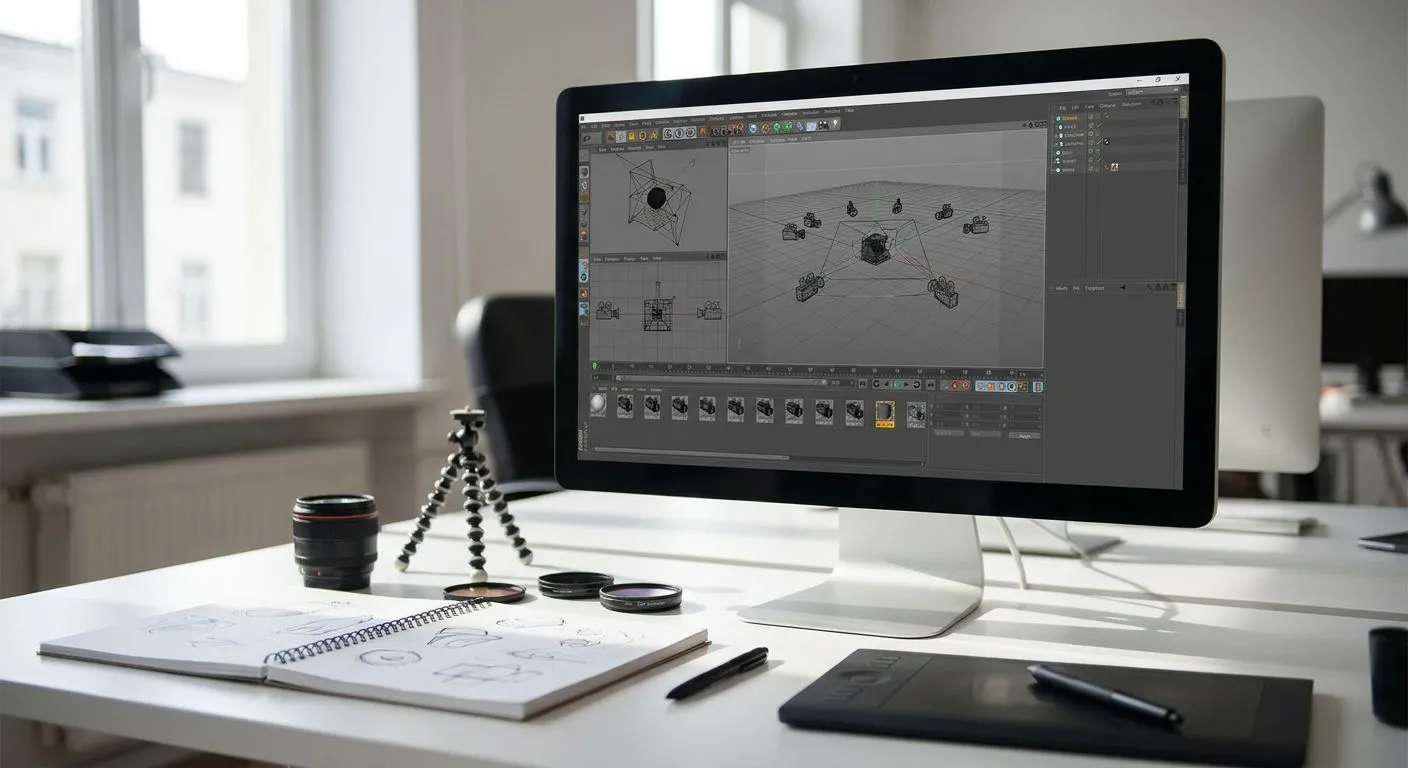
Preparing multiple camera angles for one AI rendering pass means capturing 3 to 5 consistent screenshots from the same 3D model, uploading them together, and reusing one style prompt so every angle matches in lighting, materials, and mood. Skip that setup and you get five renders that look like five different buildings, not one project shot from five sides.
- Batch 3-5 screenshots from the same model file before uploading for one AI rendering pass.
- Lock camera height, field of view, and scale across every angle or materials shift between renders.
- Reuse one style prompt across all angles instead of writing a new prompt per screenshot.
- Exterior elevation, interior wide shot, aerial view, and one detail close-up cover most 2026 presentation decks.
- Name files by angle number before export so batch uploads stay in the right order.
Why this matters
A client reviewing a 2026 pitch deck notices inconsistency faster than they notice quality. If the exterior render has warm afternoon light and the interior shot two pages later reads as overcast noon, the whole deck looks unfinished even if each individual image is sharp.
Most architects and interior designers who batch angles for one photorealistic rendering from a 3D model run into the same three problems: mismatched scale between screenshots, a new prompt written for every angle instead of one reused prompt, and camera heights that drift because the model wasn't locked before capture. Fix those three and the batch step becomes mechanical.
How to prepare multiple camera angles for one AI rendering pass
Follow these steps in order. Skipping the lock-down step (2) is the single biggest reason batches come back inconsistent.
- Pick one camera height and stick to it. Interior shots typically sit at 4.5 to 5.5 feet (eye level); exterior elevations sit lower, around 3 to 4 feet, to avoid a drone-like distortion.
- Lock scale and units in the model before you take any screenshot. If SketchUp, Revit, or Rhino recalculates scale mid-session, angle 3 will render at a different apparent size than angle 1.
- Choose 3 to 5 angles that serve a purpose, not five variations of the same view. A front elevation, an interior wide shot, one aerial or drone-style angle, and one material close-up covers most 2026 client decks.
- Keep field of view consistent across every screenshot. A 35mm-equivalent view on angle 1 and a 90-degree wide view on angle 4 will read as two different lenses in the final renders, even after AI processing.
- Name files by sequence before export: angle-01-exterior, angle-02-interior, angle-03-aerial. Batch uploads stay ordered and nothing gets mislabeled downstream.
- Write one style prompt and reuse it across every angle in the batch, adjusting only the camera or room description. PromptRender applies the same material, lighting, and mood language to each upload, so one prompt keeps the whole set visually unified.
- Upload the full batch together rather than one at a time. Processing angles in the same pass is what keeps lighting and material rendering consistent across the set.
Exterior front elevation angle
The exterior elevation is usually the first image a client sees, so it sets the tone for the rest of the batch. Capture it straight-on with minimal perspective distortion, camera height around 3 to 4 feet, and enough surrounding context (driveway, landscaping, sky) for PromptRender to generate a believable outdoor scene.
Keep the same time-of-day language in your prompt that you plan to reuse for any other exterior or aerial angles in the set. Verdict: mandatory angle for any exterior or full-building project — always include it first in the batch.
Interior wide-angle shot
Interior wide shots work best at eye level, roughly 4.5 to 5.5 feet, angled to capture two full walls plus ceiling and floor context. This is the angle that shows spatial relationships — how a kitchen island relates to the dining area, or how a living room opens onto a hallway.
Avoid extreme wide-angle lens settings in your 3D software; anything beyond a standard field of view introduces barrel distortion that AI rendering will exaggerate rather than correct. Verdict: essential for interior design and renovation decks — skip only for pure exterior or facade projects.
Aerial or drone-style angle
An aerial and drone view perspective adds context that ground-level shots can't — site layout, roofline, neighboring structures, and landscaping in relation to the building. Set the camera 30 to 60 feet above grade in your model and angle it 30 to 45 degrees downward for the most natural-looking result.
This angle matters most for real estate listings, multifamily projects, and site plans where the client needs to see the property in context, not just the structure in isolation. Verdict: high-value add for site-context projects, optional for single-room interior work.
Close-up material or detail angle
A close-up angle isolates one material moment — a stone facade, a kitchen countertop, a lighting fixture — at a camera distance of roughly 3 to 6 feet. This is the angle that sells finish quality to a client who's already sold on the overall design.
Keep the material description in your reused prompt specific: "honed granite" reads differently than "granite" once PromptRender renders the surface texture. Verdict: worth the extra angle whenever finish selection is part of the client conversation, skip for early massing studies.
Why camera angle consistency varies across projects
Some batches come out tighter than others even when the steps above are followed. A handful of factors explain most of the drift:
- Model complexity — a highly detailed Revit model holds scale and proportion across angles better than a rough SketchUp massing study.
- File format differences — screenshots exported from different software (say, one from Rhino, one from Blender) rarely match in default camera FOV without manual adjustment.
- Screenshot resolution — low-resolution captures give the AI rendering pass less detail to work from, which shows up as softer edges on some angles and not others.
- Lighting setup in the source model — if one screenshot was taken with the model's daylight system on and another with it off, the reused prompt has to work harder to unify them.
- Output aspect ratio needs — a landscape exterior shot and a portrait-cropped interior shot for social media require separate export settings even within the same batch.
“If two angles from the same batch look like two different lighting setups, the fix is almost always the source screenshots, not the render pass.”
How many camera angles should you render per project?
Most 2026 client decks use 3 to 5 camera angles per space: one exterior or establishing shot, one or two interior wide angles, and one detail or aerial angle depending on the project type. Fewer than 3 angles rarely tells a full spatial story, and more than 6 starts to dilute the client's attention on any single image.
Can you batch multiple angles in one AI rendering pass?
Yes — uploading several screenshots together in one batch is how PromptRender keeps lighting, materials, and mood consistent across an entire angle set. Uploading angles one at a time across separate sessions increases the odds of prompt drift between images.
Do different camera angles need different prompts?
No, not for style and material language — reuse one core prompt across the batch and only change the camera or room-specific description line. This is what keeps an exterior, interior, and aerial shot from the same project looking like they belong together.
Batch your angles in one pass
Upload 3-5 screenshots and generate a consistent render set in minutes.
FAQ
How many camera angles do you need for one AI rendering pass?
Most 2026 projects use 3 to 5 angles: one exterior or establishing shot, one or two interior wide shots, and one aerial or detail close-up. Fewer angles rarely tell a full spatial story; more than 6 dilutes client focus.
Should every camera angle use the same lighting prompt?
Yes, reuse the same time-of-day and lighting language across every angle in the batch. Mixing lighting descriptions between screenshots is the most common cause of a mismatched render set.
What camera height works best for interior shots?
Interior wide shots read most naturally at 4.5 to 5.5 feet, roughly eye level. Going lower or higher introduces distortion that AI rendering will amplify rather than smooth out.
Can PromptRender process multiple angles from different software in one batch?
Yes, screenshots from SketchUp, Revit, Rhino, Blender, and ArchiCAD can be uploaded together, but match field of view and resolution across files first. Mismatched export settings between programs are the main source of inconsistency.
Does aerial view need a separate prompt from ground-level angles?
Aerial angles need a camera height adjustment (30 to 60 feet above grade) but can keep the same material and lighting language as ground-level shots in the same batch. Only the perspective description changes.
How do you keep materials consistent across a multi-angle render set?
Use identical, specific material language in the reused prompt across every angle, such as "honed granite countertop" rather than just "granite." Vague material terms are what cause the same surface to render differently between angles.
What resolution should camera angle screenshots be before uploading?
Higher-resolution screenshots give PromptRender more detail to work from on edges and materials, so export at your software's highest practical screenshot resolution. Low-resolution captures produce softer, less consistent results across a batch.
One last thing
The angle that gets skipped most often, and causes the most rework, is the material close-up. Teams batch the exterior, interior, and aerial shots, present the deck, and then get asked "what does the countertop actually look like" in the client meeting — at which point they're rendering a single extra angle outside the original batch, with a prompt that no longer matches the rest of the set exactly. Include the detail shot in the first pass in 2026, even when it feels optional.