AI Render for Permit Submission: 2026 Facade Guide
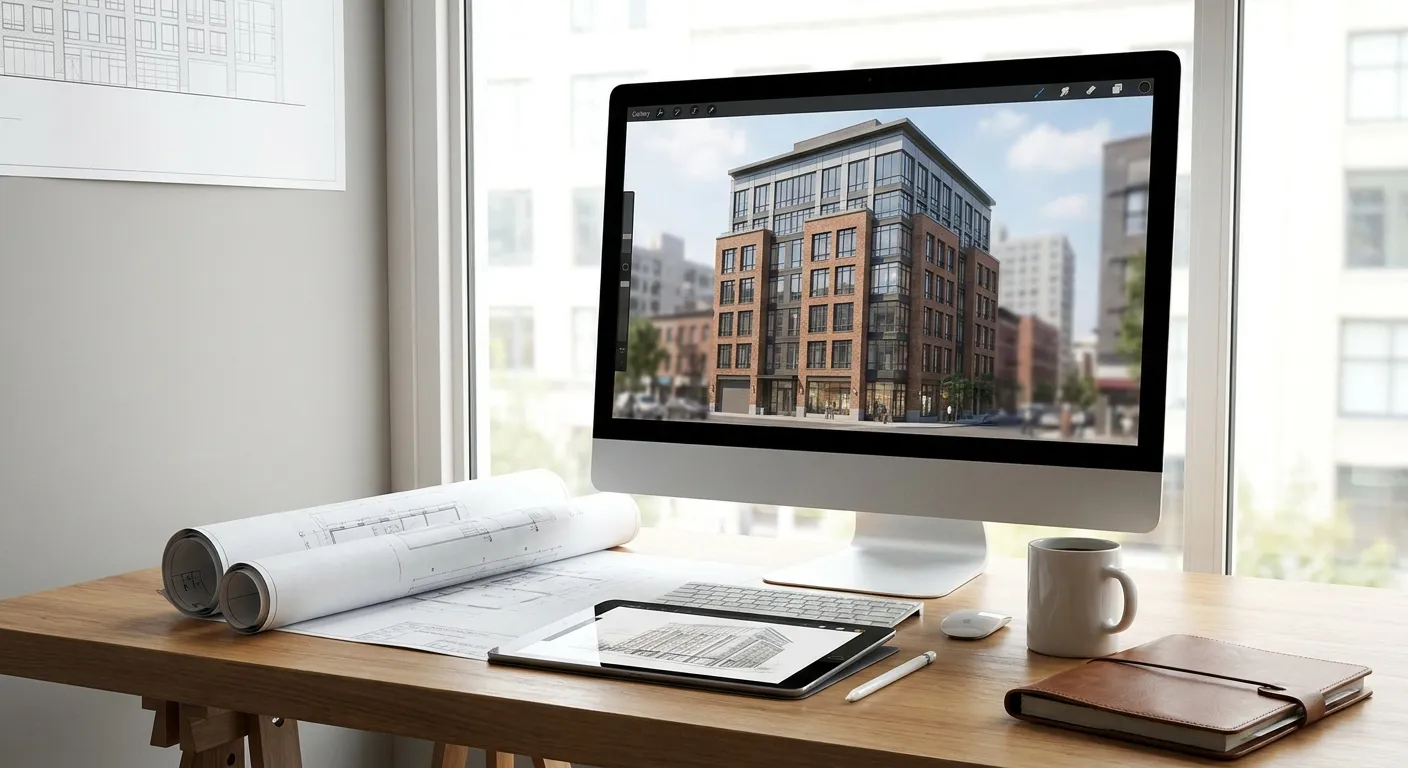
Permit boards want to see what a building actually looks like, not just a line-weight elevation, and turning a SketchUp or Revit screenshot into a photorealistic render is the fastest way to give them that without hiring a visualization studio. This guide walks through the exact workflow for producing an ai render for permit submission packages, from export settings to the mistakes that get drawings kicked back.
- PromptRender turns a Revit or SketchUp facade screenshot into a photorealistic render for permit submission in a few minutes.
- Keep the CAD elevation as the technical record of record — the render supports it, never replaces it.
- Match camera angle and scale to what the permit office's checklist actually asks for, not a hero shot.
- Materials in the render must match the spec sheet exactly, or reviewers flag the mismatch and bounce the package.
Why this matters
Zoning boards, historic district commissions, and design review committees in 2026 increasingly ask for a rendered visual alongside the stamped elevation set, especially for facade changes, additions, and infill projects in context-sensitive neighborhoods. A hand-drafted elevation tells a reviewer the dimensions; a render tells them what the street will actually look like.
The problem is turnaround. Traditional rendering studios quote one to two weeks and $300-$800 per view for a single facade, which is a hard ask when a submission deadline is three days out. An AI rendering workflow compresses that to minutes, using the same 3D model file you already built for construction documents.
What you'll need
- A 3D model in SketchUp, Revit, Rhino, ArchiCAD, or a comparable tool, with the facade elevation modeled to scale
- A clean screenshot or export of the elevation view — no shadows, no rendering engine artifacts, just the raw geometry
- The material specification sheet from your drawing set (siding type, brick color, window trim, roofing)
- An account with an AI rendering tool such as PromptRender
- Your permit office's submission checklist — resolution requirements, accepted file formats, and whether a specific view angle (front elevation, corner perspective, streetscape) is mandated
The steps
1. Export a clean elevation screenshot from your model
Open the facade view in your modeling software and export a screenshot with no render engine applied — flat shading is fine. This gives the AI a clean geometric read of window placement, roofline, and proportions without competing lighting information.
Set the export resolution to at least 1920x1080. Lower resolutions produce blurry material detail once the render is generated, which is a common reason reviewers ask for a resubmission.
Common mistake: exporting a perspective view when the permit office wants a true orthographic elevation. Check the checklist before you export, not after you've generated ten renders.
2. Match the camera angle to the submission requirement
Most permit offices ask for a straight-on elevation view, matching the flat elevation drawing in the set. Some historic district reviews want a corner perspective or streetscape context instead — read the requirement literally.
If you're working from Revit, export the elevation directly rather than an interior 3D view; if you're working in SketchUp or another tool, lock the camera to orthographic before capturing the screenshot. Consistency between your CAD elevation and the render angle is what makes reviewers trust the visual.
3. Upload and describe materials precisely
Upload the screenshot to your rendering tool and write a material description that matches your spec sheet word for word: "cedar shake siding, weathered gray," "red brick veneer, running bond," "standing seam metal roof, charcoal." Vague prompts like "nice modern facade" produce a render the AI invents, not the building you're proposing.
Generate two or three variations at this stage. AI renders have some randomness in texture placement, and having options lets you pick the one that reads closest to the actual spec.
Common mistake: letting the AI choose a stylized, over-saturated look. Permit reviewers want a neutral, documentary rendering style, not a marketing hero shot — add "neutral daylight, documentary style" to your prompt to keep it grounded.
4. Add lighting and time-of-day context
Midday, flat, even lighting is the standard for permit renders because it shows true material color without dramatic shadow. Avoid dusk or golden-hour settings unless the reviewer specifically asks for a night lighting study.
If your project includes exterior lighting fixtures that are part of the permit scope, generate a second render showing them lit, following the same approach covered in this guide on adding realistic lighting to architectural renders. Submit both if the checklist allows supplementary visuals.
5. Cross-check the render against the material and zoning spec
Before exporting, put the render side by side with your material schedule and zoning setback drawing. Confirm window count, trim color, roof pitch appearance, and any required screening (mechanical equipment, trash enclosures) all match what's stamped on the technical set.
A render that looks great but shows four windows when the elevation drawing shows five gets flagged immediately, and it erodes trust in the rest of your submission.
6. Export at the required resolution and format
Most permit offices accept PDF or high-resolution JPEG/PNG. Export at 300 DPI minimum if a print-quality PDF is required for a public hearing board. Label the file clearly — "123 Main St — Proposed Facade Rendering — Rev 2" — so it doesn't get lost in a submission folder with a dozen other attachments.
7. Package the render with, not instead of, the technical elevation
Attach the render as a supplementary exhibit behind the stamped elevation drawing, never as a replacement for it. Label it explicitly as "visual aid — not to scale" if your jurisdiction requires that disclaimer, which many design review boards do to avoid the render being treated as a dimensioned document.
Render your facade in minutes
Upload a SketchUp or Revit screenshot and generate a photorealistic facade render for your permit package.
Troubleshooting
The render looks too artistic or stylized for a permit board. Strip adjectives like "dramatic" or "cinematic" from your prompt and add "neutral daylight, flat lighting, documentary photograph style" instead.
Materials don't match the spec sheet. Name the exact material and finish, not a general category — "fiber cement lap siding, painted white" beats "white siding" every time.
Proportions look off compared to the CAD elevation. This usually traces back to exporting a perspective view instead of orthographic. Re-export the screenshot with the camera locked to a true elevation angle.
The reviewer says the render doesn't show adjacent context. Add the neighboring building footprint or streetscape into your prompt description, or generate a wider corner perspective in addition to the straight elevation.
Resolution is too low for the print packet. Re-export the source screenshot at a higher resolution before generating — the AI can't add detail that wasn't in the original geometry capture.
The board asks why the render doesn't match the shadow study. Renders for permit submission should use flat, neutral lighting, not the sun-angle study required for shadow analysis — those are two separate exhibits with different purposes, and mixing them confuses reviewers.
Tools and resources
- PromptRender for converting elevation screenshots into photorealistic facade renders
- A guide to creating a photorealistic exterior render with AI for the broader exterior workflow beyond permit packages
- Your jurisdiction's submission checklist (usually a PDF on the planning department's site) for exact format and resolution requirements
- Your project's material specification sheet and zoning setback drawing for cross-checking accuracy
What to do next
Once the permit render is approved, the same model and material descriptions carry over into client-facing presentation work. If you're preparing for a design review hearing or client pitch after the permit stage, building a fast rendering workflow for architecture pitches covers how to generate multiple angles quickly without redoing the setup from scratch.
FAQ
What is an ai render for permit submission?
An ai render for permit submission is a photorealistic image generated from your 3D model or CAD elevation, submitted alongside the stamped technical drawings to give a zoning or design review board a visual sense of the proposed facade. It supplements the scaled elevation drawing rather than replacing it.
Do permit offices accept AI-generated renders?
Most permit offices accept AI-generated renders as supplementary visual exhibits in 2026, as long as the stamped, scaled elevation drawing is the document of record. Check your specific jurisdiction's checklist since requirements vary by city and by whether the project needs a public hearing.
How long does it take to generate a permit render with AI?
Generating a facade render from an existing SketchUp or Revit screenshot with PromptRender takes a few minutes per view, compared to one to two weeks with a traditional rendering studio. Most of the remaining time goes into cross-checking materials against the spec sheet.
Can I use a Revit elevation directly for the render?
Yes, exporting an orthographic elevation view directly from Revit gives the cleanest geometry for an AI render, since it avoids the perspective distortion of a 3D camera view. Lock the view to elevation mode before capturing the screenshot.
What lighting should a permit render use?
Permit renders should use flat, neutral midday lighting so material colors read accurately, not dramatic dusk or golden-hour lighting. Save moody lighting styles for marketing or client presentation renders instead.
Will a mismatched material in the render get my permit rejected?
A mismatched material between the render and the spec sheet won't automatically reject a permit, but it commonly triggers a request for revision from the reviewer. Cross-check the render against your material schedule before submitting to avoid the delay.
Should the render replace the scaled elevation drawing?
No, the render should never replace the scaled, stamped elevation drawing — it's a supplementary visual aid. Label it as "not to scale" if your jurisdiction requires that disclaimer on non-dimensioned exhibits.
What resolution does a permit render need?
Export the source screenshot at 1920x1080 or higher, and the final render at 300 DPI if a printed packet is required for a public hearing. Lower resolutions produce blurry material detail that reviewers may flag.
One last thing
The render that gets approved fastest in 2026 isn't the most impressive one — it's the one that looks the most boring next to the elevation drawing. Reviewers aren't grading your marketing skills; they're checking that what you're proposing matches what you drew. Flat lighting, exact material names, and matching window counts beat a dramatic hero shot every single time.