AI Render for Social Media Marketing: 2026 Workflow
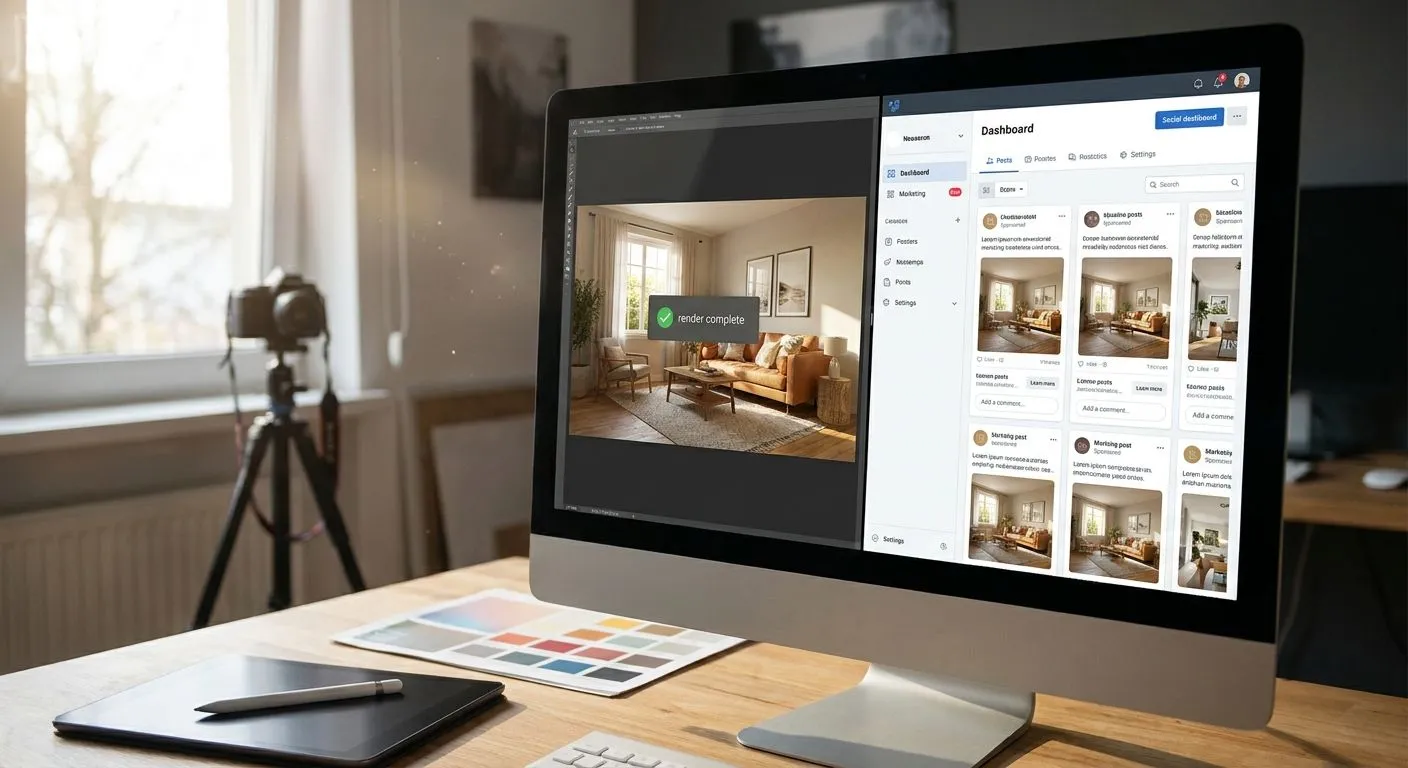
Turning a SketchUp or Revit screenshot into a scroll-stopping Instagram post or a client-ready Facebook ad doesn't require a rendering degree in 2026 — it requires the right workflow and about five minutes per image.
- PromptRender converts SketchUp, Revit, Rhino, Blender, and ArchiCAD screenshots into social-ready renders in seconds — Buy this workflow over hiring per-image render freelancers.
- Crop for platform first: 1080x1080 for feed posts, 1080x1920 for Reels and Stories, 1200x630 for Facebook link previews.
- Match every render to your brand style guide before export — inconsistent lighting and color across a carousel kills engagement.
- An ai render for social media marketing workflow beats stock photography because it shows your actual project, not a generic interior.
Why this matters
Firms that post renders instead of raw 3D screenshots get more saves, shares, and DMs — a flat gray SketchUp model doesn't sell a kitchen remodel, a photorealistic one does. Marketing teams at design agencies and real estate brokerages are under pressure to post weekly, sometimes daily, and hiring a render artist per social asset doesn't scale in 2026's content cadence.
The fix isn't a bigger render budget. It's a repeatable pipeline: capture, upload, describe, export, post. PromptRender exists to compress that pipeline into minutes instead of days, and the steps below apply whether you're posting a single hero shot or building a 10-slide carousel for a project reveal.
What you'll need
- A 3D model open in SketchUp, Revit, Rhino, Blender, ArchiCAD, AutoCAD, Vectorworks, or 3ds Max
- A clean screenshot of the camera angle you want to render — no viewport clutter, no toolbar overlays
- A PromptRender account and render credits
- Your brand's color palette and any style reference (mood board, past renders, brand guide)
- A list of the platform sizes you're posting to (square, vertical, link-preview)
- 5-10 minutes per image, less once you've done it twice
The steps
1. Capture the camera angle that sells the room
Social content rewards a hero angle — one that shows depth, not a flat elevation. Position your 3D model's camera at eye height, roughly 5 to 5.5 feet, angled into the corner of the room so two walls and a focal feature (island, fireplace, window) are visible.
Expected outcome: a screenshot with clear foreground, midground, and background depth. Common mistake: capturing straight-on elevations that read as technical drawings instead of lived-in spaces.
2. Upload the screenshot and pick a rendering style
Upload the raw screenshot into PromptRender and select a style that matches your brand — warm and editorial for a residential interior brand, clean and minimal for a commercial or SaaS-adjacent client. This single choice does more to make a render feel "on-brand" than any post-processing filter.
Expected outcome: the tool locks the geometry from your 3D model while regenerating materials, light, and texture around it. Common mistake: skipping style selection and defaulting to generic settings, which produces renders that look fine individually but clash across a content calendar.
3. Write a description that names materials, not moods
Vague prompts like "cozy and modern" produce inconsistent results. Specific prompts win: "white oak flooring, matte black fixtures, brass pendant light, midday sun through south-facing window." Name the materials, the finish, and the light source every time.
Expected outcome: a render where the flooring, cabinetry, and fixtures match what's actually specified for the project, not a generic interpretation. Common mistake: describing the feeling you want instead of the physical materials in the room.
4. Match the render to your brand style guide
If you're posting on behalf of a firm or agency, every render in a campaign needs the same color temperature and contrast level — a mismatched carousel reads as unpolished even if each image is individually strong. Following a repeatable process for how to match AI renders to a brand style guide keeps a multi-post campaign visually consistent from the first slide to the last.
Expected outcome: renders that look like they came from the same shoot, even when they're generated across different sessions. Common mistake: adjusting brightness and saturation per image instead of locking a consistent lighting and material palette upfront.
5. Set lighting for the mood the platform rewards
Daylight interiors perform well on LinkedIn and portfolio posts; warm dusk lighting with interior lamps on performs better for lifestyle-focused Instagram and Pinterest content. A guide on how to add realistic lighting to AI architectural renders covers the settings that separate a flat render from one with real shadow depth and warmth.
Expected outcome: light that falls naturally across surfaces instead of looking uniformly flat. Common mistake: cranking exposure too high, which washes out material detail and makes the render look artificial in thumbnail view.
6. Export at the exact crop each platform needs
Don't export one master image and crop it in Canva after the fact — you'll lose the focal point. Export separately at 1080x1080 for feed, 1080x1920 for Reels and Stories, and 1200x630 if the render is doubling as a link-preview thumbnail for a blog post or landing page in 2026's content mix.
Expected outcome: a render where the subject sits centered and uncropped in every format. Common mistake: exporting one square image and stretching or cropping it for vertical formats, which cuts off ceilings and furniture edges.
7. Build a carousel from one project, not one render
A single hero shot gets a like. A five-slide carousel showing the same kitchen from the entry, the island, and the window seat gets saves and shares. If the project needs a full visual narrative, pulling from a process built for interior design mood boards turns a single render into a cohesive multi-slide story.
Expected outcome: a carousel that reads as one continuous space rather than five unrelated images. Common mistake: mixing render styles or lighting conditions across slides in the same post.
8. Caption with the material and project detail, not adjectives
Captions that name the actual materials — "white oak, brass, and Calacatta marble" — get more comment engagement than "loving this space." Tie the caption to what's visible in the render so the post reads as credible project work, not stock content.
Expected outcome: comments asking about sourcing, finish specs, or availability — the signal that a post is converting interest into leads. Common mistake: generic captions that give a follower nothing to react to or ask about.
Turn your next screenshot into a render
Upload a SketchUp, Revit, or Rhino screenshot and generate a social-ready render in minutes.
Troubleshooting
- Render looks artificial in thumbnail view. Lower exposure and saturation slightly — over-processed renders often look fine full-screen but harsh when compressed by a platform's thumbnail algorithm.
- Furniture or ceiling gets cut off after cropping. Export natively at each platform's aspect ratio instead of cropping one master image after the fact.
- Colors don't match the last post in the campaign. Lock your material and lighting description as a reusable prompt template so every render in a series starts from the same base settings.
- Text or logo overlays look blurry after export. Add text and branding in a design tool after export, not before — baking text into the render prompt produces distorted, unreadable characters.
- Turnaround is too slow before a launch date. Batch your screenshots and upload them in one session; queuing multiple renders back-to-back is faster than generating and posting one at a time.
- A render doesn't match the actual finish schedule. Re-check your material description against the project spec sheet — the render engine follows what you type, not what's technically installed.
Tools and resources
- PromptRender account with active render credits
- A brand style reference — see matching renders to a brand style guide for the full checklist
- A design or scheduling tool for adding captions and text overlays post-export
- A shared prompt template doc so every team member describing materials uses the same language
- A content calendar mapping which project gets posted on which platform and cadence
What to do next
Once a single render workflow is solid, standardize it across every project in your pipeline instead of rebuilding the process each time a new post is due. Teams that batch-generate five or six renders from one project in a single session post more consistently than teams generating one image per deadline.
FAQ
What's the best ai render for social media marketing workflow?
Upload a screenshot from SketchUp, Revit, Rhino, Blender, or ArchiCAD into PromptRender, describe the materials and lighting, then export at the exact crop size each platform needs. This beats hiring a freelance render artist per post because turnaround is minutes, not days.
Is an AI render better than a stock interior photo for marketing?
Yes, when the goal is showing an actual project — a stock photo can't represent your specific materials, layout, or finish schedule. An AI render generated from your real 3D model shows the project a client actually gets.
How much does it cost to render a scene for social media in 2026?
Cost depends on the render tool's credit pricing, but a single AI-generated render typically runs far below a freelance render artist's per-image rate, and turnaround is measured in minutes instead of a multi-day queue.
What image size should I export for Instagram in 2026?
Export at 1080x1080px for feed posts and 1080x1920px for Reels and Stories. Cropping a single master image after export usually cuts off furniture or ceiling edges, so export natively at each size.
Can I use the same render for Instagram and a client presentation board?
Not at full quality — social exports are compressed for fast loading, while a presentation board needs a higher-resolution export. Generate the render once, then export separately at each required resolution.
Do I need rendering software to create social media renders in 2026?
No. AI rendering tools convert a screenshot from your existing 3D software directly into a photorealistic image, skipping traditional render engines and their multi-hour render queues entirely.
How do I keep a carousel of renders looking consistent?
Lock the same lighting and material description across every image in the series before generating. Adjusting brightness and color per image after the fact is what makes a carousel look mismatched.
What camera angle works best for social media renders?
An eye-height angle around 5 to 5.5 feet, aimed into a room corner so two walls and a focal feature are visible, reads better on social feeds than a flat, straight-on elevation shot.
One last thing
The firms getting the most engagement in 2026 aren't posting perfect single renders — they're posting the same project from three or four angles across a week, which trains the algorithm to keep showing their content and gives followers a reason to keep watching for the next slide.