How to Create AI Renders for Zoning Boards (2026)
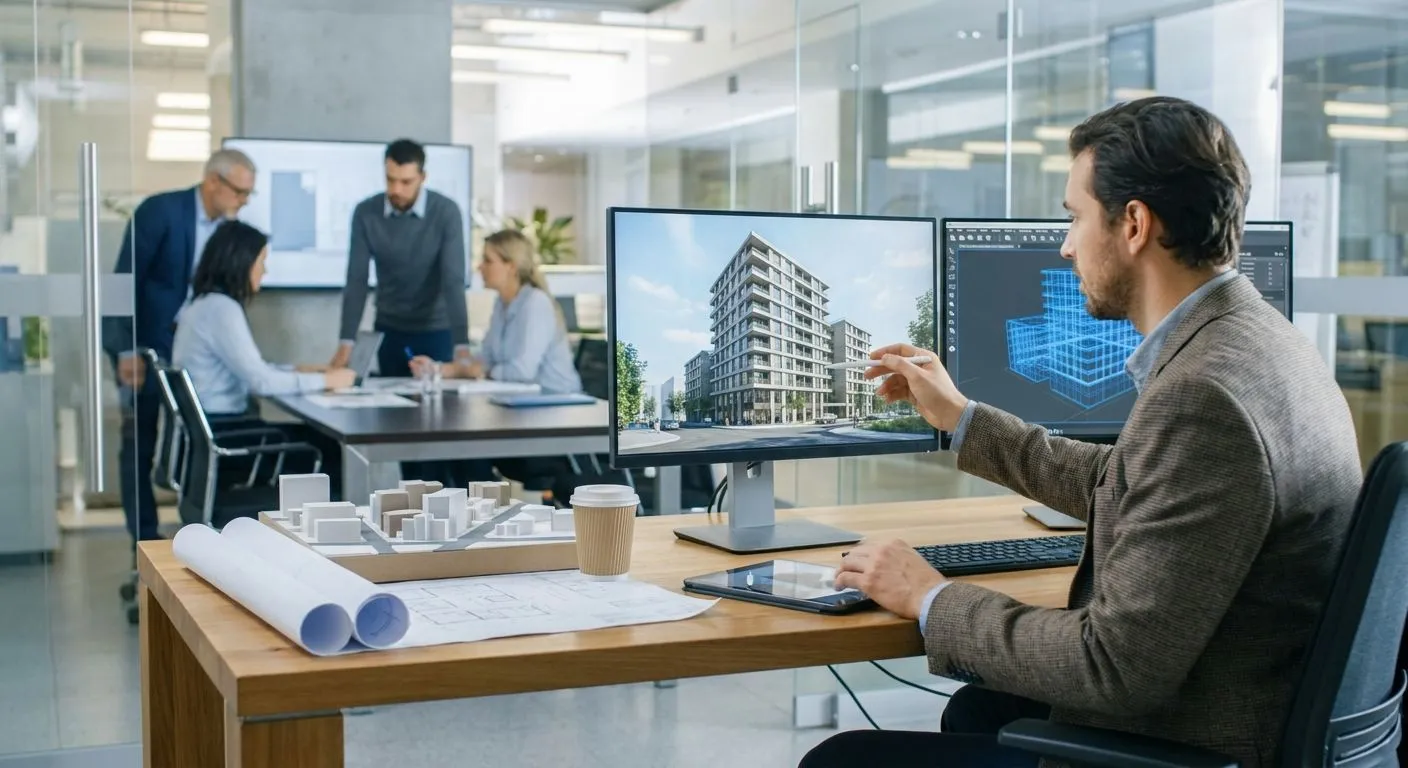
You create AI renders for a zoning board presentation by exporting a plain screenshot from your 3D model, running it through an AI rendering tool that adds photorealistic materials and lighting, and exporting the result at print resolution alongside a matching line-drawing or elevation. The render alone rarely satisfies a board — reviewers compare it against the submitted plan set, so the image has to match scale, camera angle, and materials exactly or it gets flagged as misleading.
- Match the AI render's camera angle and materials to your submitted plan set before generating anything.
- Pair every render with a line drawing or elevation from the same model so the board can verify it matches the permit.
- Skip stylized lighting and dramatic skies — zoning boards want accuracy, not a marketing image.
- Export at print resolution for paper packets; screen-resolution renders look blurry in a printed hearing binder.
- Generate a daytime and a context shot showing neighboring buildings, not just an isolated hero angle.
Why this matters
Zoning boards in 2026 see more AI-generated imagery than they did even two years ago, and reviewers have gotten sharper about spotting renders that oversell a design. A render that looks better than what's actually permitted — brighter facade, extra landscaping, a camera angle that hides a setback issue — gets a project tabled or sent back for revision. The goal of an AI render for a zoning hearing isn't to impress; it's to remove ambiguity about what will actually get built.
The upside is real: a clear photorealistic render answers questions a flat elevation drawing can't, like how a facade material reads in daylight or how a new structure sits next to an existing one. Boards approve projects faster when they don't have to imagine the finished building from a wireframe.
How to Create AI Renders for Zoning Board Presentations
Follow these steps in order. Skipping the matching step is the single most common reason boards reject AI-assisted submissions.
- Capture a clean screenshot from your 3D model. Pull the camera angle straight from SketchUp, Revit, ArchiCAD, or whatever software holds the current design — not a stylized angle chosen for drama.
- Match the camera to what's already in the plan set. If your site plan shows a street-facing elevation, your render needs the same orientation, not a hero angle from across the lot.
- Upload the screenshot to an AI rendering tool and describe the real materials. Name the actual siding, roofing, and window specifications from your permit documents — say brick if it's brick, not vague phrasing. The AI matches what you describe, so imprecise prompts produce inaccurate output.
- Generate two or three variations and pick the one that matches the plans, not the best-looking one. A photorealistic render with the wrong roof pitch or an extra window will get caught by a reviewer who has the elevations in front of them.
- Add site context. Neighboring buildings, the sidewalk, street trees, and parked cars help the board judge scale and fit — an isolated building floating on a blank lot invites questions about how it relates to its surroundings.
- Export at print resolution. Most boards still review paper packets; a render pulled straight off a screen at low resolution looks soft once printed, which reads as unprofessional even when the design is sound. Guidance on print-quality presentation boards covers export settings for hearing packets specifically.
- Pair the render with a line drawing or elevation from the same model. This is the step most people skip. A single matching wireframe next to the photorealistic render proves the two came from the same design and removes the board's biggest objection before it's raised.
Boards that already require facade documentation for permit review often want the same visual pairing. If your jurisdiction has a separate facade submission requirement, the steps for rendering building facades for permit submission drawings apply directly here — the accuracy standard is the same.
Why zoning board renders get rejected
- Camera angle doesn't match the site plan. Reviewers cross-check the render against the plan set; a mismatched angle looks like an attempt to hide something.
- Materials don't match the permit application. If the application lists fiber cement siding and the render shows brick, expect a revision request.
- No companion line drawing. A photorealistic image with nothing to verify it against gets treated as decorative, not evidentiary.
- Missing site context. Boards weigh how a project fits its block — an isolated render without neighboring structures makes that judgment impossible.
- Over-stylized lighting. Dramatic sunset lighting or an artificially green lawn reads as marketing, and marketing imagery gets more scrutiny, not less.
- Low export resolution. A blurry printout in a hearing binder undermines an otherwise accurate render before anyone reads the details.
Do zoning boards accept AI-generated renders?
Most zoning boards accept AI-generated renders in 2026 as long as the image matches the submitted plan set in scale, material, and camera angle. Boards that reject AI renders usually do so because the image looks stylized or inconsistent with the plans, not because of how it was produced.
What camera angle should you use for a zoning hearing render?
Use the same camera angle already shown in your site plan or elevation drawings, typically a street-level view facing the primary frontage. A camera angle that doesn't match the plan set is the fastest way to get a render questioned at a hearing.
How many renders does a zoning board submission need?
Most submissions need two to four renders: a primary street-facing view, a context shot showing adjacent buildings, and sometimes an aerial view for larger sites. Guidance on aerial and drone view perspectives covers the setup for that third angle when a site plan calls for it.
Turn your model into a hearing-ready render
Upload a SketchUp, Revit, or Rhino screenshot and generate a photorealistic render in minutes.
PromptRender takes a 3D model screenshot from SketchUp, Revit, Rhino, Blender, or ArchiCAD and generates the photorealistic version without a separate rendering engine or a multi-hour render queue — useful when a hearing date is fixed and you're iterating on materials the night before submission. It won't file the paperwork or argue your case, but it removes the rendering bottleneck between a finished model and a printable image.
FAQ
How to create AI renders for zoning board presentations without a rendering background?
Upload a plain 3D model screenshot to an AI rendering tool, describe the real materials from your permit application, and export the result at print resolution alongside a matching elevation drawing. No traditional rendering software or lighting setup is required.
Do AI renders need to match the exact materials in the permit application?
Yes. Describing the actual siding, roofing, and window materials from the permit documents in your prompt is what makes the render usable as evidence, not just illustration. A render that shows different materials than the application invites a revision request.
Should zoning board renders include neighboring buildings?
Yes, context matters more for a zoning hearing than for a marketing render. Including adjacent structures, the sidewalk, and street trees helps the board judge how the new building fits its block.
What resolution should a render be for a printed hearing packet?
Export at print resolution, not screen resolution. A render that looks sharp on a monitor often looks soft once printed in a paper hearing packet, and print-specific export settings avoid that gap.
Is a photorealistic render enough on its own for a zoning submission?
No, a render alone is rarely enough. Pairing it with a line drawing or elevation from the same 3D model proves the photorealistic image matches the permitted design, which is the detail most boards check first.
Can AI renders replace an architect's elevation drawings for zoning?
No, AI renders supplement elevation drawings rather than replace them. Boards still expect the technical drawings; the render is there to make the technical drawing easier to interpret visually.
Why would a zoning board reject an AI-generated render?
The most common reasons are a camera angle or material that doesn't match the plan set, missing site context, or lighting that looks stylized rather than accurate. Matching the render tightly to the submitted plans avoids all three.
One last thing
Generate a daytime version even if your hearing is scheduled for an evening session — boards evaluate facade material and color primarily in daylight renders, and a dusk-only image makes materials harder to judge accurately. Keep both versions in your packet: the daytime shot answers the material question, the dusk shot answers the neighbor-impact question when your jurisdiction cares about lighting spill. Two renders solve two different objections instead of one render trying to do both jobs.